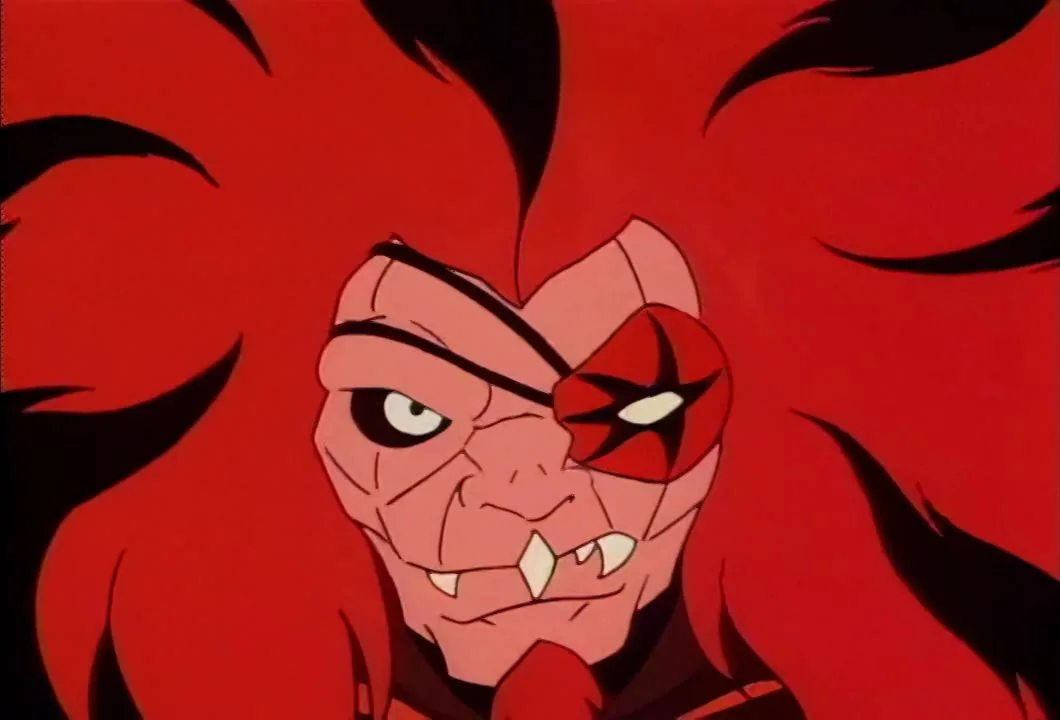
S01E42 · EPISODE 42 OF 65

The Blue Door

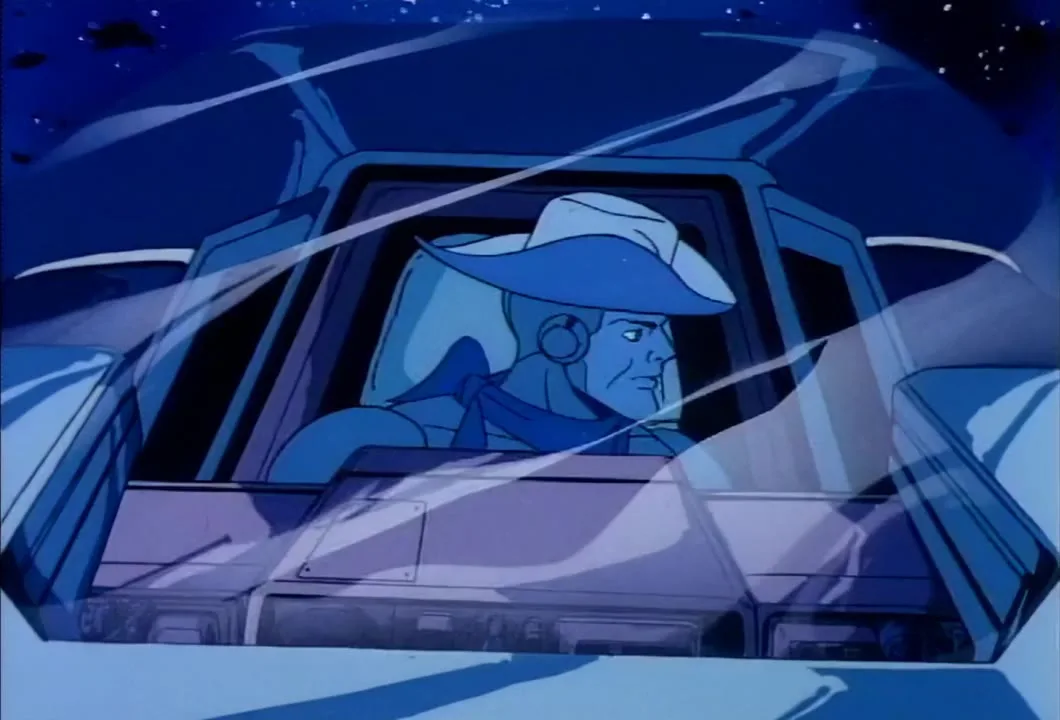
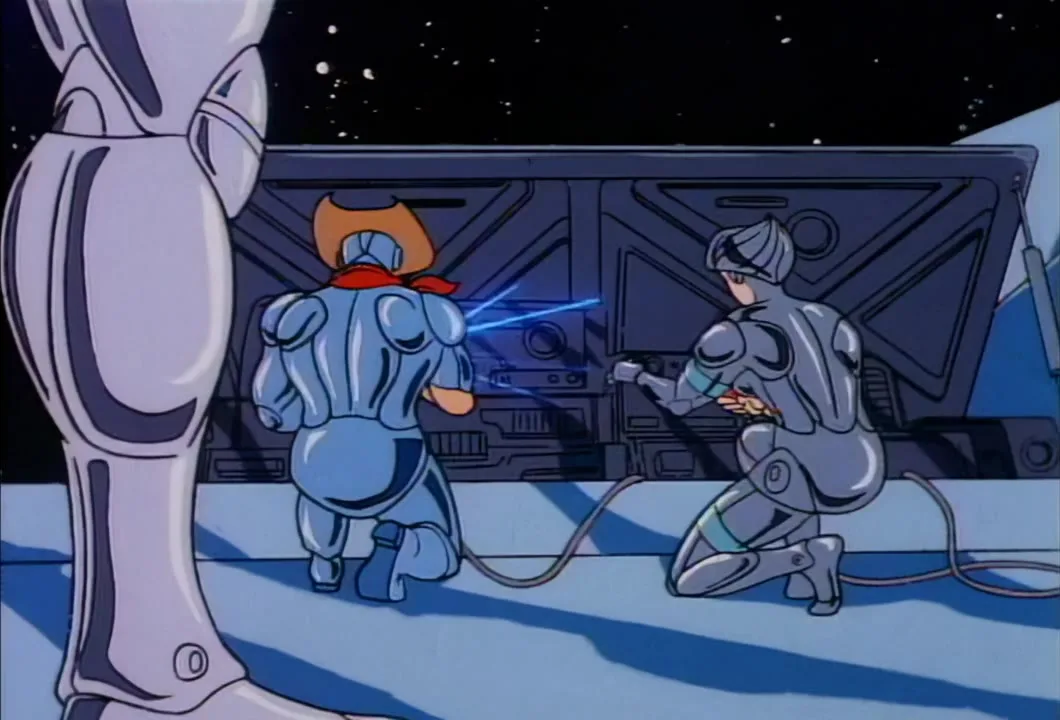
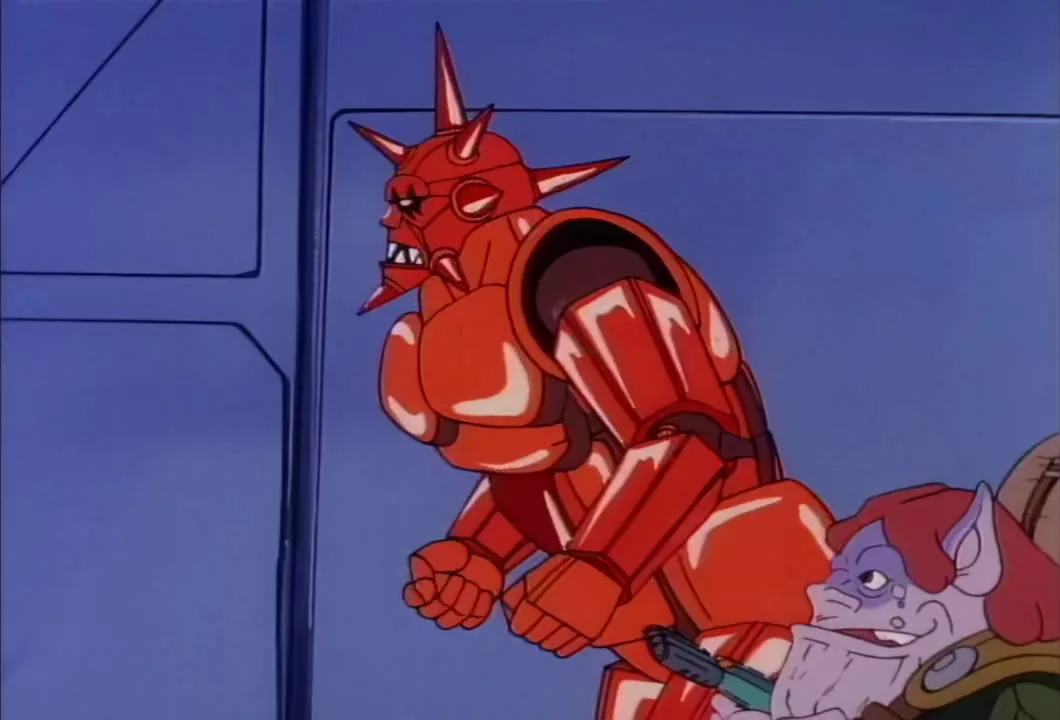
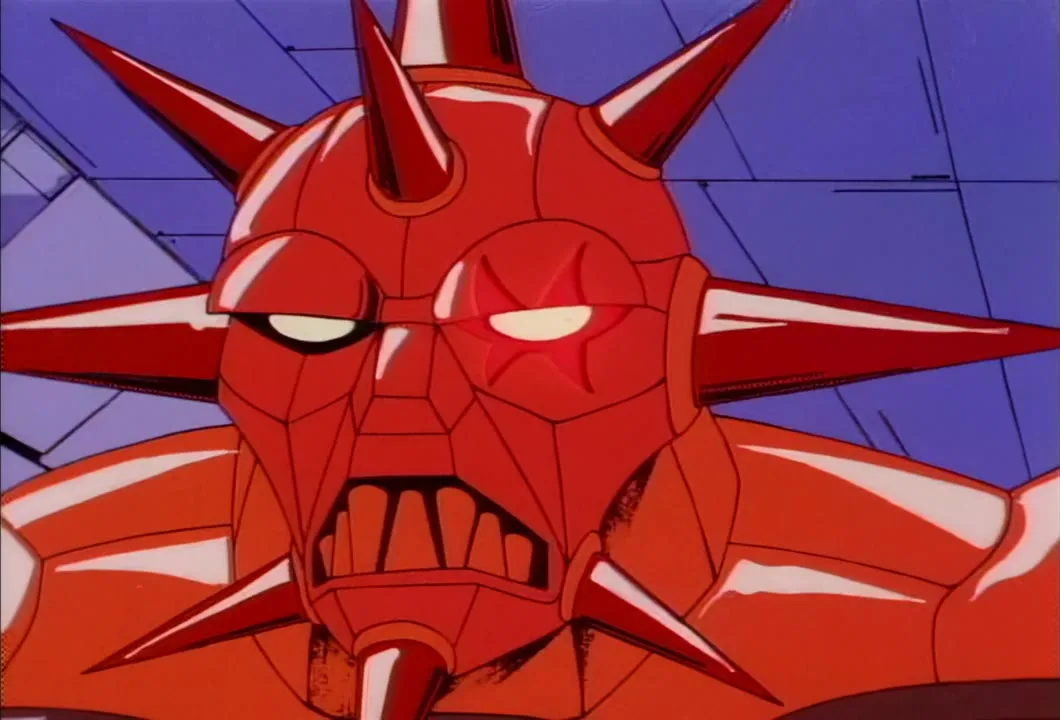
Disguising himself as Mon*Star, Mo-Lec-U-Lar leads the SilverHawks on a wild goose chase while the real Mon*Star attacks Hawk Haven.

Episode Synopsis

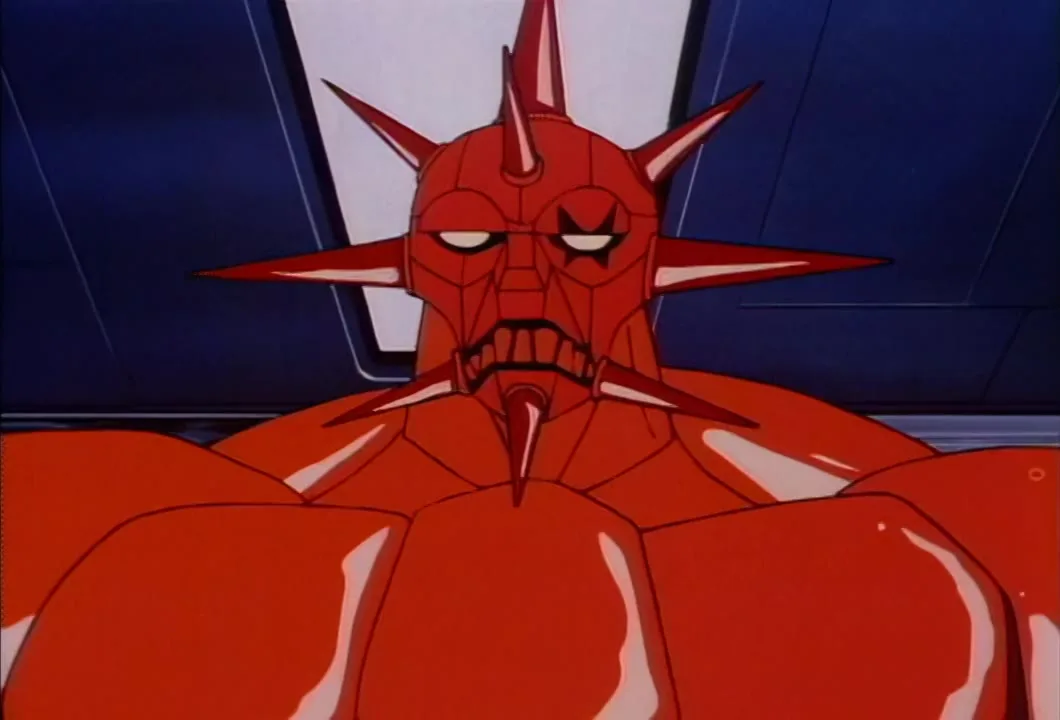
Mon*Star tells the Mob that the Silver Hawks' meddling is going to stop.

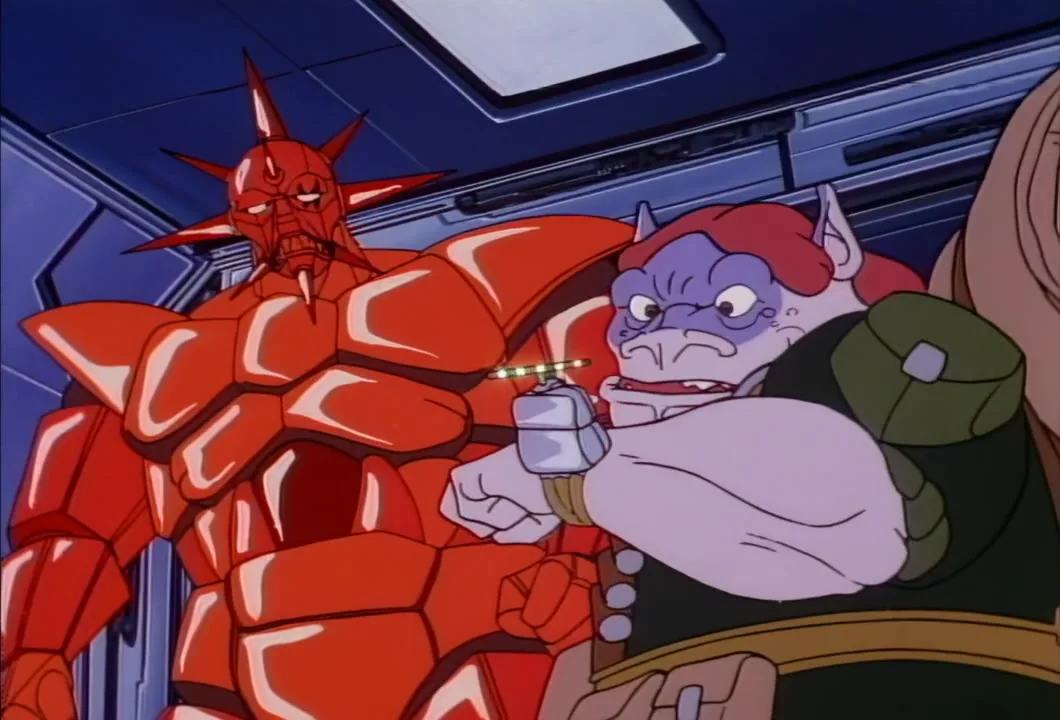
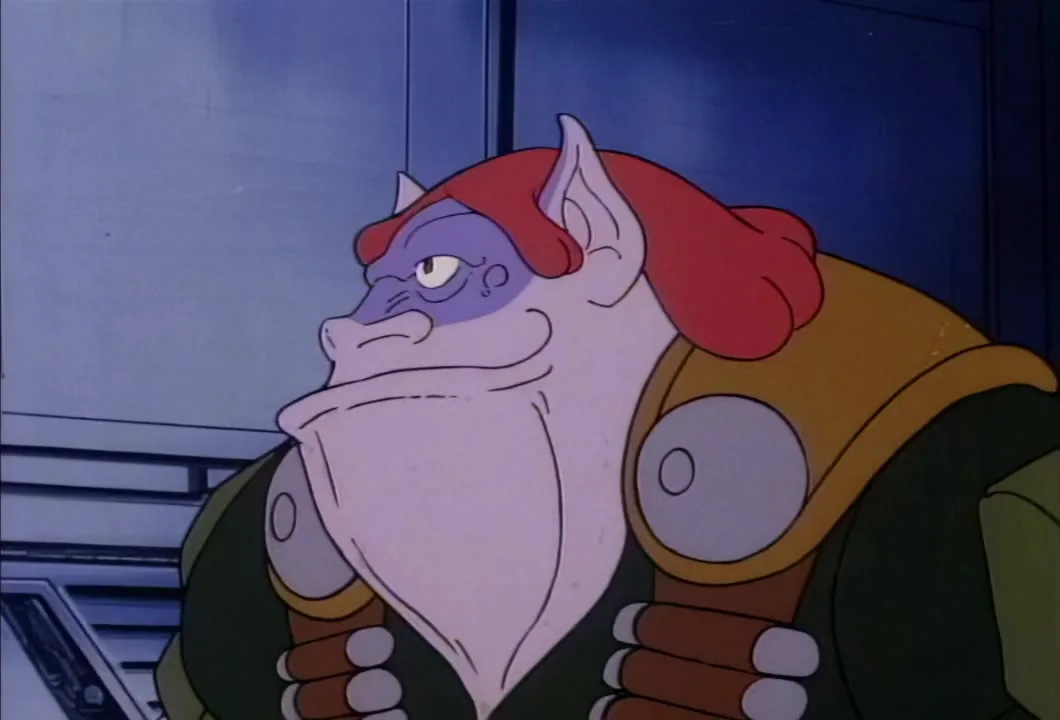
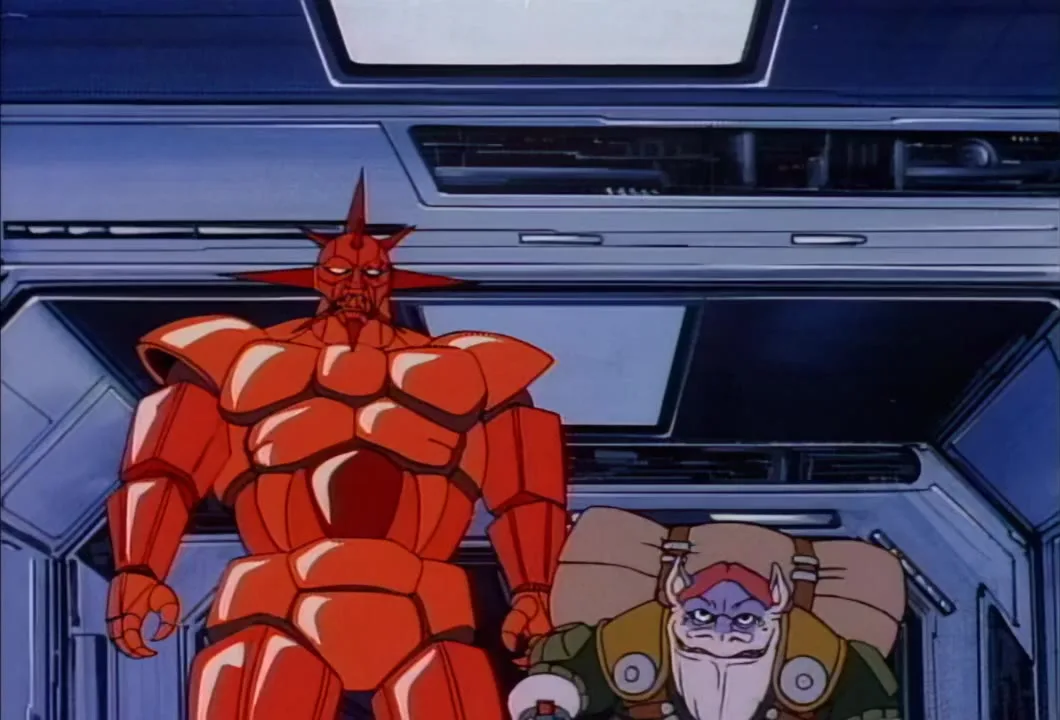
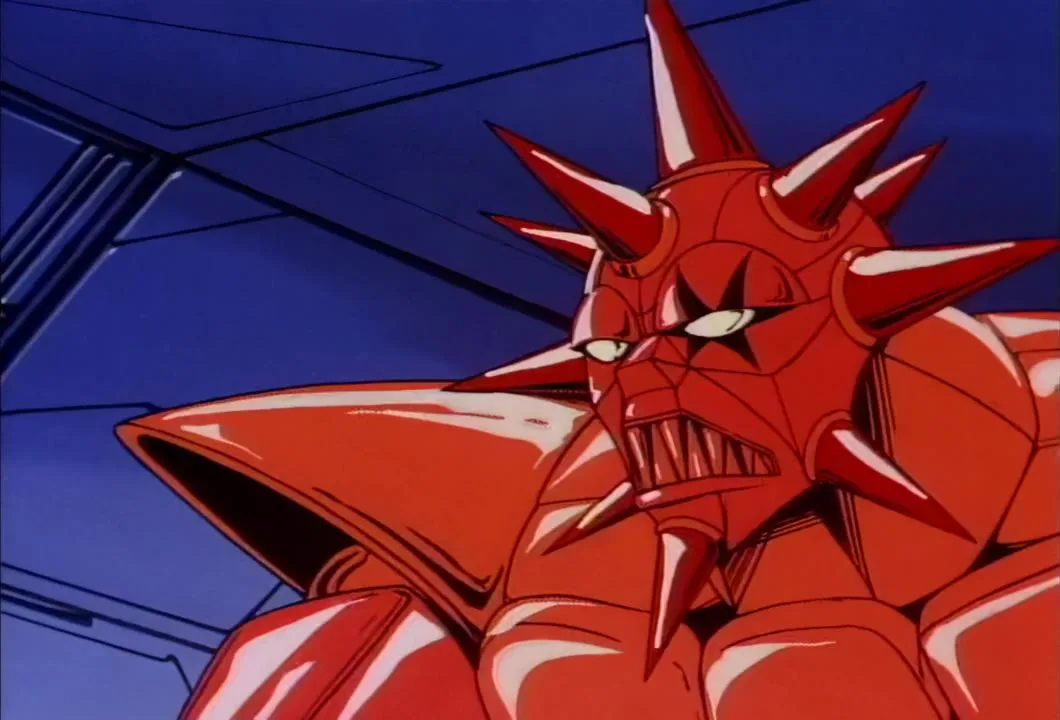
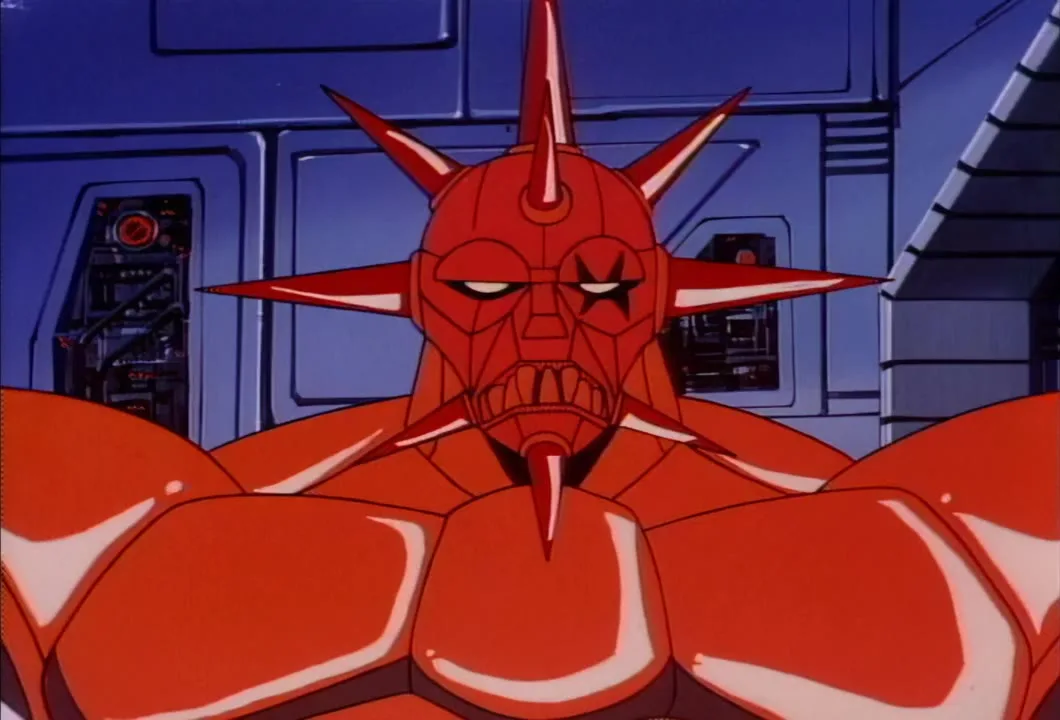
On Brim*Star, Mon*Star tells the Mob he is going to take out Commander Stargazer for good. Mo-Lec-U-Lar will disguise himself as Mon*Star and lead the rest of the Mob out on Sky-Runner and in the space limos, as if on the biggest raid ever on Dollare. The SilverHawks will follow, Stargazer will be left alone, and Mon*Star and Hardware will find the power room and blow Hawk Haven up.

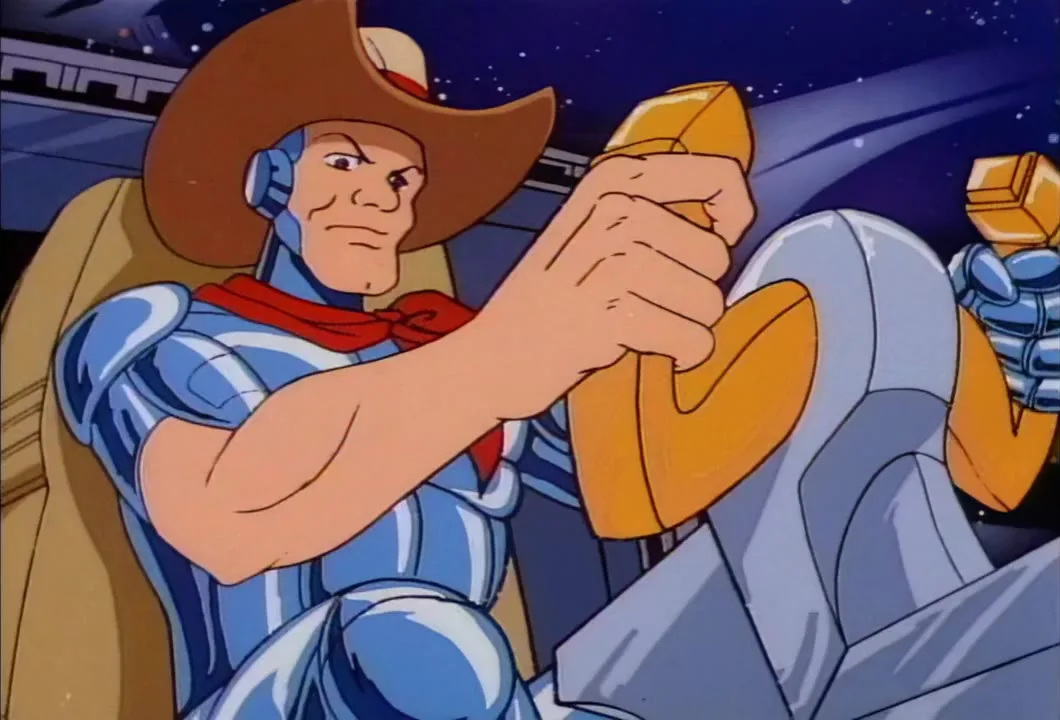
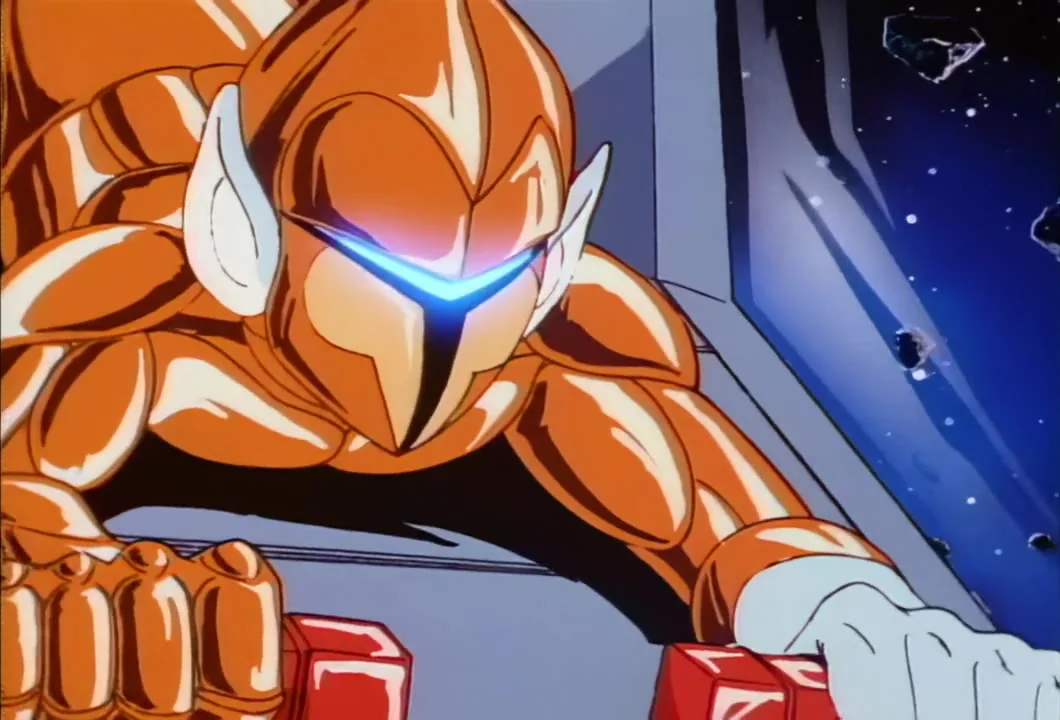
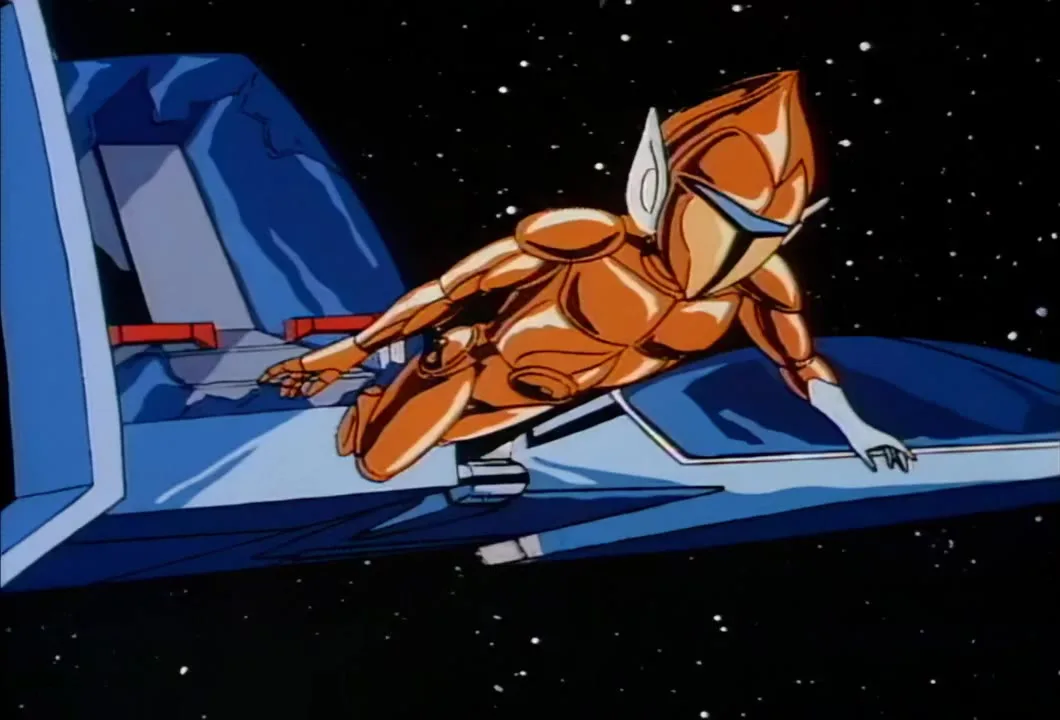
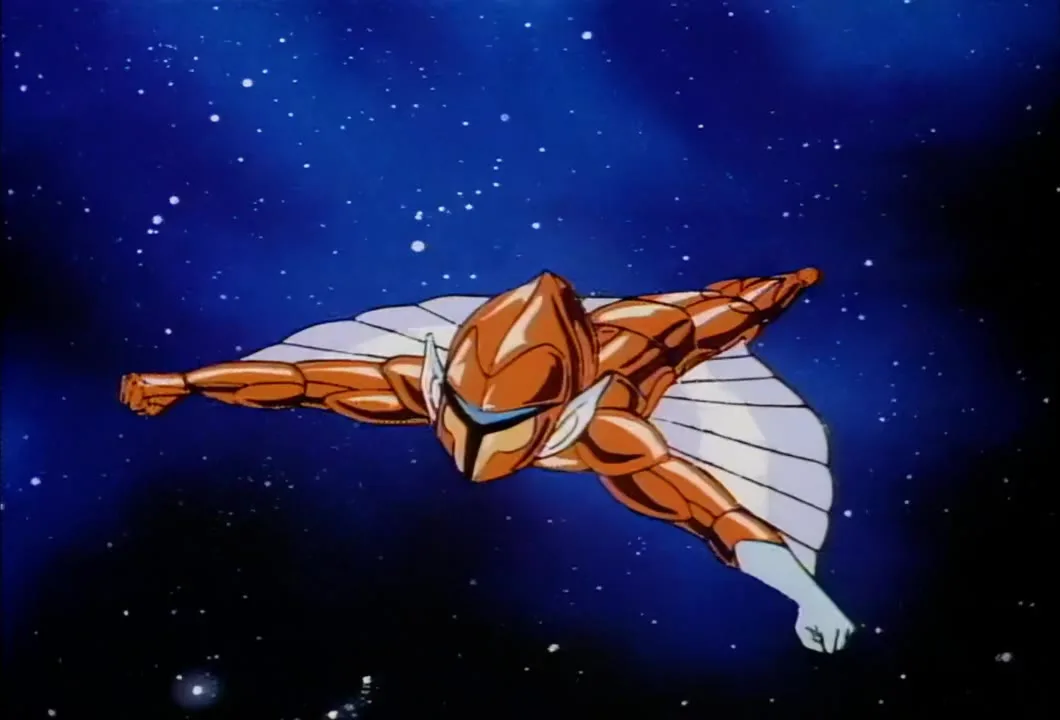
Sly-Bird's routine surveillance shows the Mob leaving Brim*Star, apparently for Dollare, and Stargazer sends the team after them. At Hawk Haven, Hardware gets through solid rock with a gun modified to shoot acid gas. Out in space the Steel twins suspect a draw play, but the chase goes on. The Mirage is shot up, the pods are ordered to release, and the Mob boasts of having crashed the Mirage. The Copper Kidd tries an idea the others call pretty dangerous, the tables turn, and the Mon*Star they have been chasing turns out to be Mo-Lec-U-Lar.

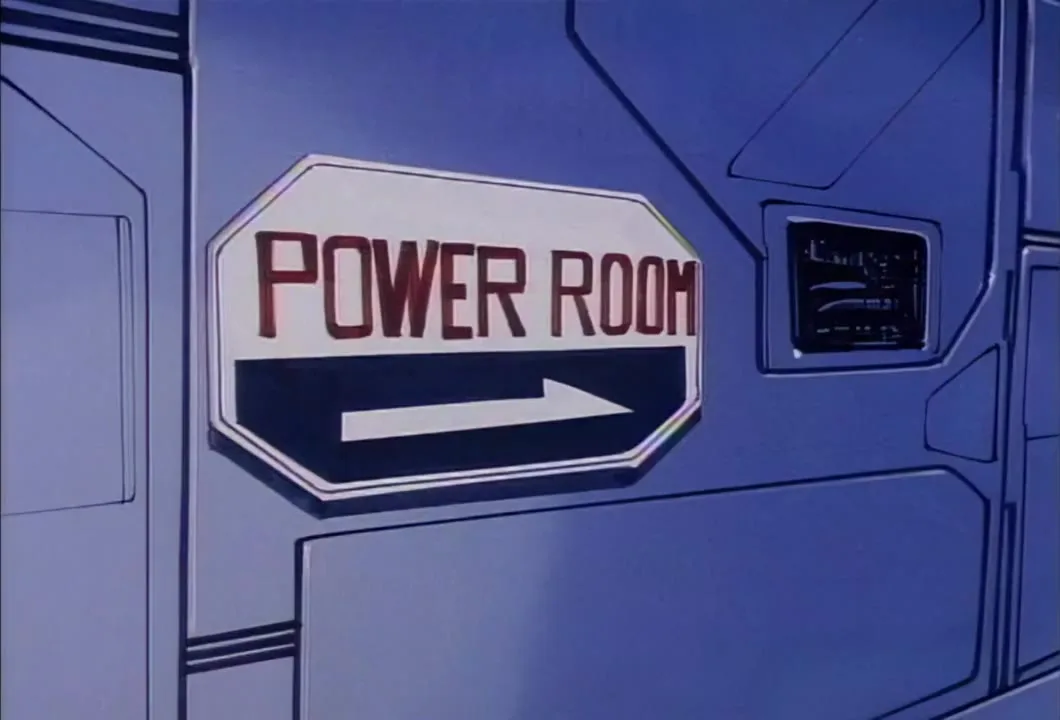
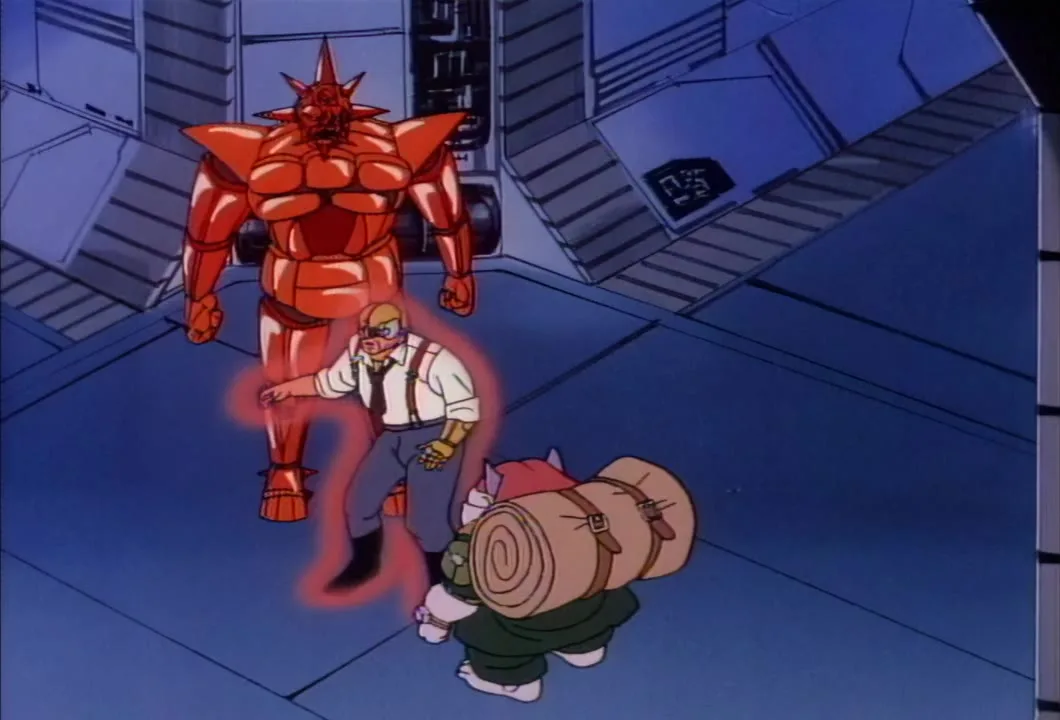
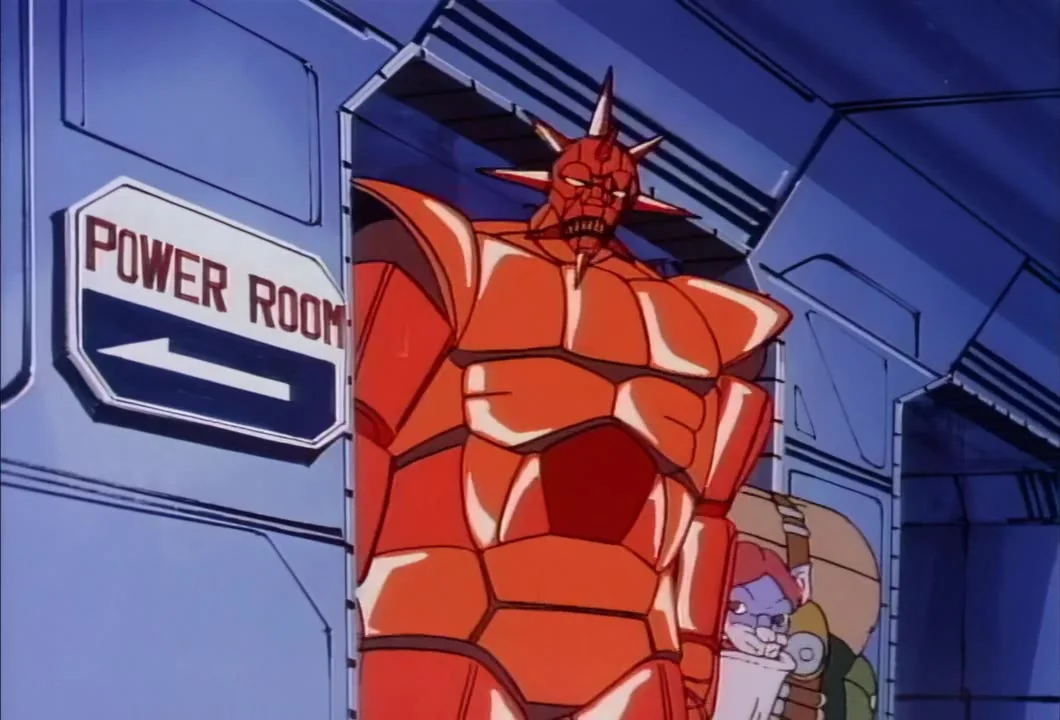
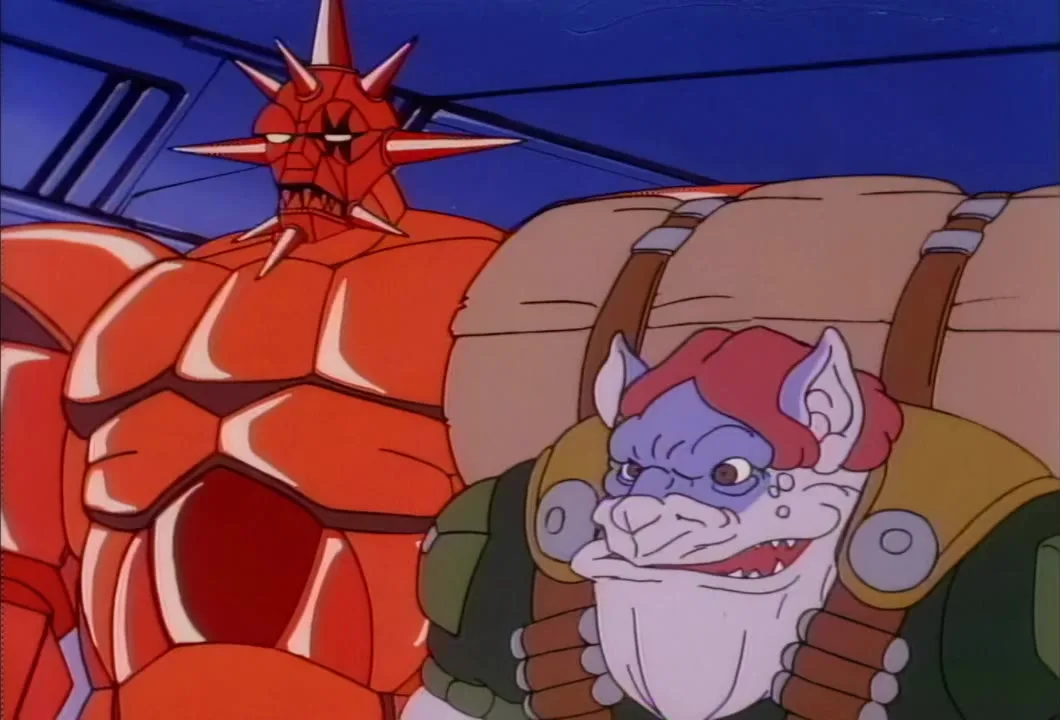
With engines and communications damaged and the twins promising another hour of repairs, the team realise they were lured away and that Stargazer is a sitting duck. Inside the station, Mon*Star and Hardware, who have never been there before, spot the old man and chase him through the corridors. Deciding he will go down with his ship anyway, they follow the signs to a door marked Power Room, strictly no entry.

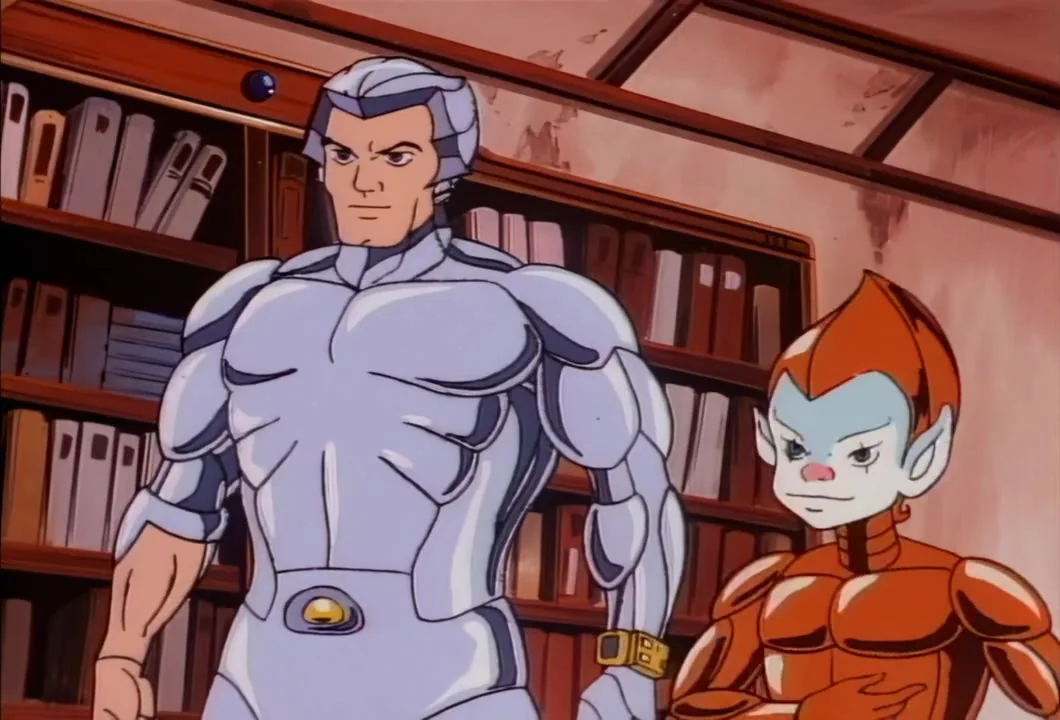
When the team gets home, Stargazer explains. The Mob was after the power room and meant to blow Hawk Haven clear across Limbo with him in it, so he switched all the signs around and fixed the power room sign onto one of the escape hatches. The team tell him he is something special, and he answers that he only did what he had to.

Official Warner Bros. Synopsis

When the SilverHawks race to stop Mon*star from raiding the bank, they fall for the distraction as the real Mon*star makes a bid to infiltrate and destroy HawkHaven.

Memorable Quotes

Commander Stargazer: "They thought they could blow Hawk Haven clear across Limbo and me with it."

Hardware: "I've never been in this blasted place before."

"It's been a pleasure to break your cookies."

silverhawks.tv Episode Review

In a show built around flying cyborgs, this episode is won by a man carrying a sign down a corridor. Cy Young's script opens on Mon*Star deciding that the SilverHawks' weak point is their commander. "I mean, I'm going to take out Commander Stargazer for good!" he announces, and the plan is sound: Mo-Lec-U-Lar wears Mon*Star's shape and leads the Mob out on a fake raid on Dollare, the team gives chase, and the real Mon*Star and Hardware break into Hawk Haven[1] to blow up the power room with the commander still inside.

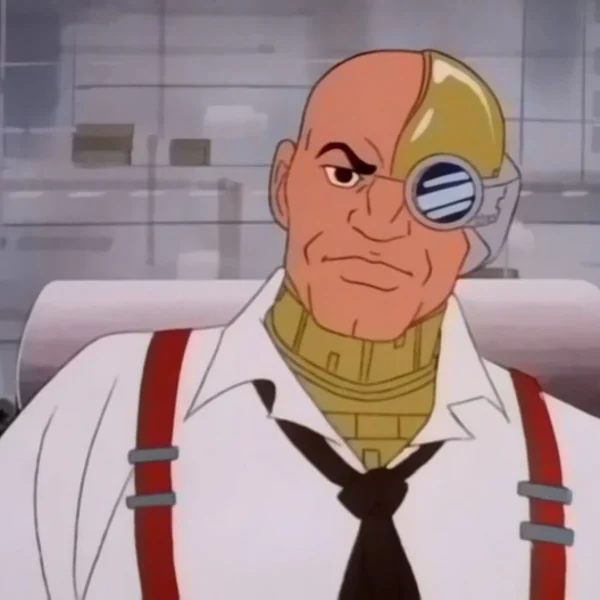
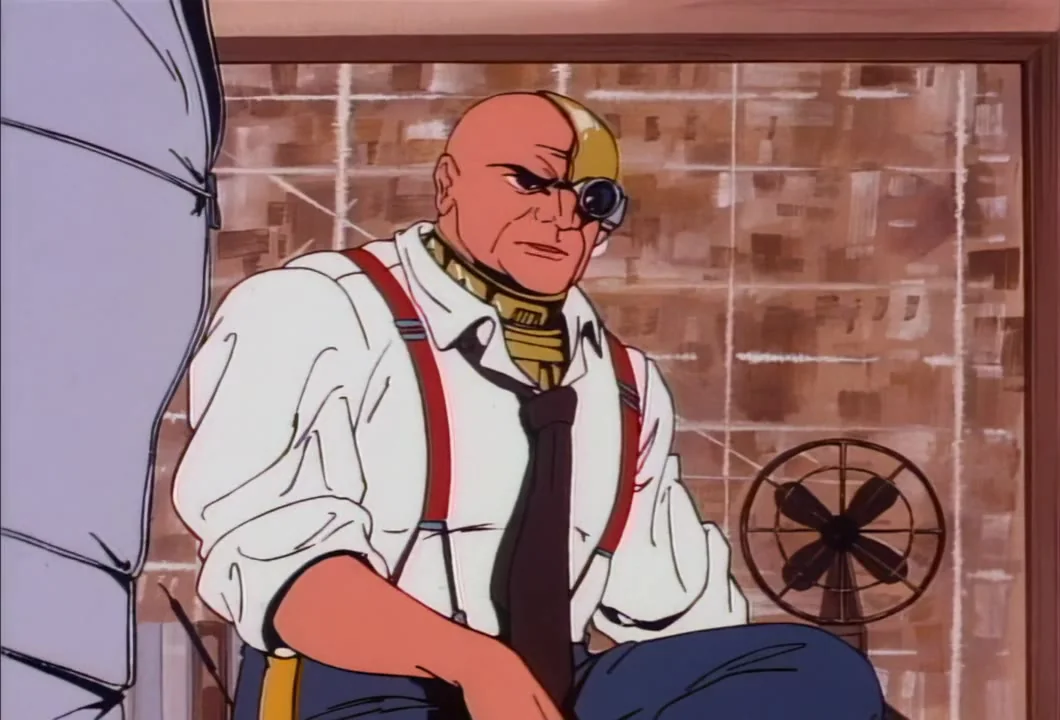
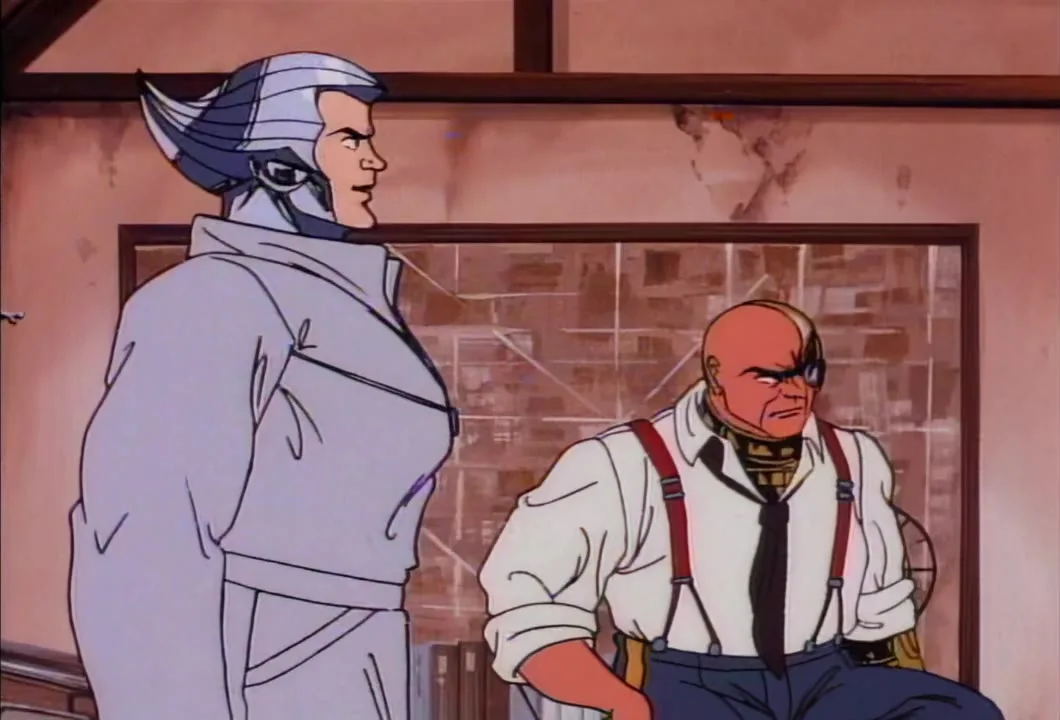
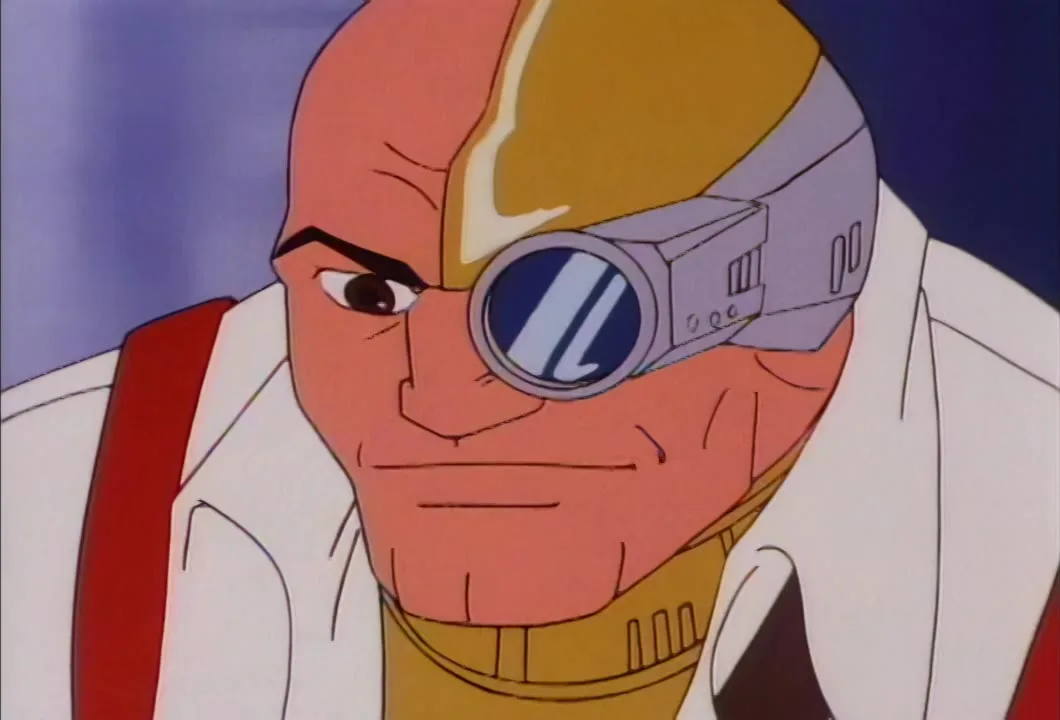
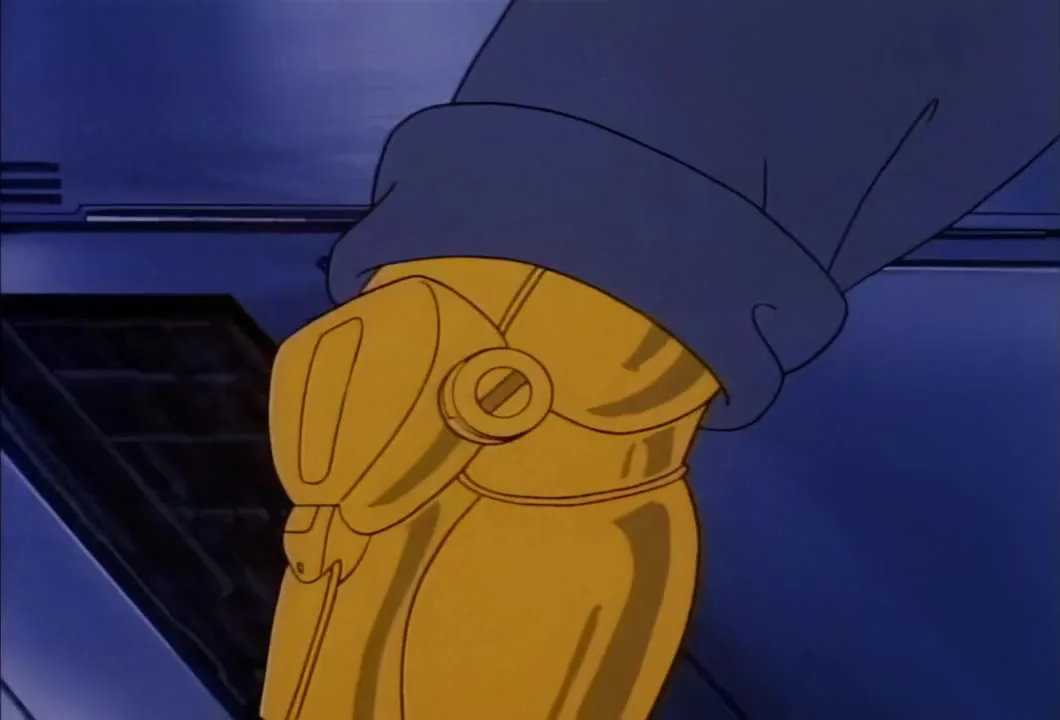
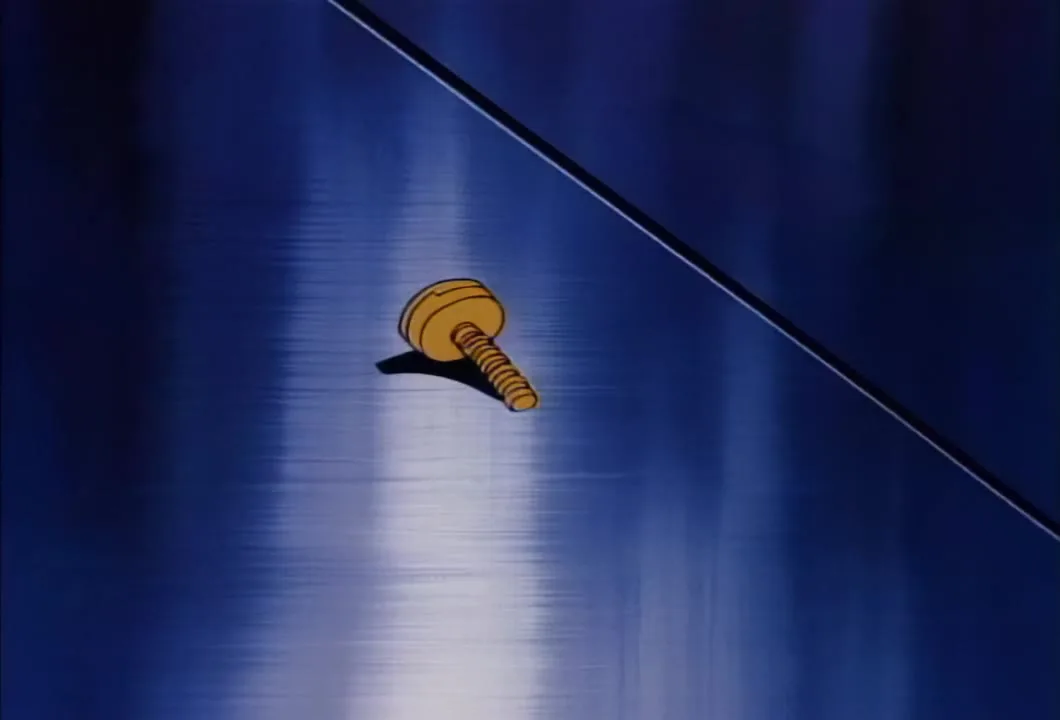
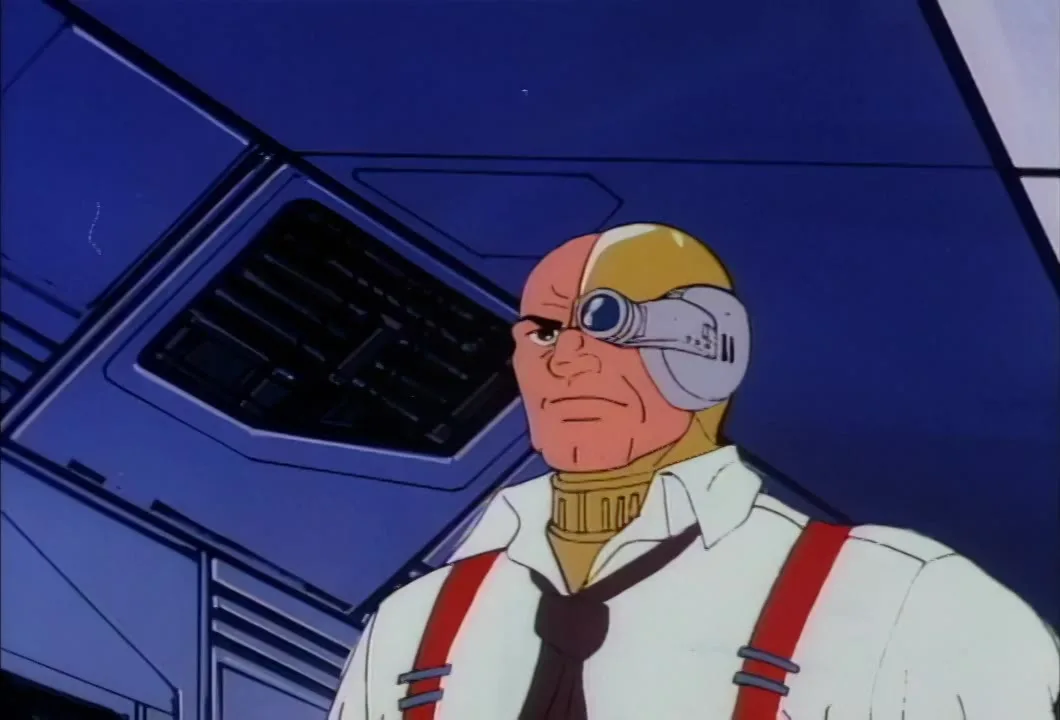
The Mob never calls Stargazer anything but the old man. Stargazer beats the two intruders on his own because he knows Hawk Haven and they do not. The send-off to the departing Mirage is "I hope you said bye-bye to the old man," and once the pair are inside the station, the jokes are about his age. Spotting him in a corridor, one of them decides he is falling to pieces, and the answer comes back, "Yeah, and probably got metal fatigue." It is a cheap gag about a man with a metal eye and a metal neck, but the villains believe it, and they stop taking him seriously!

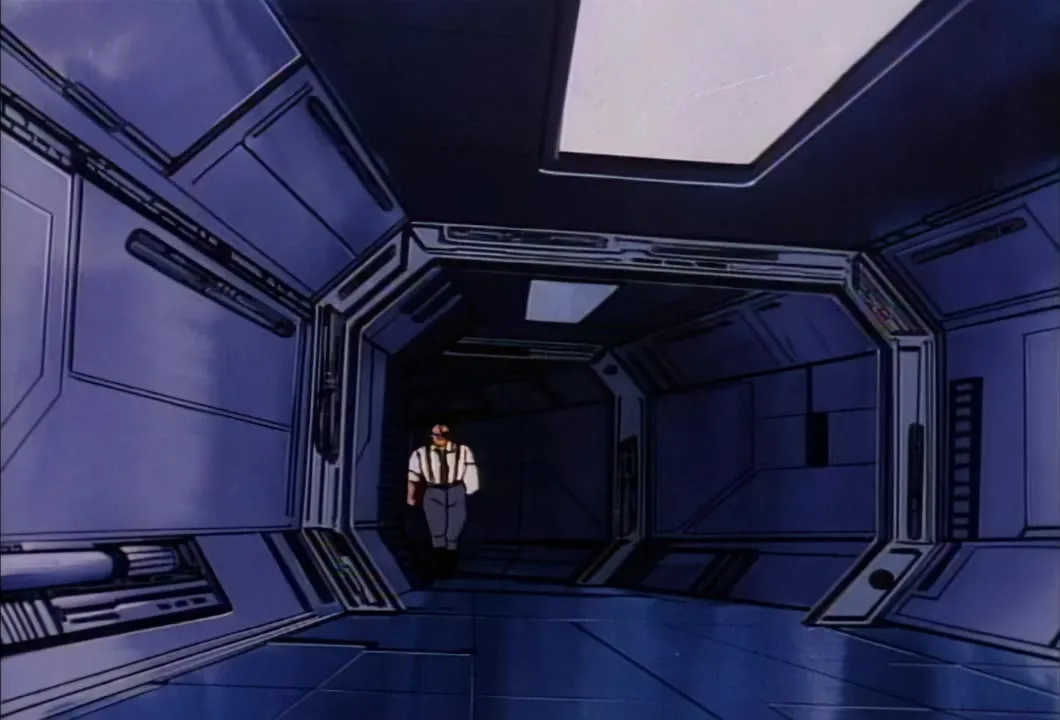
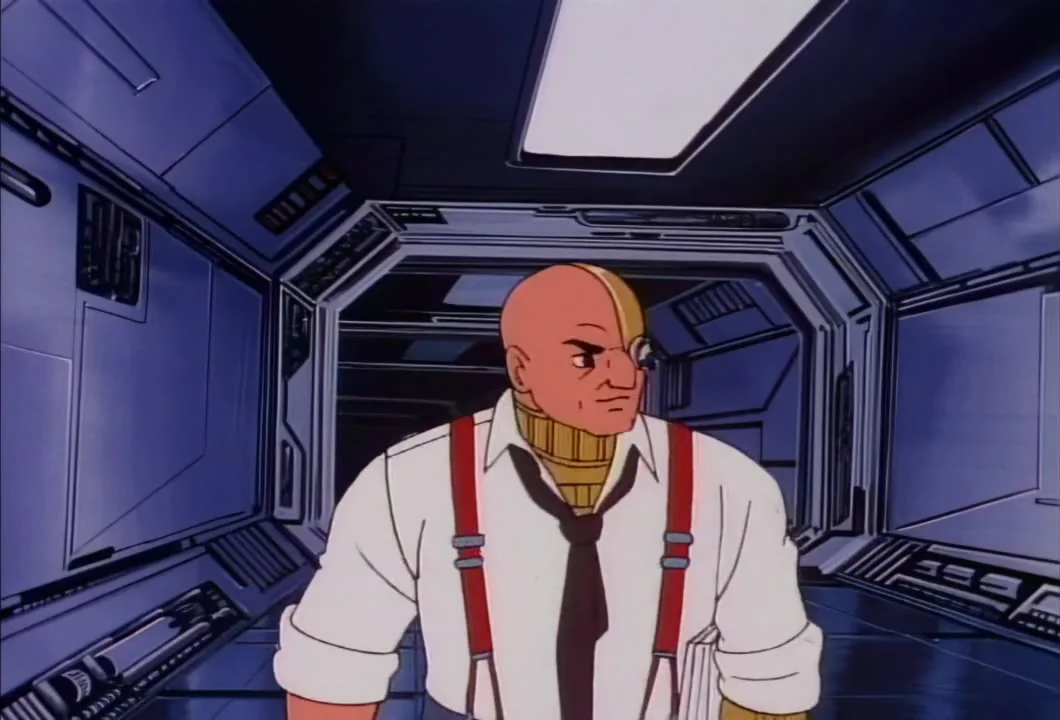
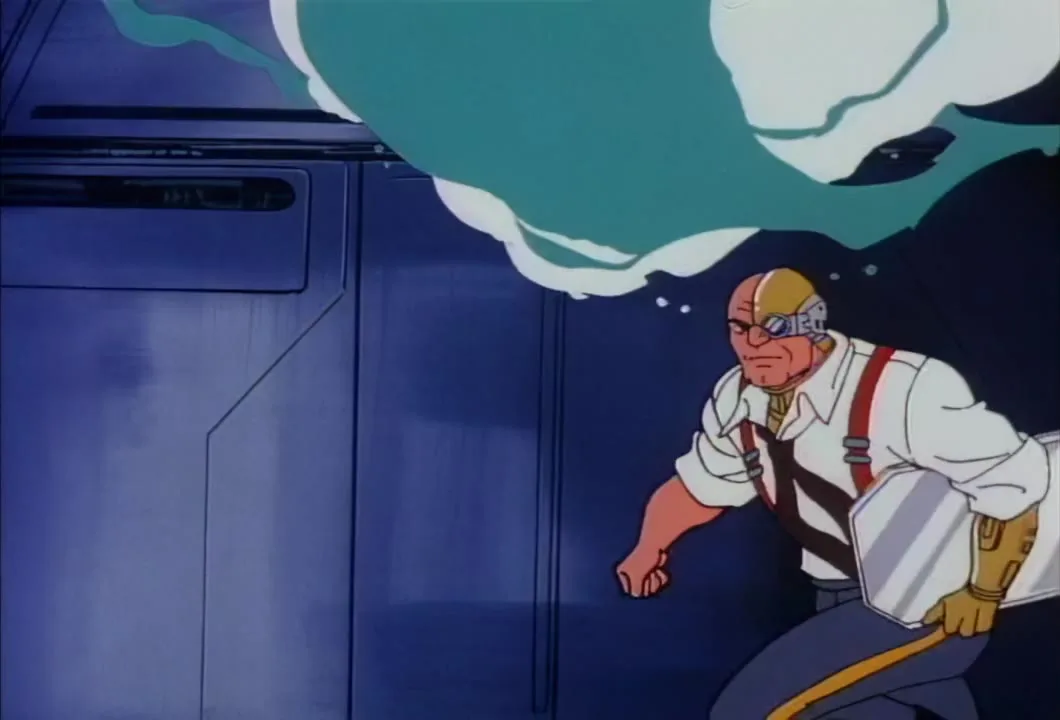
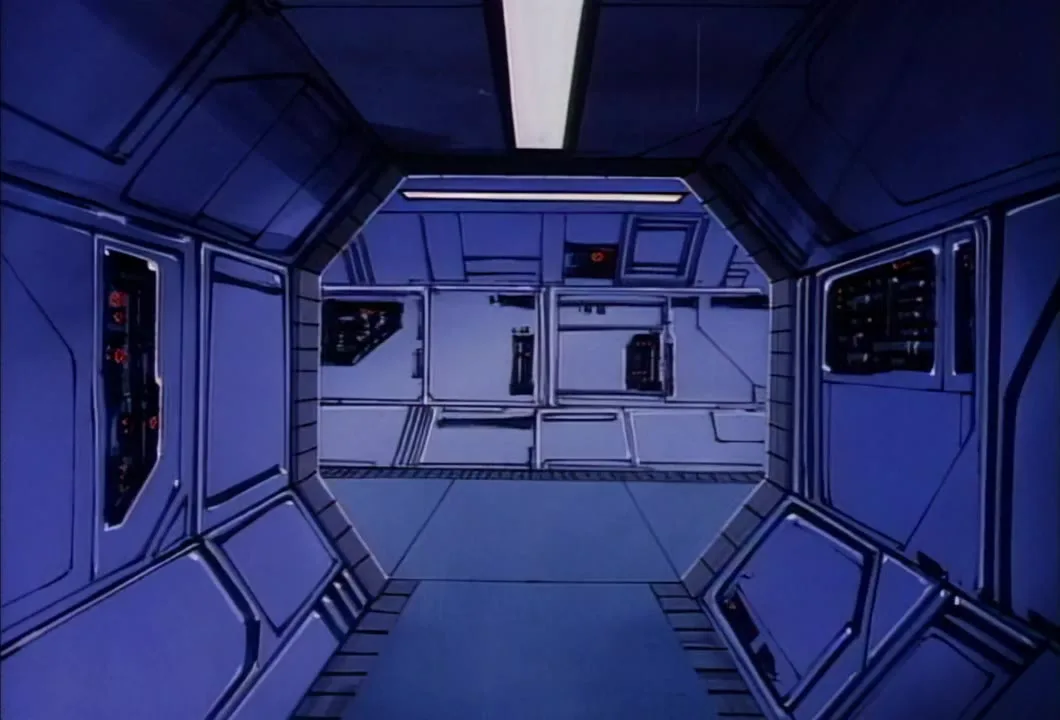
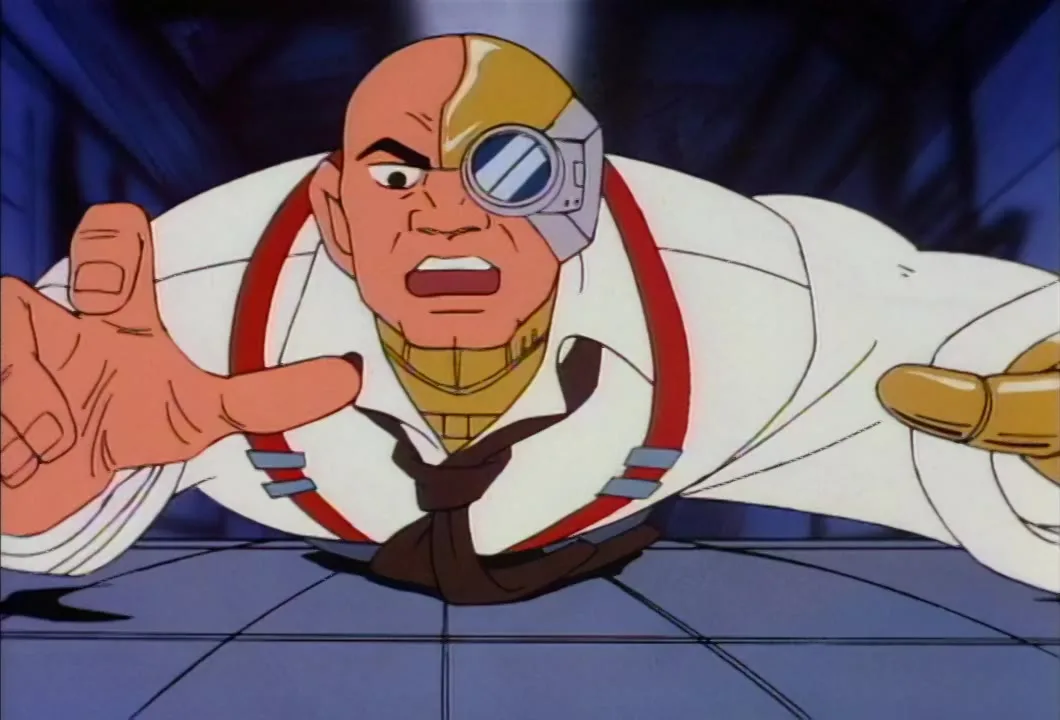
The best stretch is Mon*Star and Hardware lost inside Hawk Haven. Neither of them has been inside before, and when Mon*Star asks whether this is the right way, Hardware answers "Course I'm not sure, boss." and then "I've never been in this blasted place before." The backgrounds help: the corridors are long blue tubes lit by panels overhead, alike in every direction. So when Mon*Star finally finds a plate reading Power Room with an arrow under it, he trusts it. The debrief supplies the answer: "So I switched all the signs around." The animation sets it up: a few minutes earlier we see Stargazer walking a corridor alone with a flat panel tucked under his arm.[2]

The weakness is the chase. We know the Dollare raid is a decoy from the first scene, so it carries no suspense, and the Steel twins even say out loud that it smells like a draw play before the Mirage is shot up anyway.[3] After that the team spends much of the back half sitting in a damaged ship while the twins promise another hour of repairs. The premise requires it: the script has to get the team out of the building before Stargazer can be alone in it, and a twenty-two minute slot leaves no room to give them anything to do once they are gone. The same squeeze means the payoff is told to us afterwards, at a desk, rather than shown as it happens.

The Mob assumes Stargazer is no threat. They decide they need not waste a shot on him, since he will go up with the station anyway, and one of them is pleased with the thought: "It's been a pleasure to break your cookies." They say goodbye to him before they have beaten him!

When the team gets home and tells him he is something special, Stargazer shrugs it off: "Oh, I only did what I had to, Hawks." What he had to do was switch the signs. The old man wins this one.

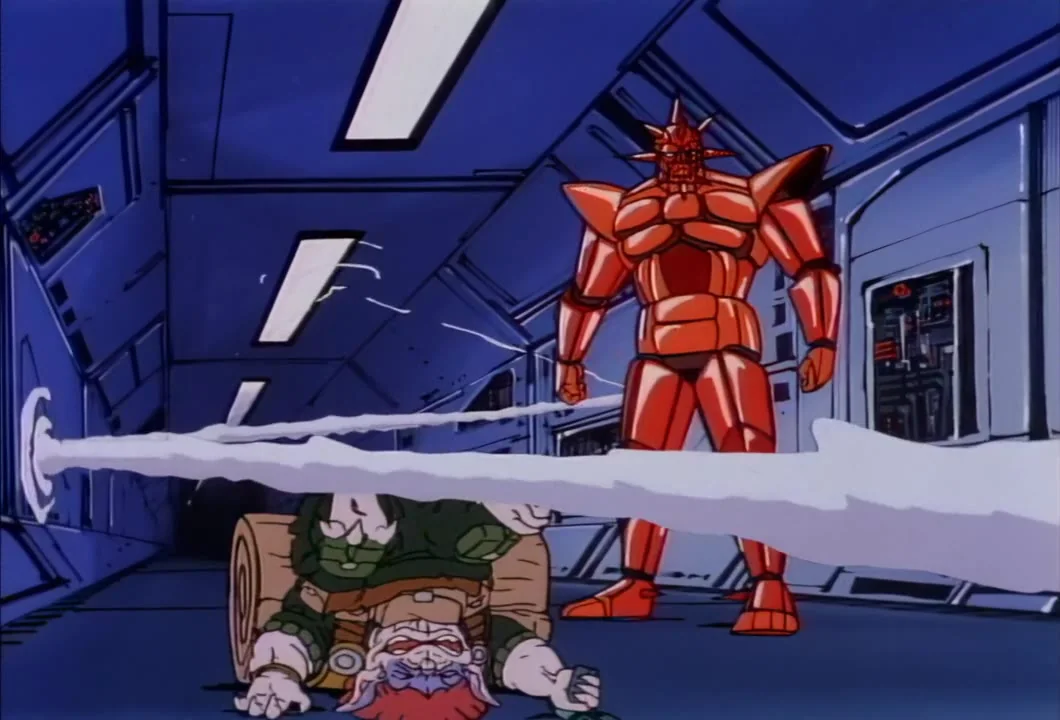
1 ^ Hardware gets them in with a gun he says he modified to shoot acid gas, and his boss, for once, admits he never thought of that.

2 ^ The panel under his arm at 14:06 is never identified, but it is the only hint the pictures give of the trick before Stargazer explains it. The title is never spoken, and the published frames do not show the escape hatch, so whether the blue door of the title is that hatch is left to the viewer.

3 ^ The Copper Kidd's rescue of the stranded team is waved through with "Sounds pretty dangerous to me, kid" and never explained; the next thing we learn is that the Mon*Star they were chasing was Mo-Lec-U-Lar.

Notes of Interest

  1. Mon*Star's plan uses Mo-Lec-U-Lar to impersonate Mon*Star himself, leading the Mob out on Sky-Runner and in the space limos on a pretend raid on Dollare.
  2. Sly-Bird's routine surveillance is what shows Hawk Haven the whole Mob leaving Brim*Star.
  3. Hardware breaks into Hawk Haven with a gun he says he modified to shoot acid gas; a ricocheting rocket is also named during the chase through the station.
  4. The decoy is called a draw play twice, first by the Steel twins in the Mirage and then by a teammate quoting them.
  5. Stargazer beats Mon*Star by switching the station's signs round and fixing the power room sign onto one of the escape hatches; he is seen carrying a flat panel through a corridor at 14:06.
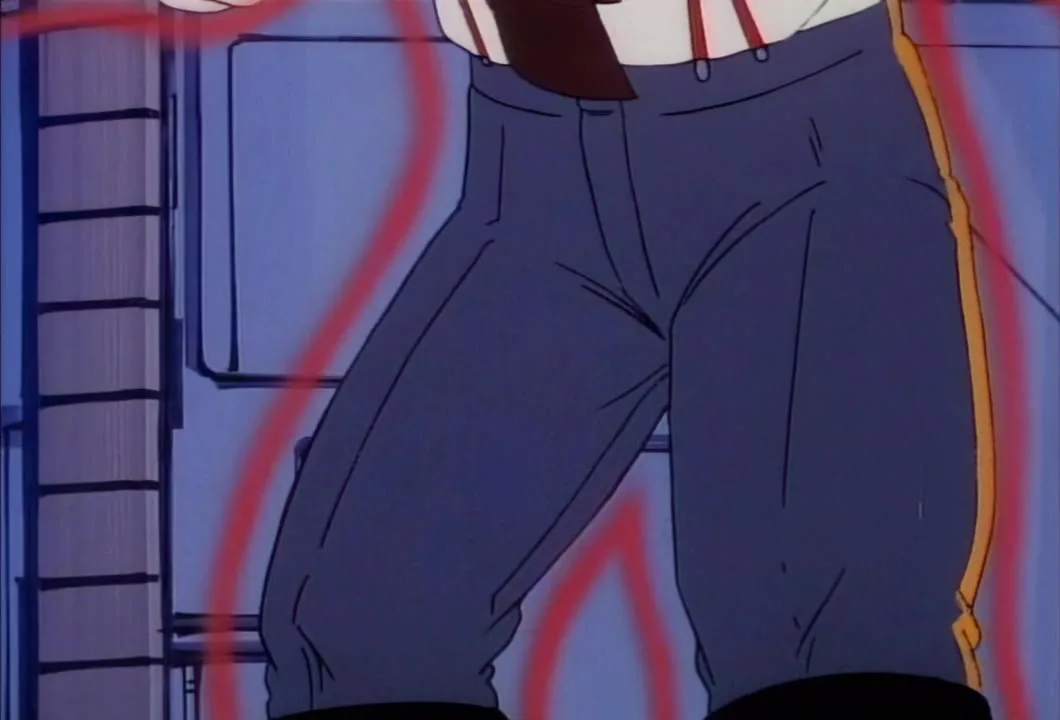
  6. In the debrief shot at 18:50, Stargazer's head is outlined in a red glow that no one else in the room shares.
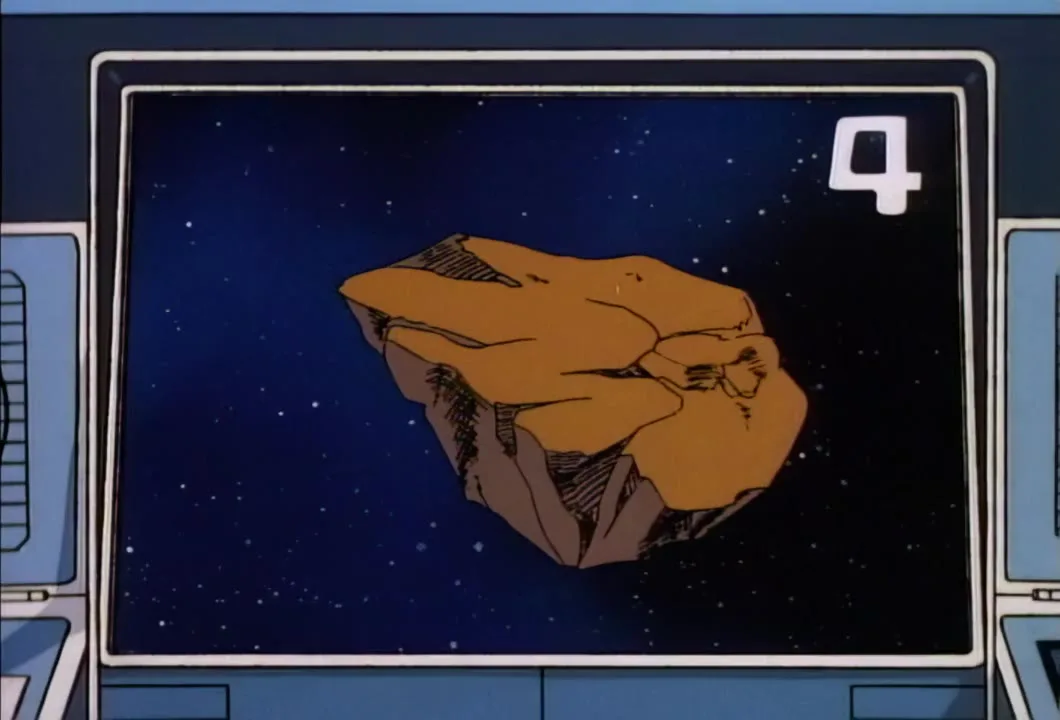
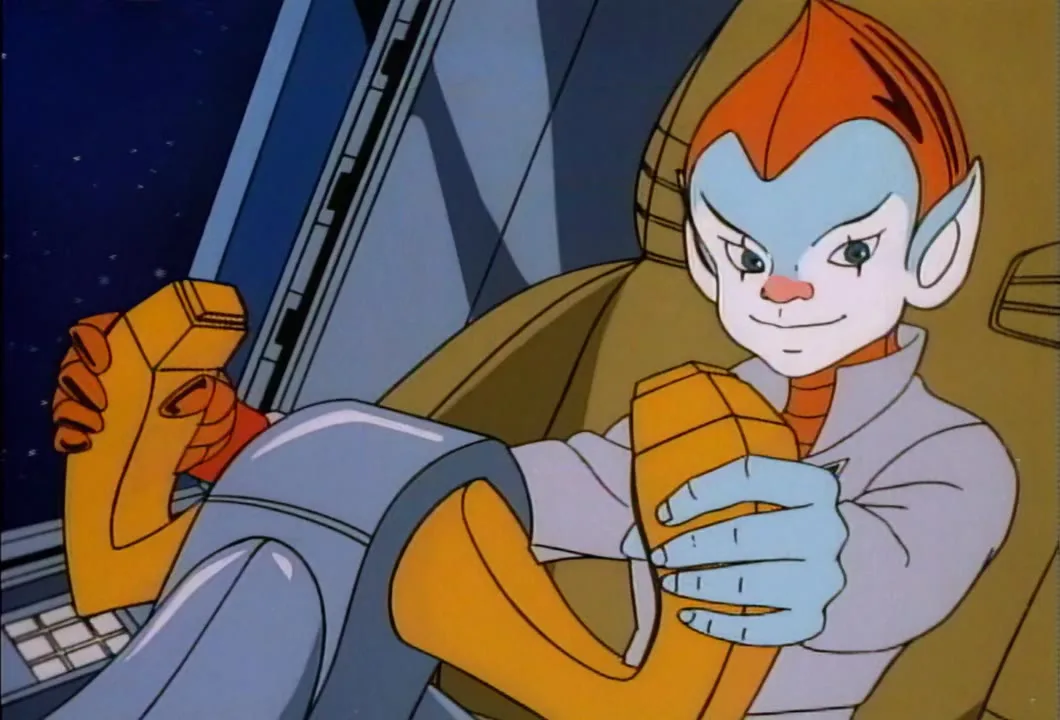
  7. The closing quiz asks what a meteoroid is called once it enters the Earth's atmosphere (a meteor) and what people call meteors (shooting stars); the Copper Kidd finishes on ten points.

Contribute a Script

We do not yet have a production script for “The Blue Door”. If you have one, please consider contributing it to the archive.

What we are looking for: production scripts only. Writer’s drafts, shooting drafts, and studio copies of the actual script for this episode. We strongly prefer scans of the original printed pages over retyped text, since scans preserve the layout, scene headings, director notes, and any handwritten annotations that make the document interesting and verifiable.

What we are not looking for: fan-written transcripts of the broadcast dialogue, episode summaries, or AI-generated reconstructions.

Email a script for “The Blue Door”

All contributors are credited on the Production Scripts archive page and on the relevant episode guide.

First seen here

One name enters the series in this episode.

  • Rocket

In this episode

Appearance lists compiled from the episode articles on the ThunderCats wiki, checked against this site's encyclopedia. Names we have no entry for are shown without a link rather than left out.
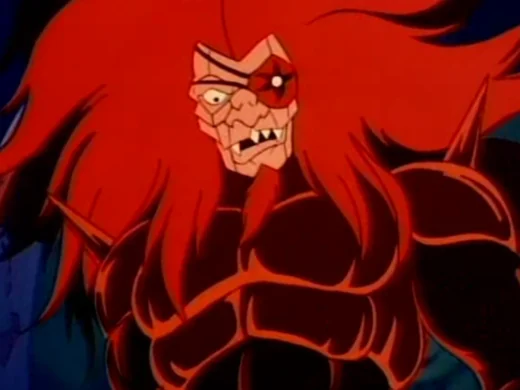
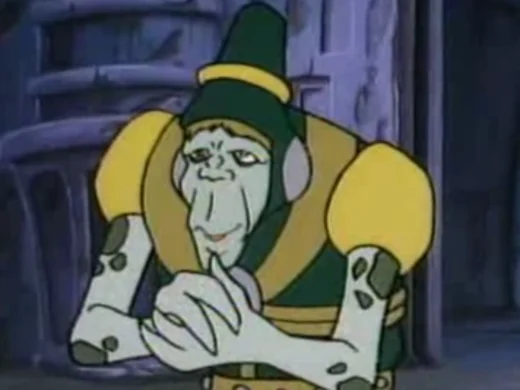
Characters in this episode

Full roster →

Episode screencaps

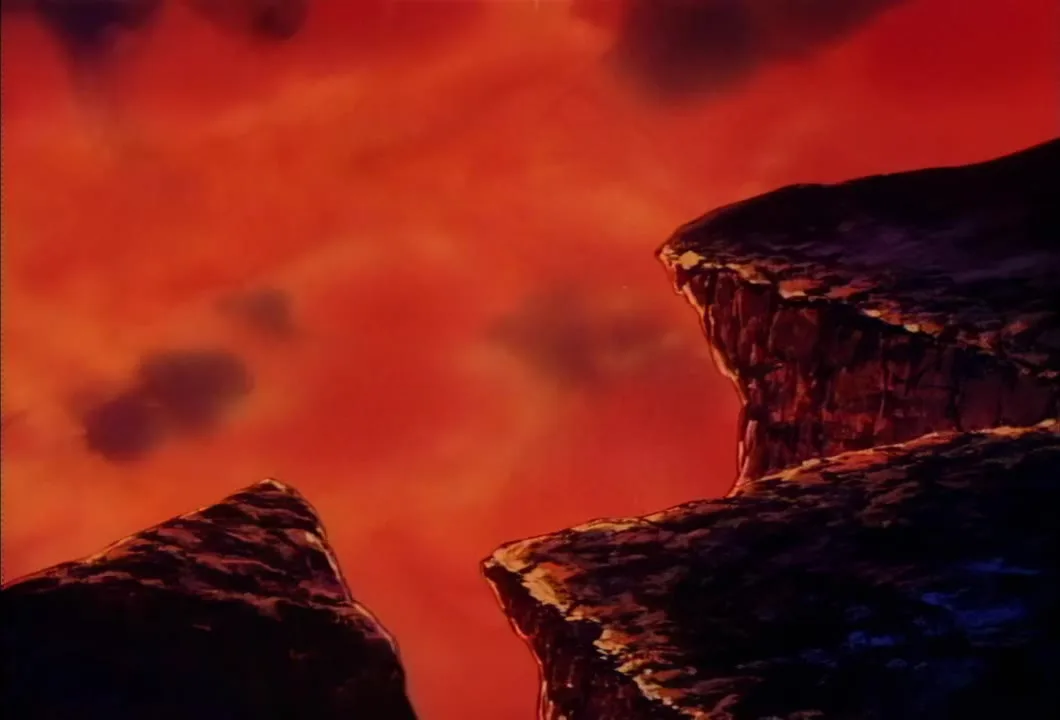
Jagged crags stand against a red sky before the Mob's meeting begins.
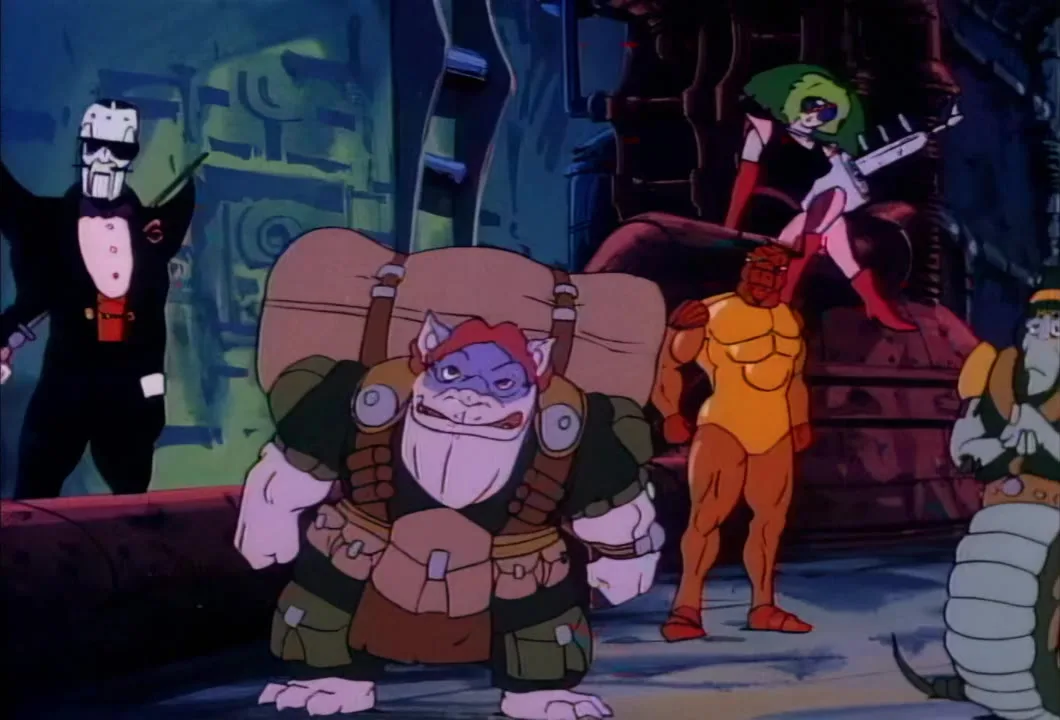
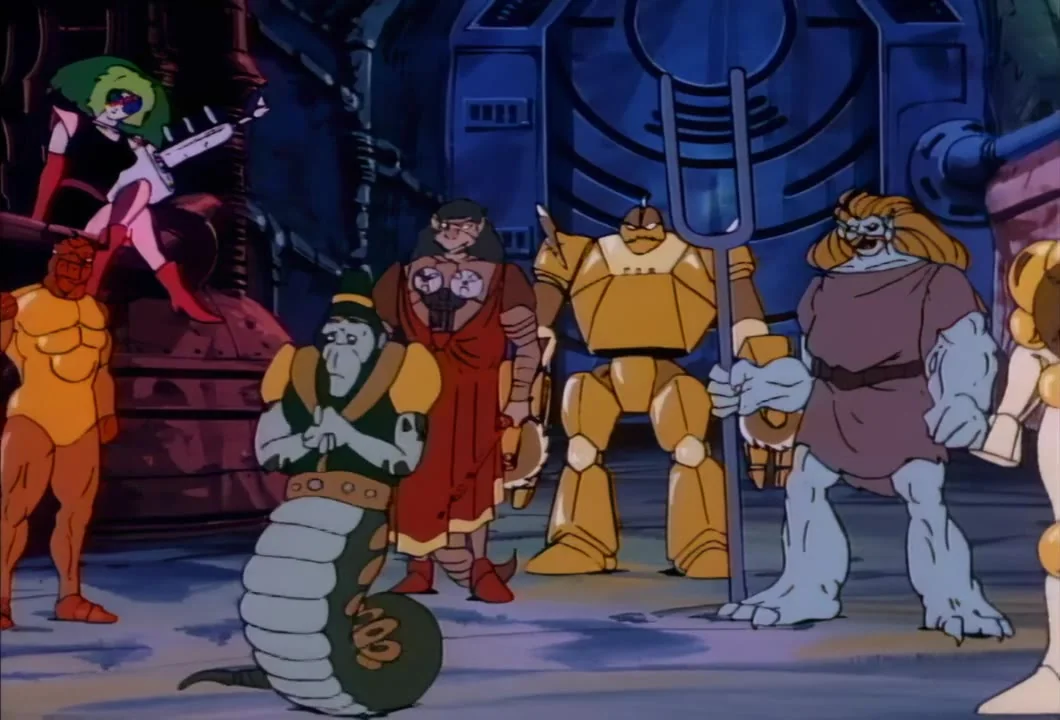
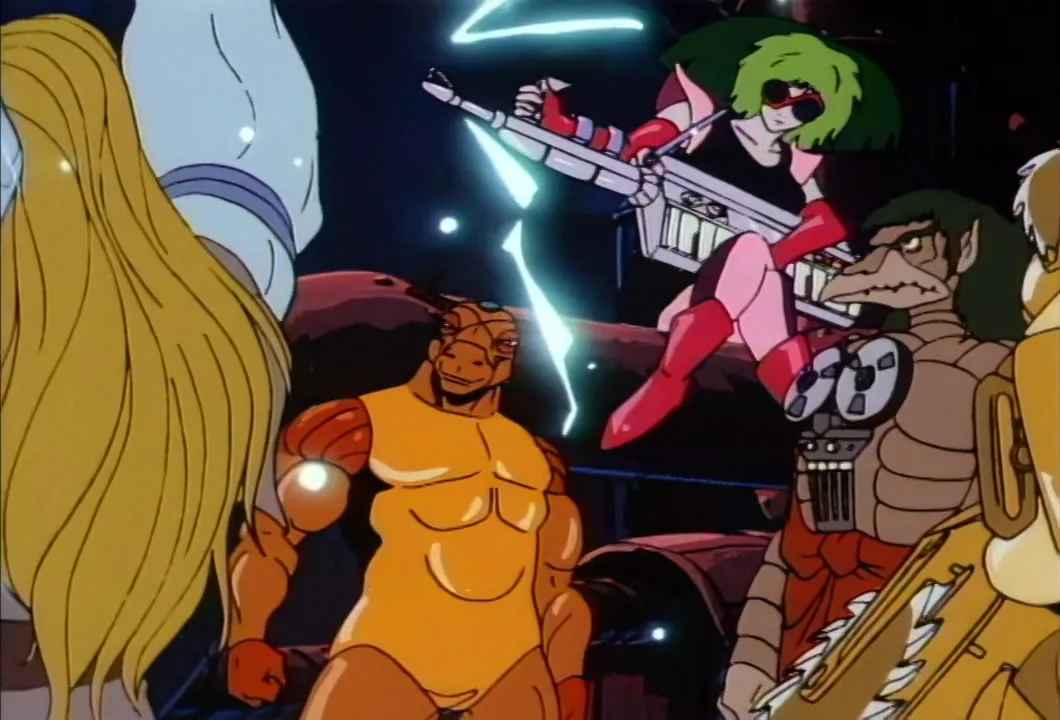
Hardware, Poker-Face and Melodia gather with the rest of the Mob as Mon*Star prepares to speak.
The Mob gathers on Brim*Star to hear Mon*Star's plan, with Mo-Lec-U-Lar at the right edge of frame.
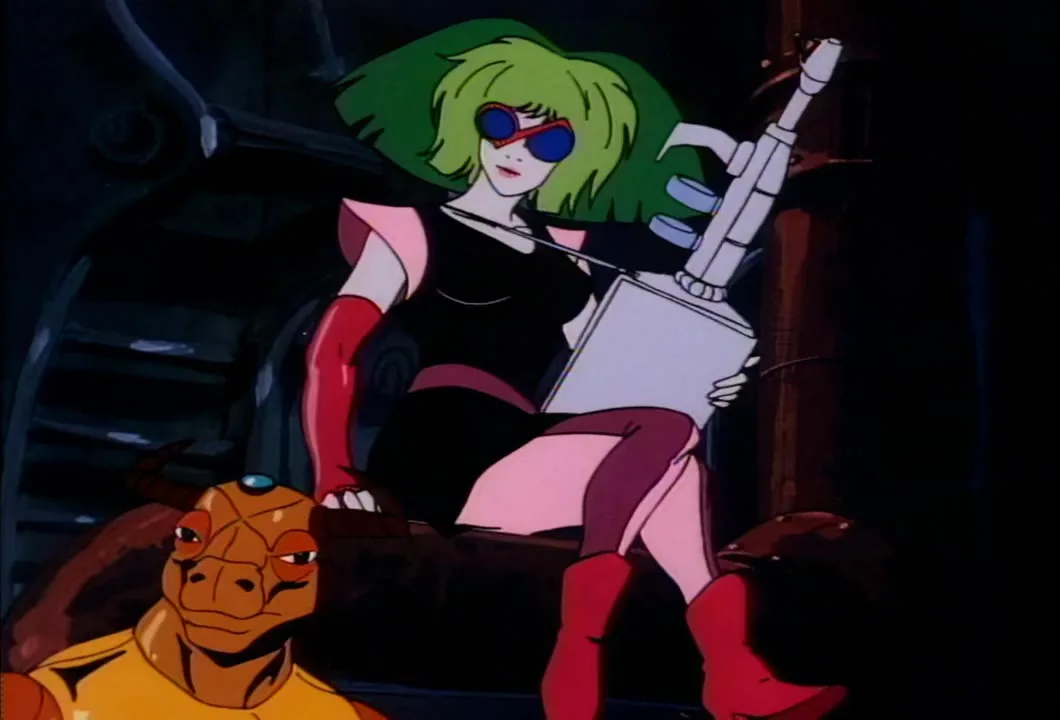
Melodia perches above Mumbo Jumbo as Mon*Star vows to destroy the brain behind the SilverHawks.
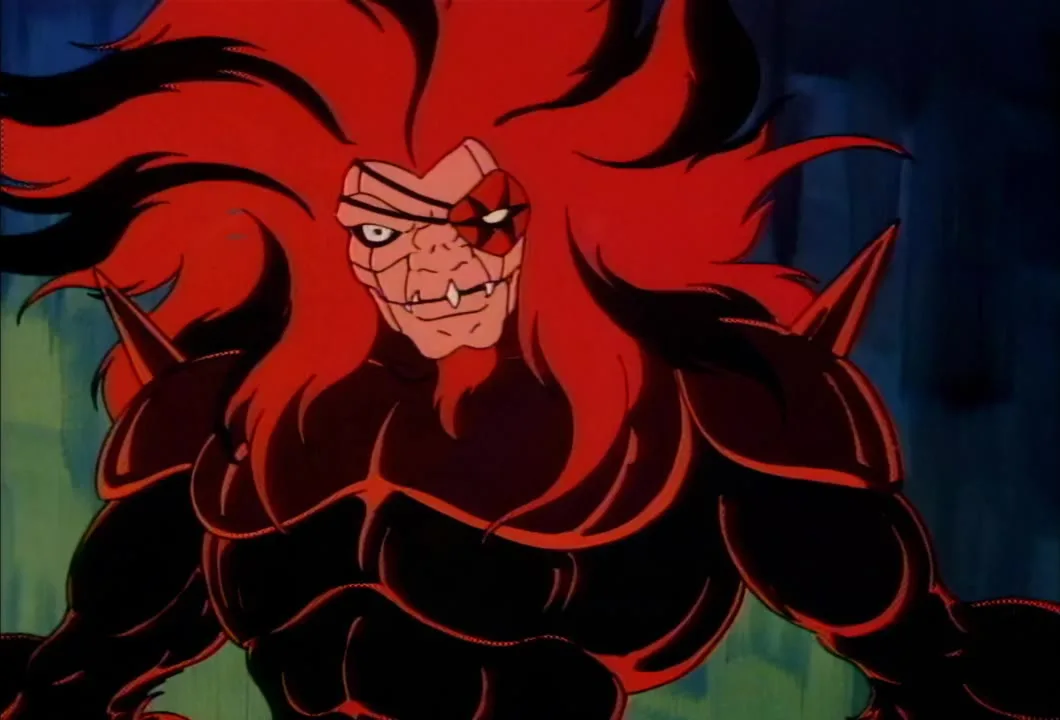
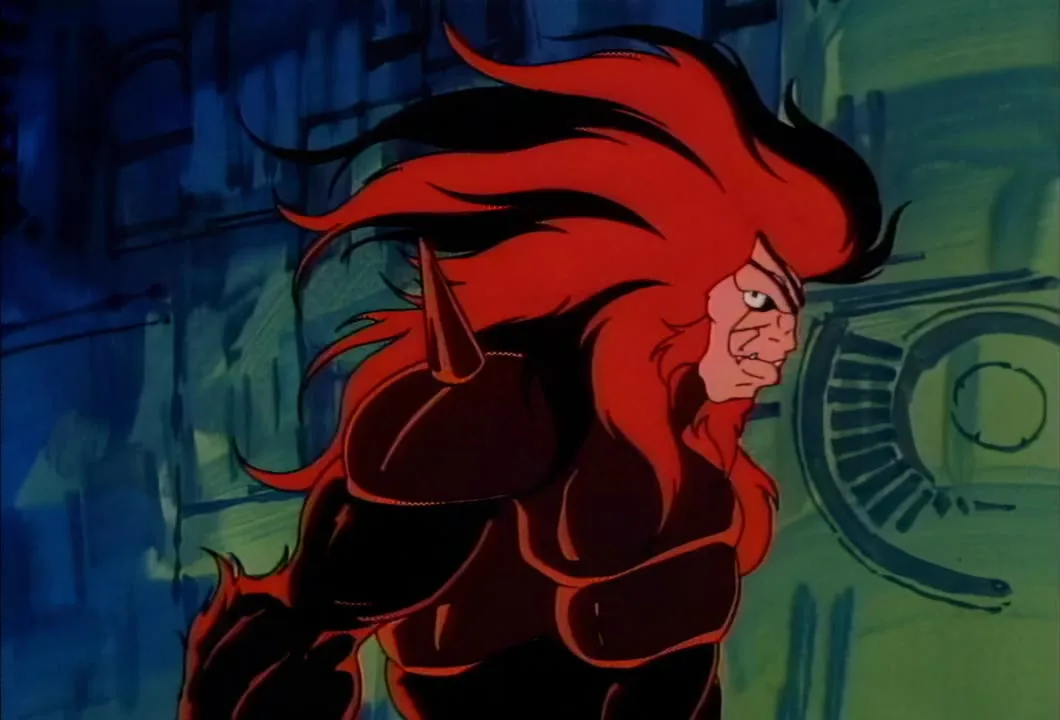
Mon*Star announces he is going to take out Commander Stargazer for good.
Mon*Star turns to Mo-Lec-U-Lar, telling him he is the key to the operation.
Mo-Lec-U-Lar steps up to Mon*Star, who has just named him the key to the operation.
Mon*Star tells Mo-Lec-U-Lar he will disguise himself as Mon*Star, with Poker-Face standing by.
Windhammer listens as Mon*Star explains the fake raid on Dollare.
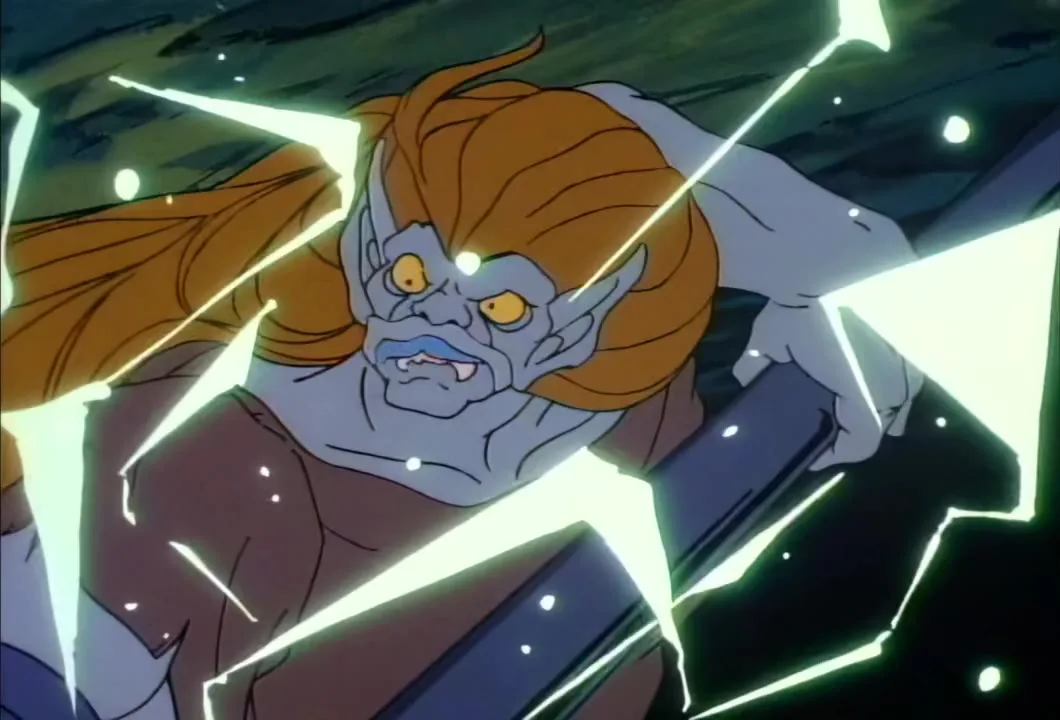
Crackling sparks surround Windhammer as the Mob cheers on the plan.
Melodia strikes up the Sound Smasher as the Mob cheers the plan to empty Hawk Haven.
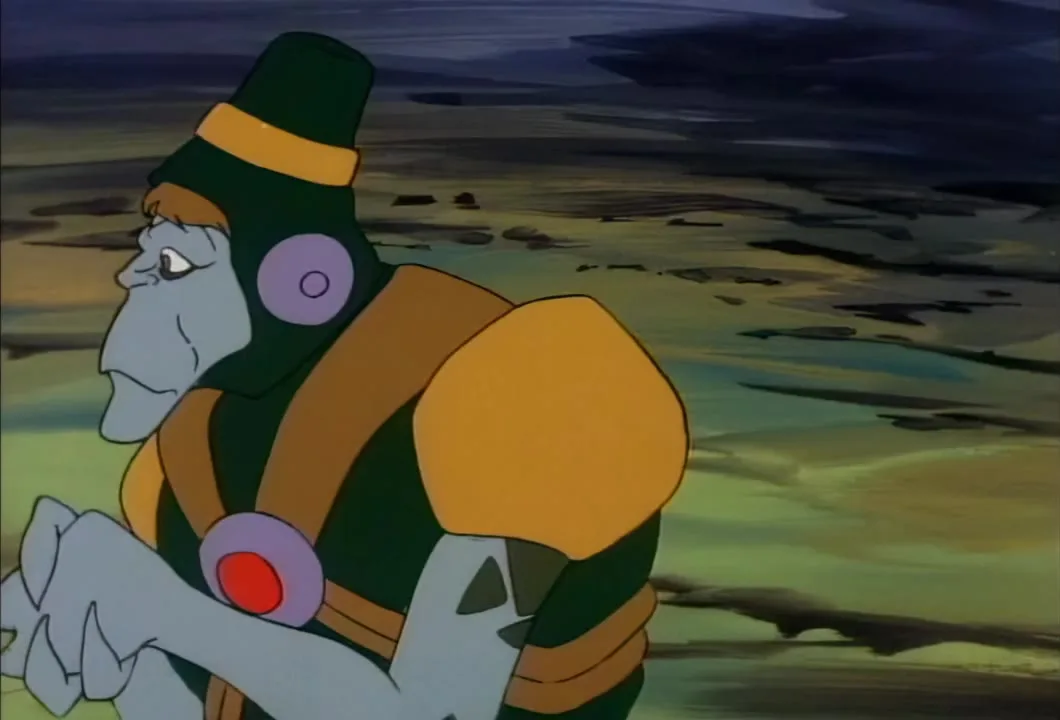
Yes-Man listens as Mon*Star says Stargazer will be left alone in Hawk Haven.
Hardware grins as Mon*Star says the two of them will find the Power Room and blow up Hawk Haven.
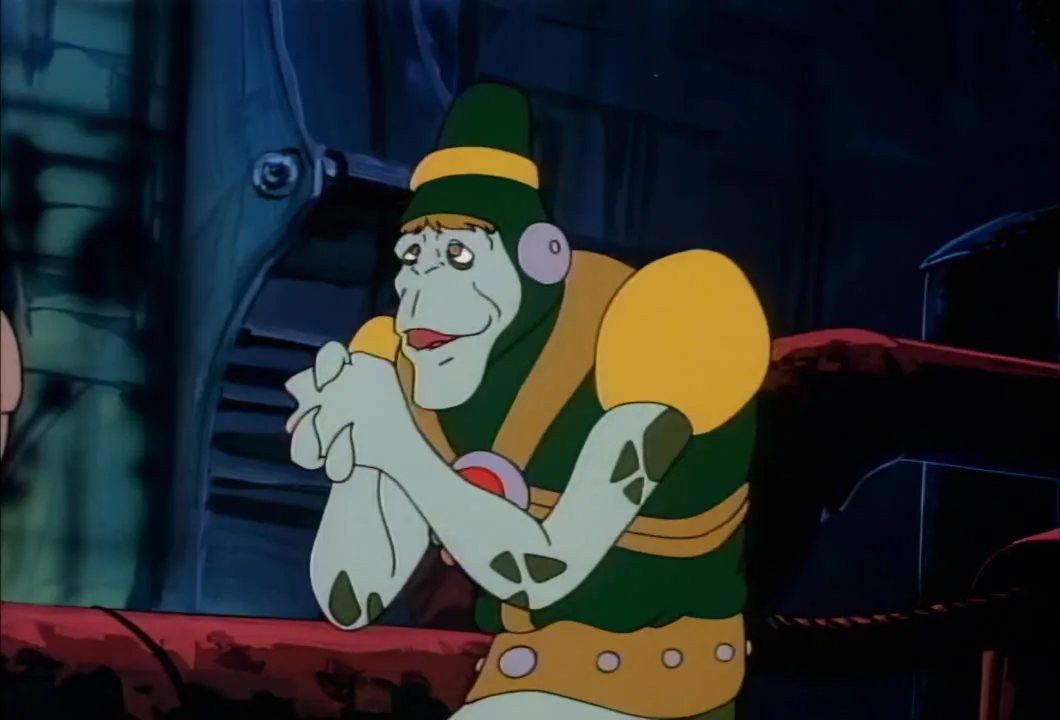
Yes-Man sits with his hands clasped as the Mob hears the plan through.
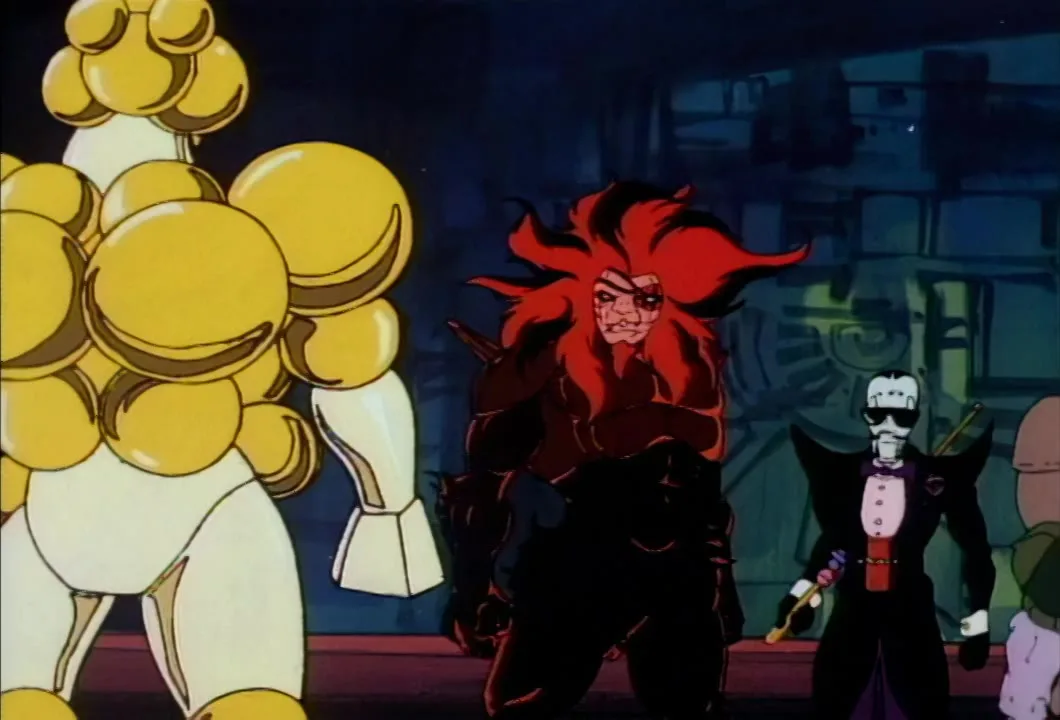
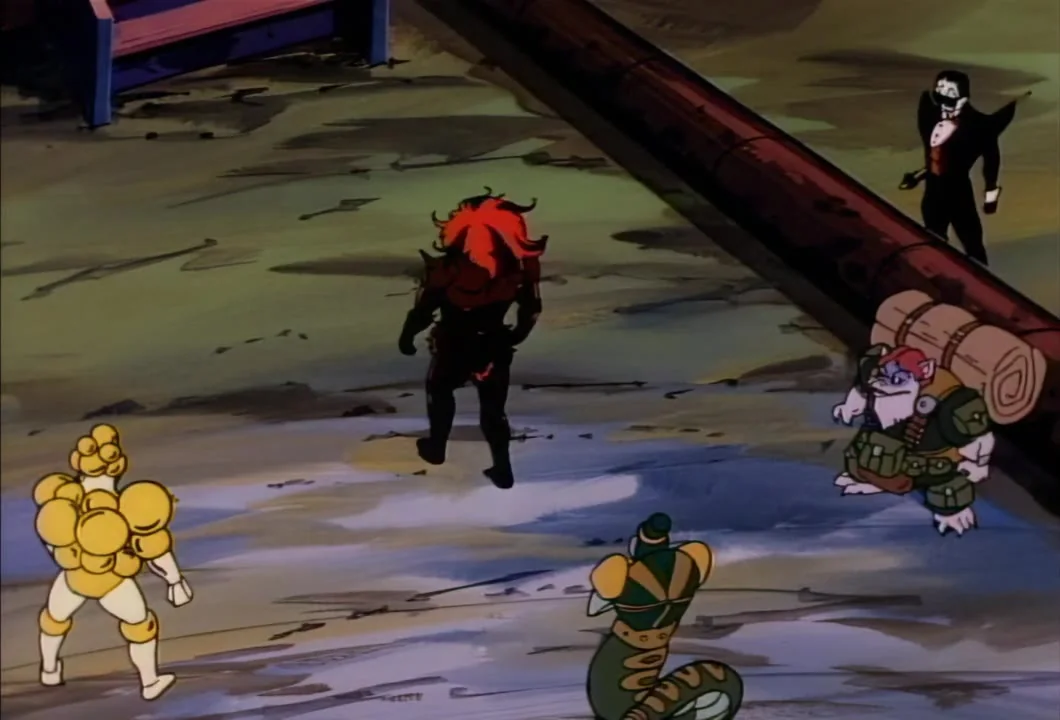
Mon*Star, seen from behind, crosses the floor with Mo-Lec-U-Lar, Yes-Man, Hardware and Poker-Face around him.
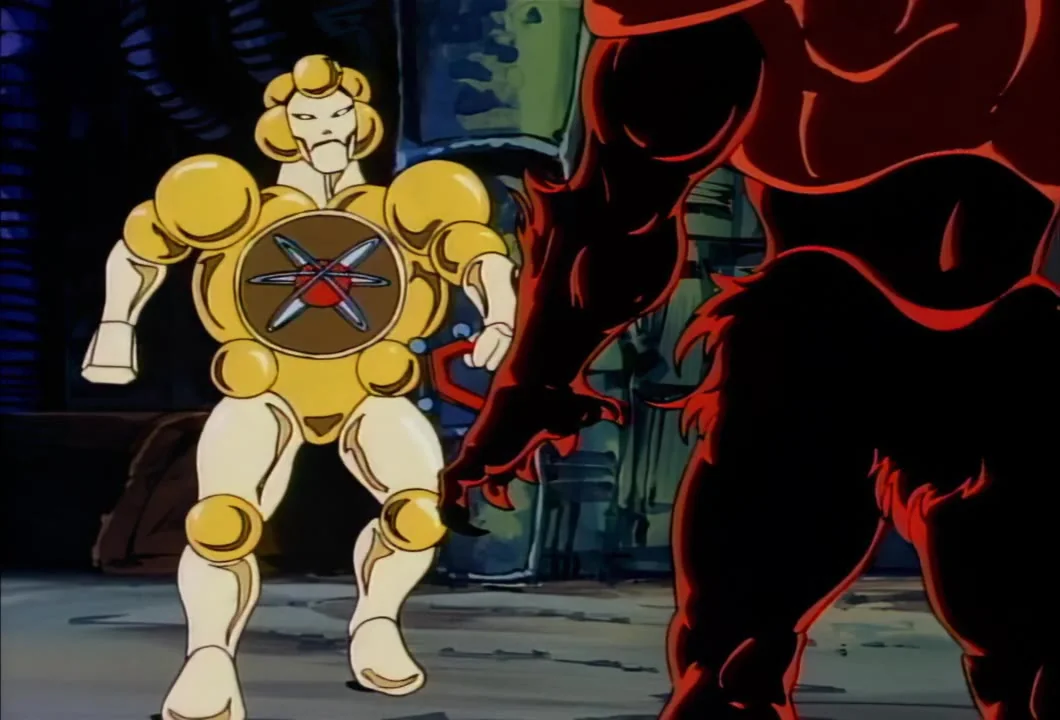
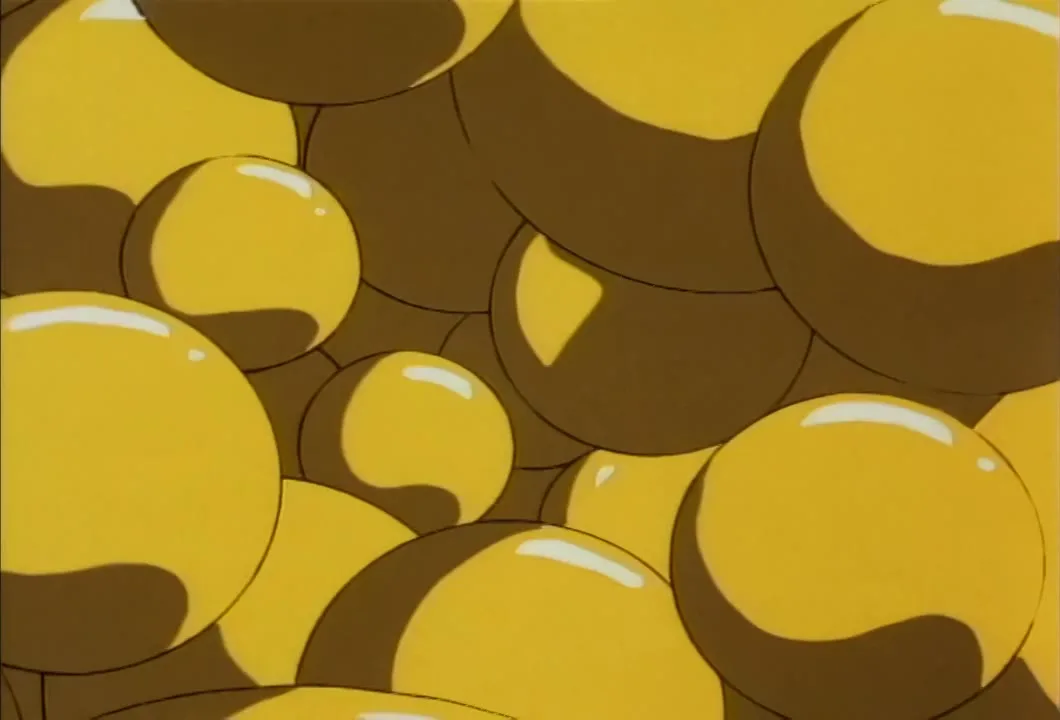
Mo-Lec-U-Lar's gold spheres fill the frame as he gets ready to take Mon*Star's shape.
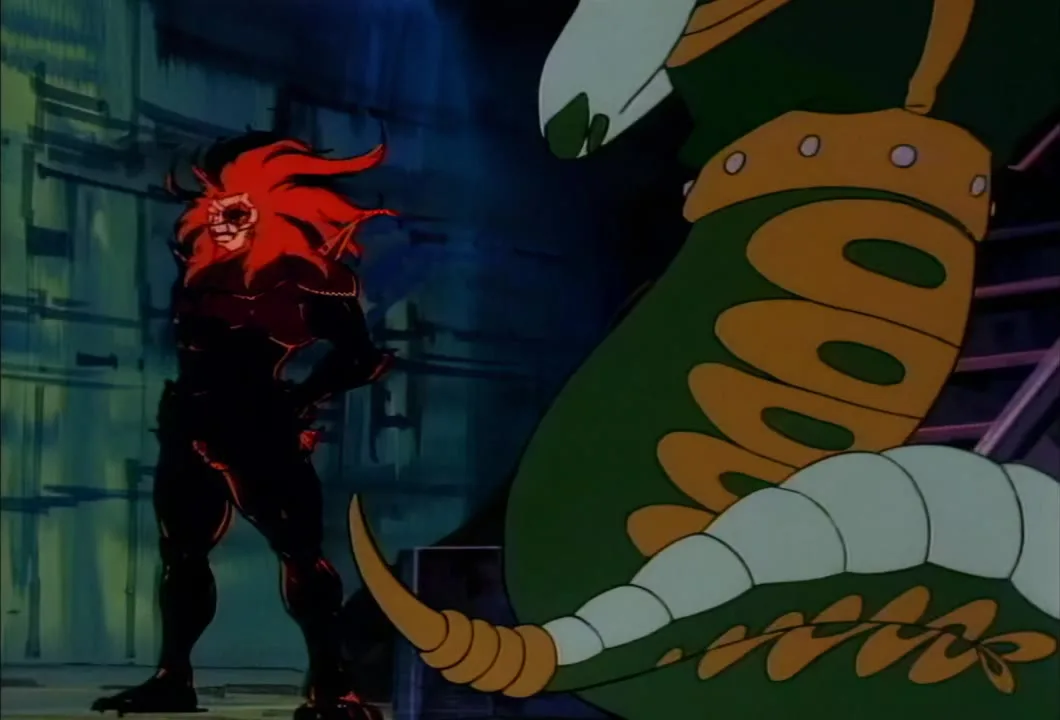
Mon*Star, hands on hips, calls for the transformation chamber, with Yes-Man's coiled body in the foreground.
Yes-Man, Hardware, Melodia and Mumbo Jumbo wait among the Mob as the transformation chamber is called for.
Mon*Star, transformed, sends Mo-Lec-U-Lar off with Sky-Runner and the rest of the Mob.
Glowing pink openings dot a dark planet seen from space as Sly-Bird's surveillance report begins.
Sly-Bird on routine surveillance, the patrol that spots the whole Mob leaving Brim*Star.
Mon*Star in the red glow of the transformation chamber.
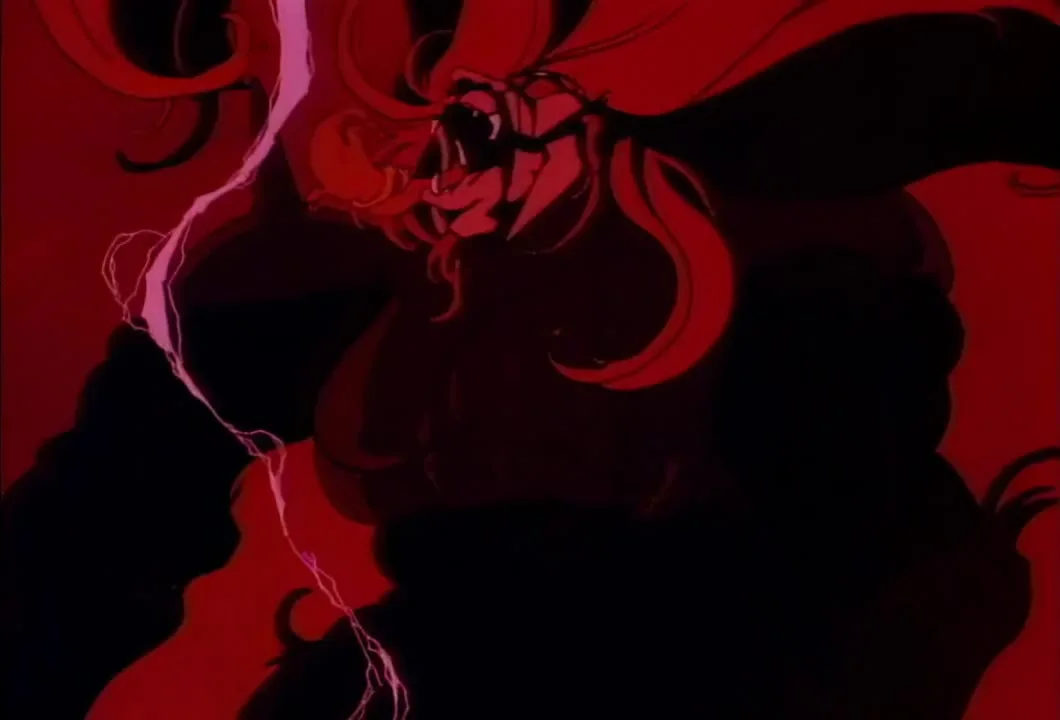
Lightning crackles past Mon*Star's dark shape in the red-lit transformation chamber.
Sly-Bird flies through space on routine surveillance.
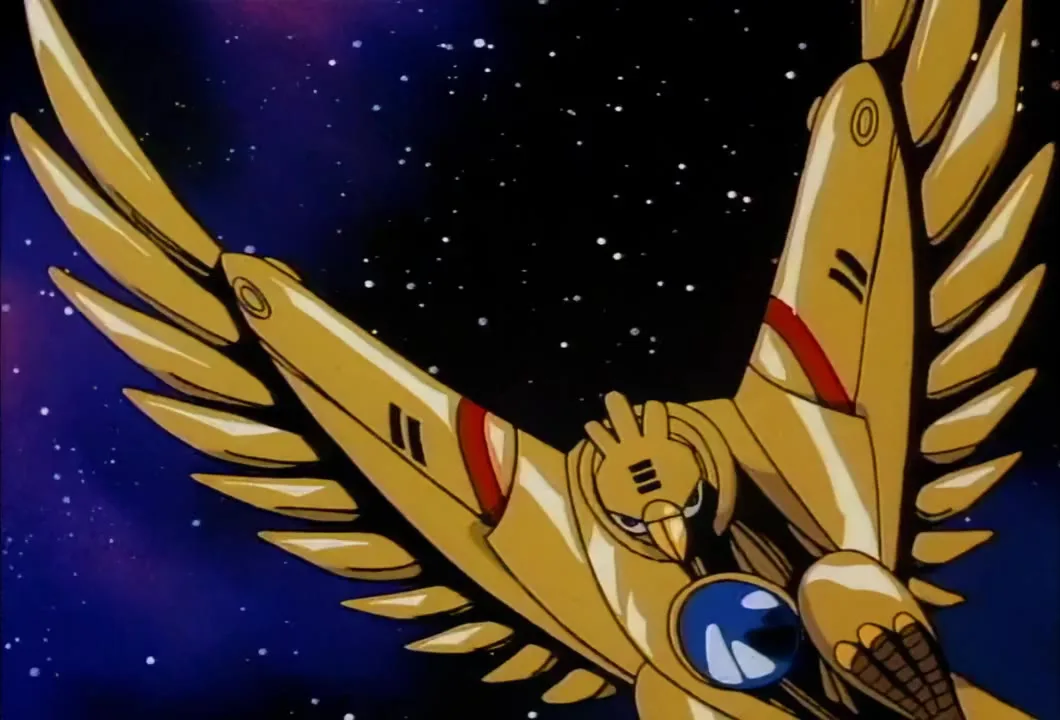
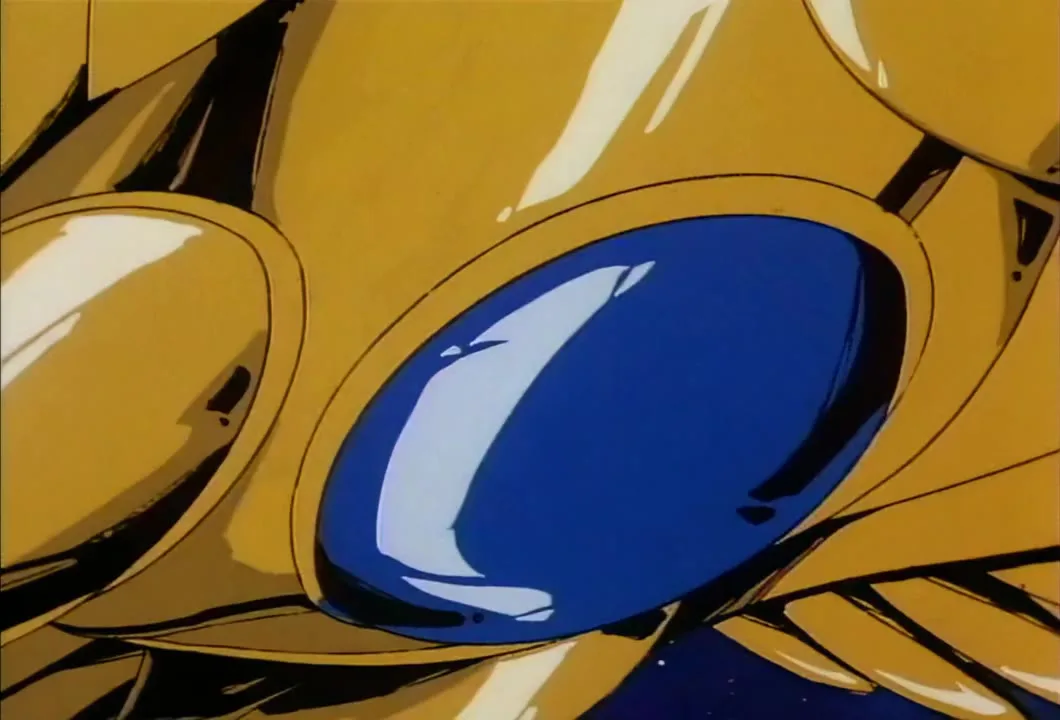
Sly-Bird's blue chest jewel fills the frame as the surveillance patrol continues.
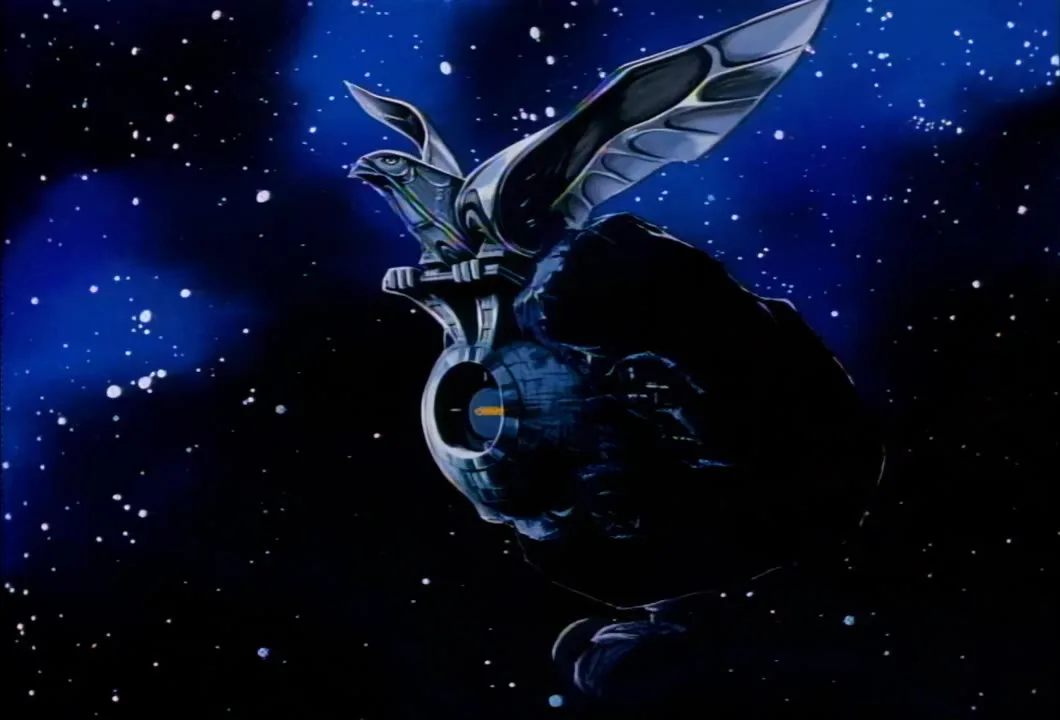
Hawk Haven, the bird-shaped station, sits against its asteroid in space as Sly-Bird's report comes in.
Stargazer hears that the Mob looks to be heading for Dollare, and sends the team after them.
Quicksilver stands by Stargazer as word comes in that the Mob looks headed for Dollare.
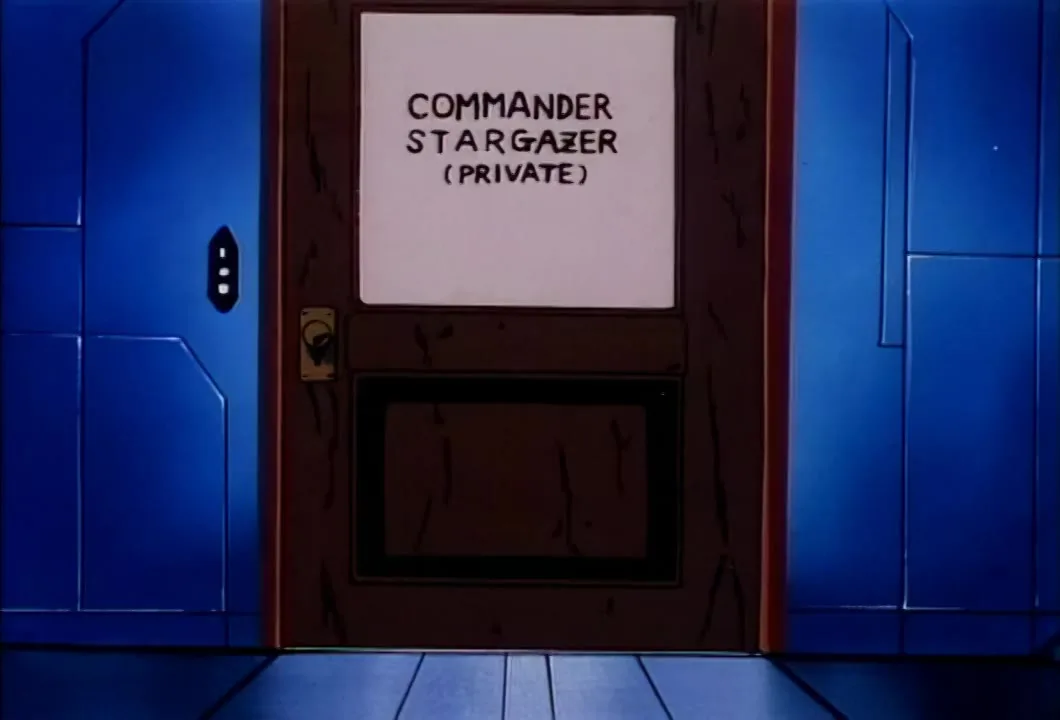
The door lettered Commander Stargazer (Private) at Hawk Haven, as the team is sent after the Mob.
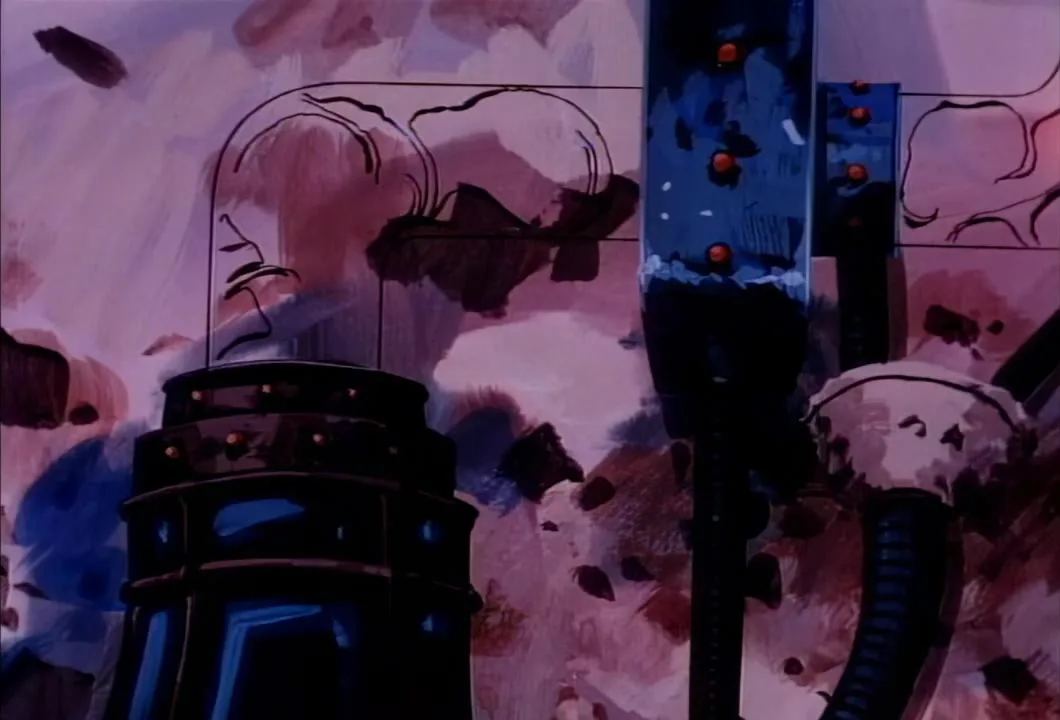
Machinery set into a pink rock wall as the Mob's departure gets under way.
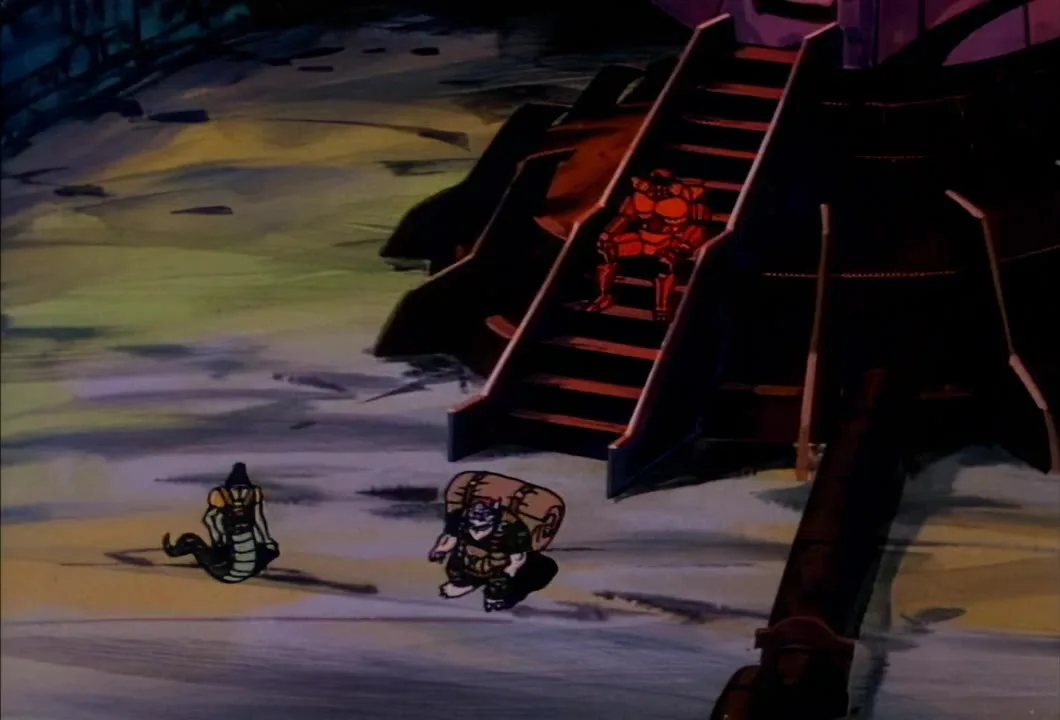
Mon*Star sits on the steps above Hardware and Yes-Man as he wishes the Silver Hawks a nice trip.
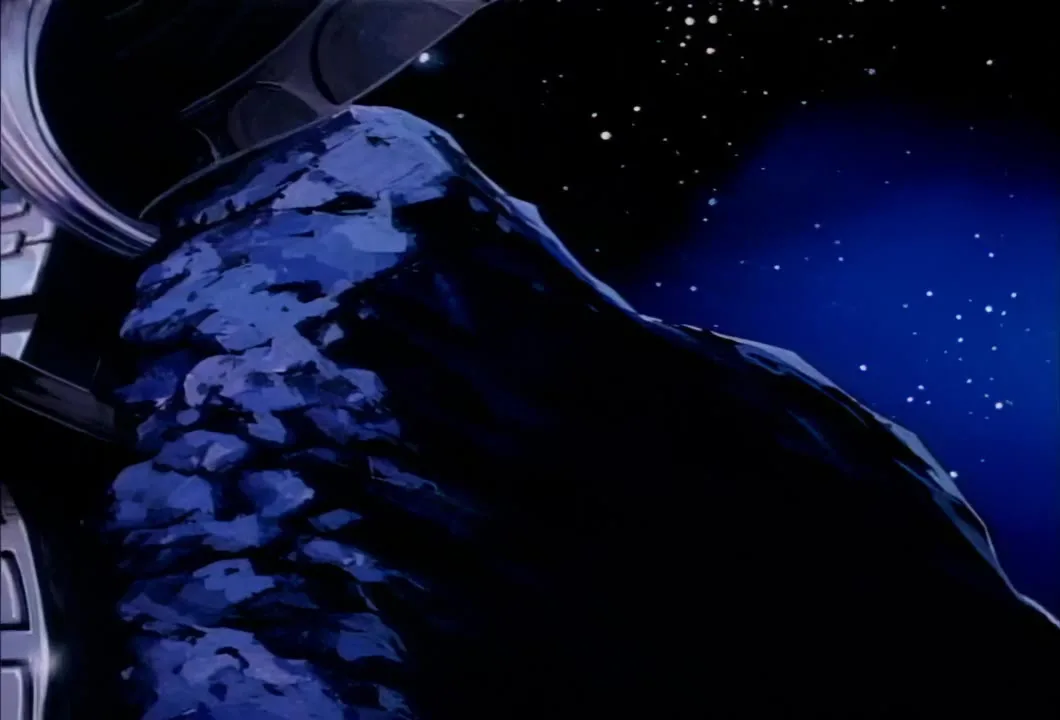
An asteroid seen past the edge of a craft, just before the remark that it looks like solid rock.
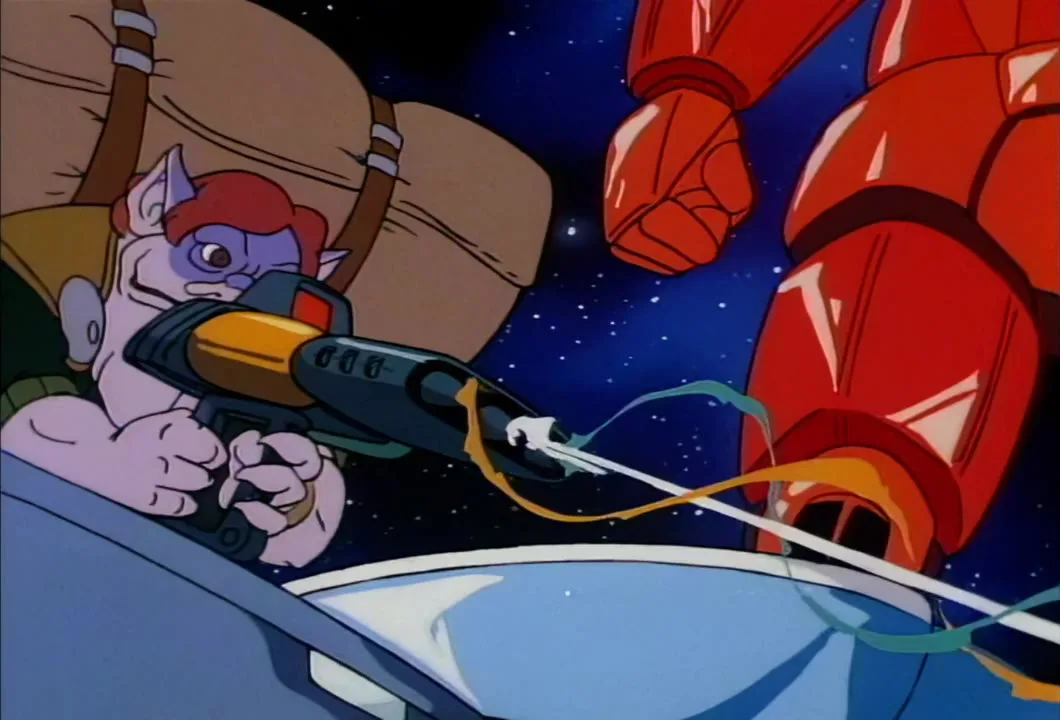
Mon*Star in space as Hardware explains he has modified his gun to shoot acid gas.
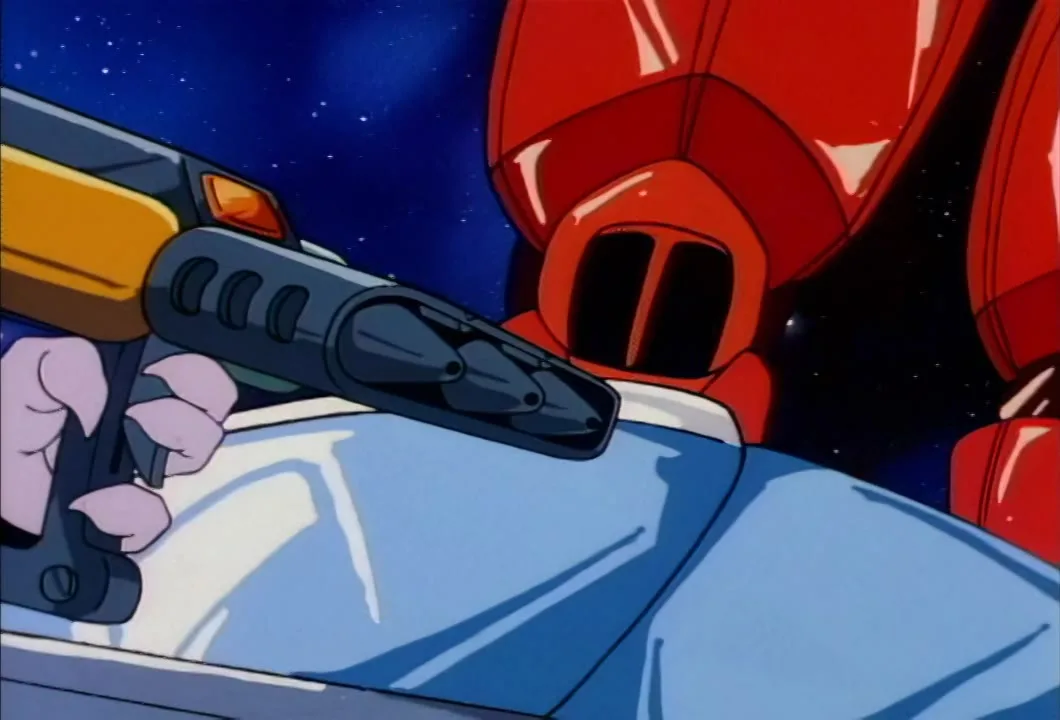
Hardware levels his gun, modified to shoot acid gas, over the edge of the car.
Hardware fires his acid gas gun from the car while Mon*Star stands beside him.
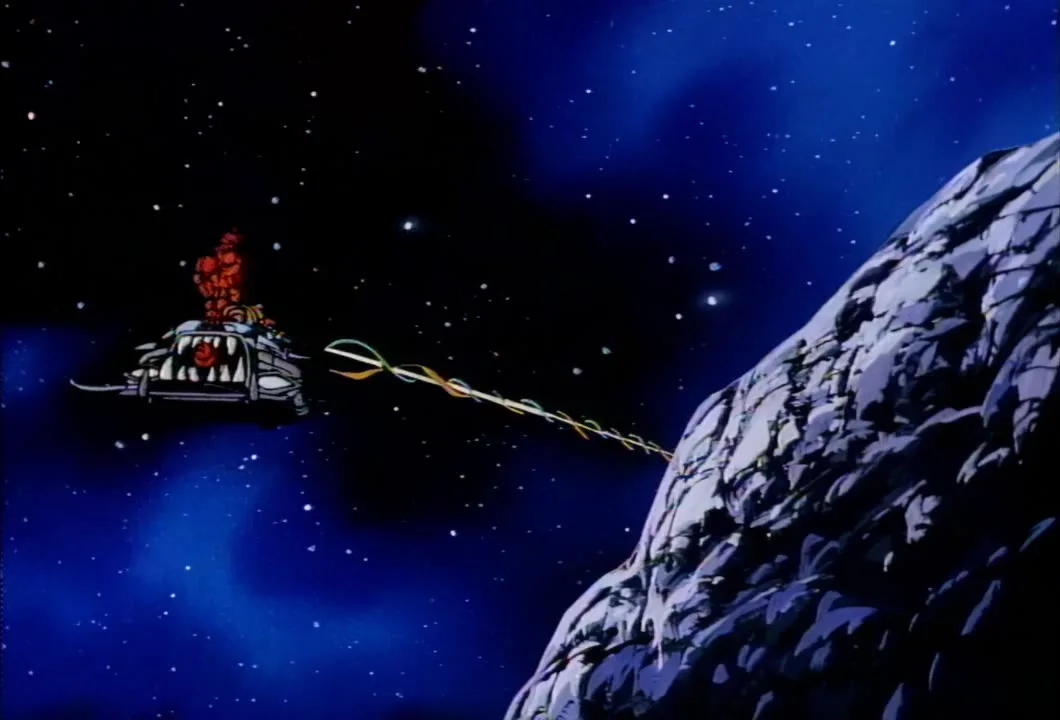
A Mob car with a toothed front sprays a stream of acid gas at an asteroid, Mon*Star aboard.
Mon*Star points ahead from the car as Hardware says he is not sure he can jump that claw.
Mon*Star's boot and Hardware's hand at the edge of the car as a white line of gas trails past.
Bluegrass at the Mirage's controls as the team's suspicion grows that the chase is a draw play.
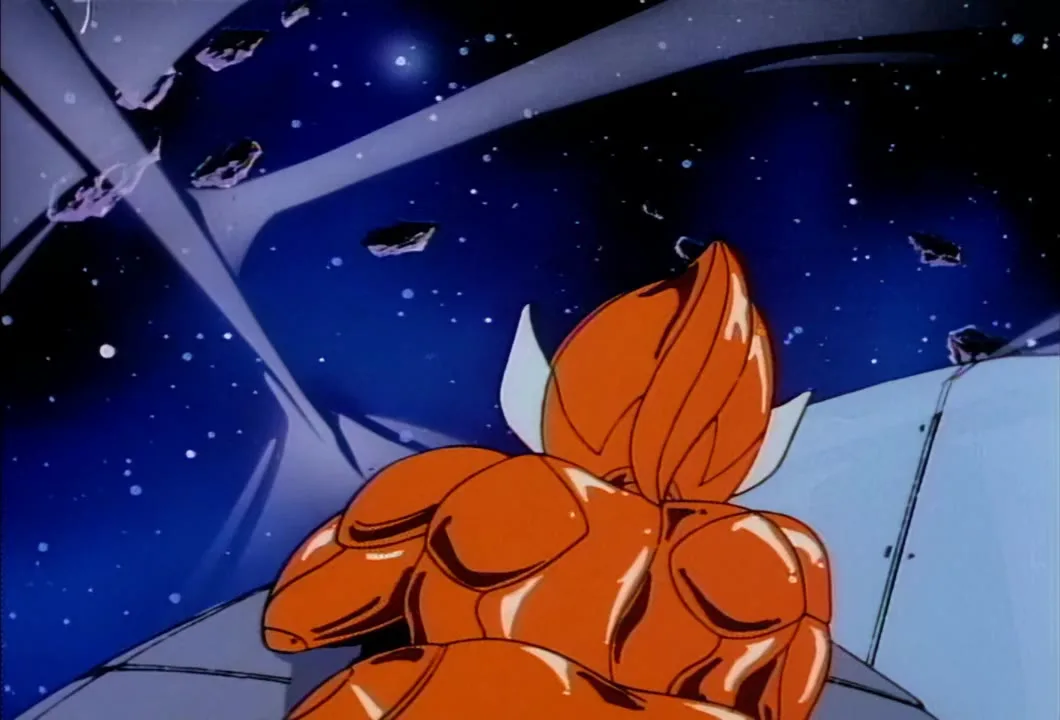
The Copper Kidd, seen from behind, looks out over the asteroid field from the Mirage.
The Mirage's hull points into a field of drifting rocks.
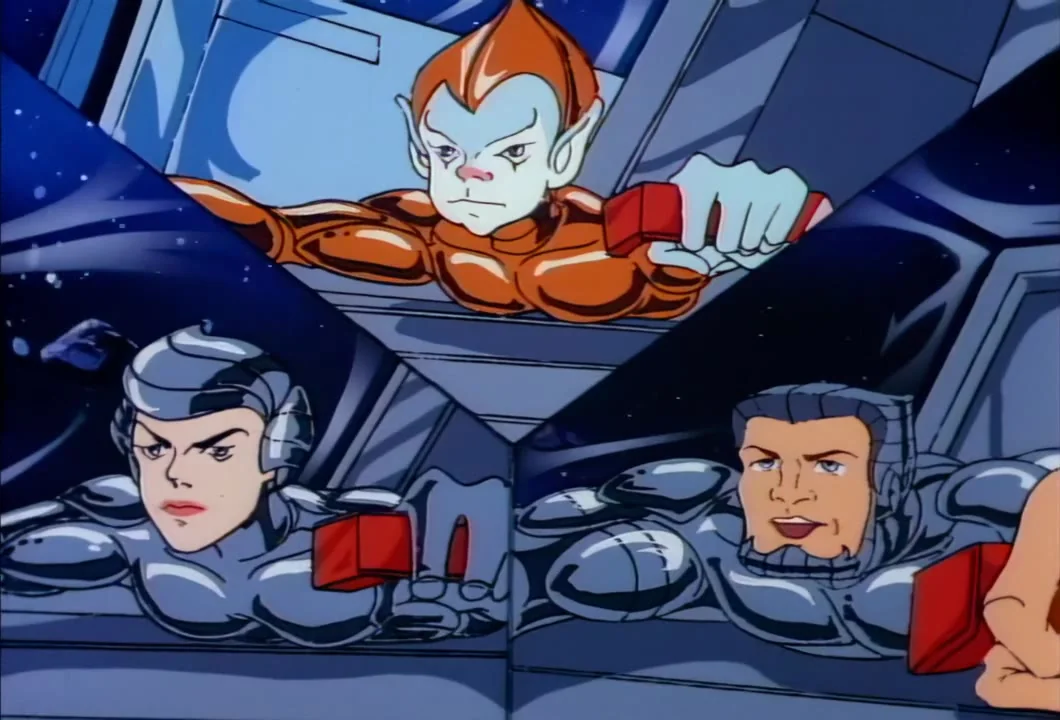
The Copper Kidd, Steelheart and Steelwill grip their pod releases as the order comes to abandon ship.
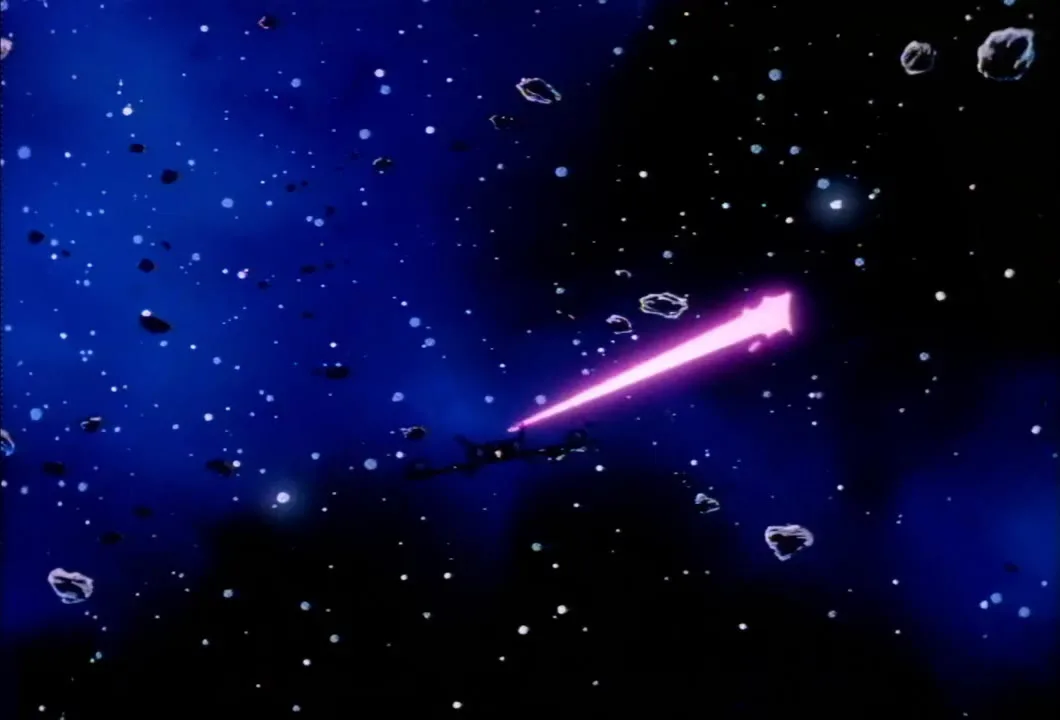
A pink bolt streaks across the asteroid field as the order to abandon ship is given.
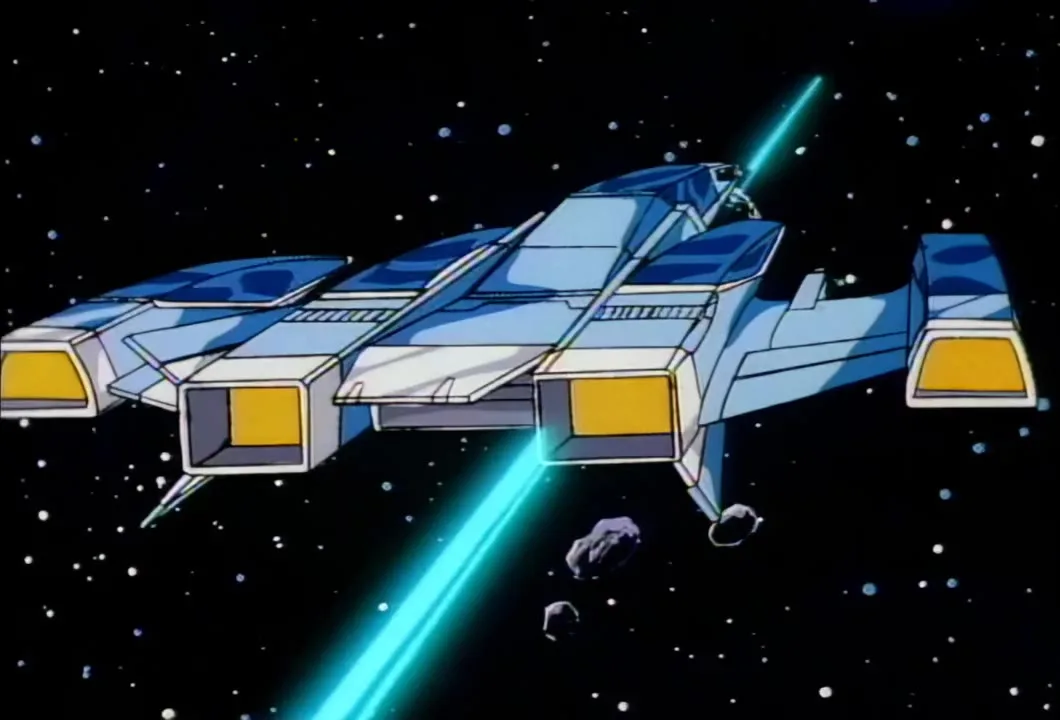
The Mirage flies on with a blue beam passing close as the order to release the pods comes.
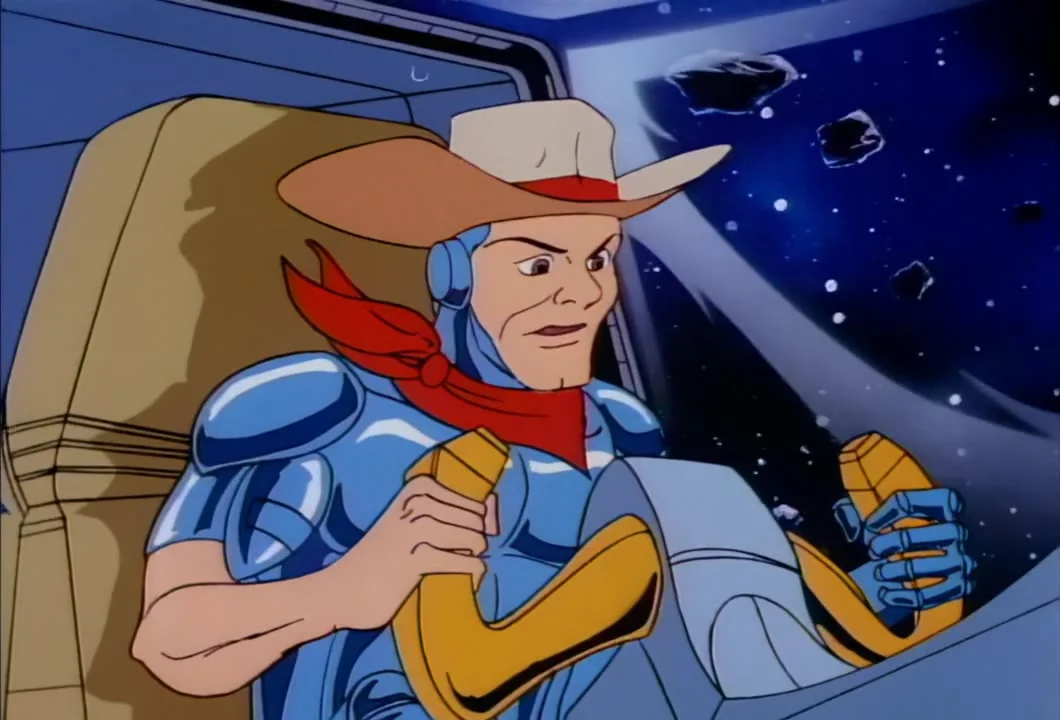
Bluegrass holds the Mirage's yoke through a field of rocks as the pods get ready to release.
Steelheart at the controls as the order to release the pods comes through.
Steelwill amid the asteroids as the pods are released.
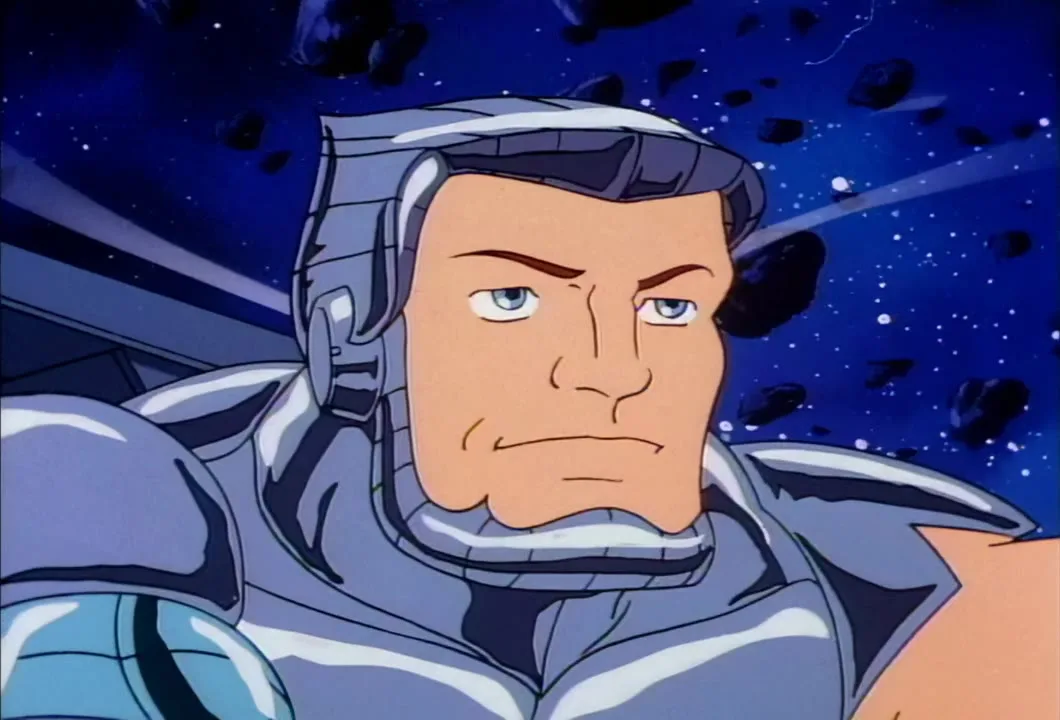
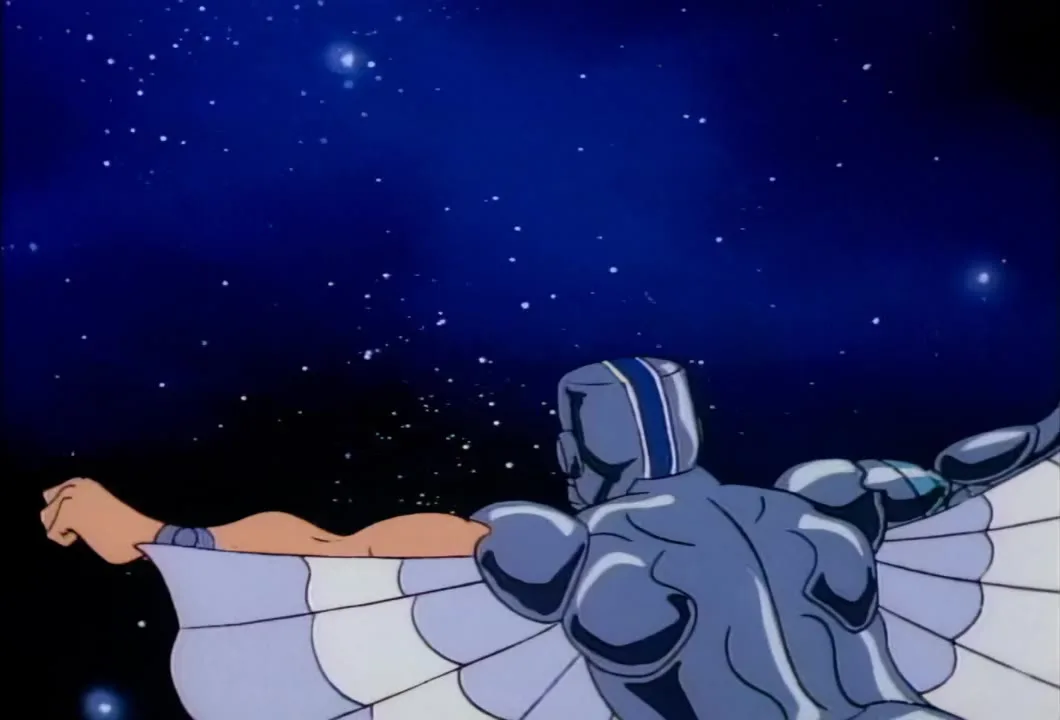
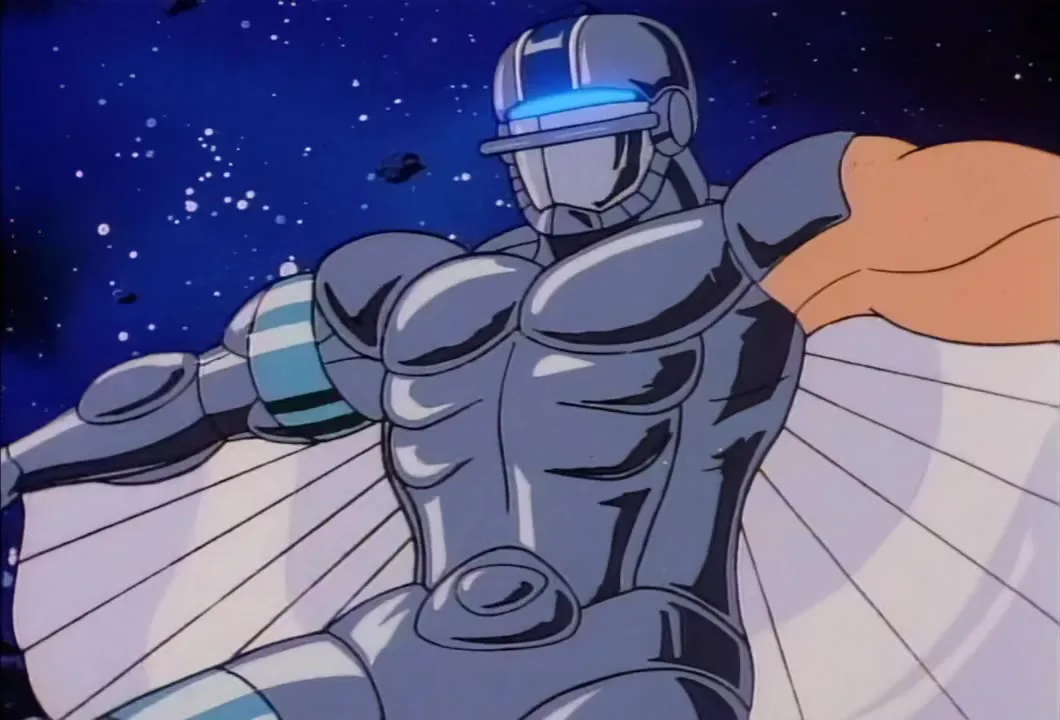
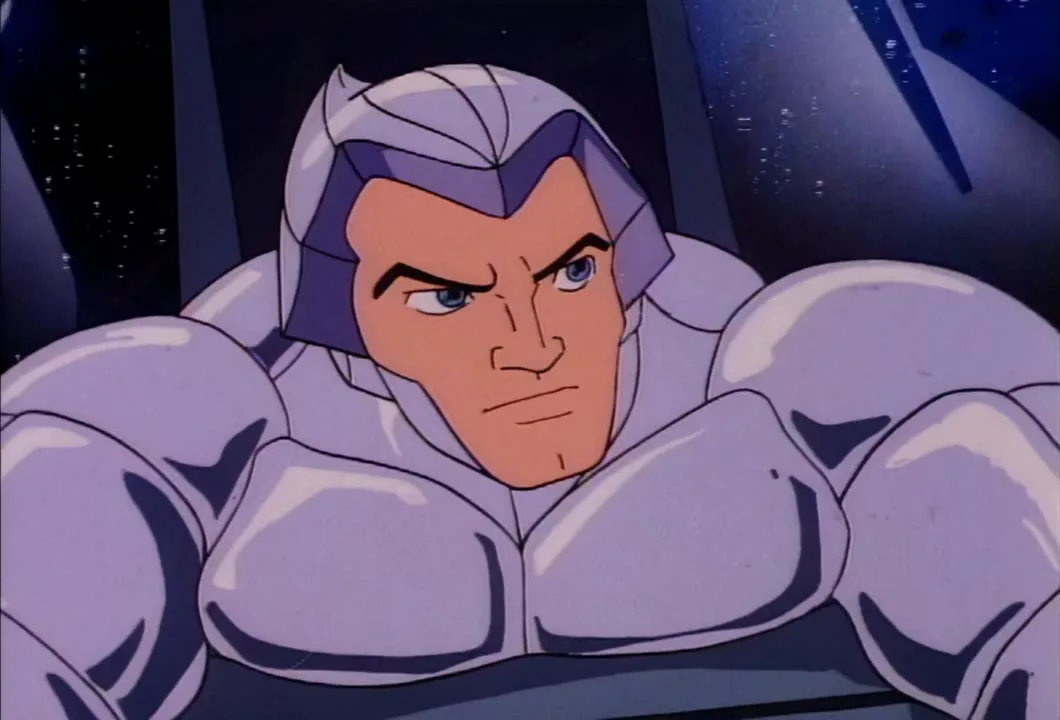
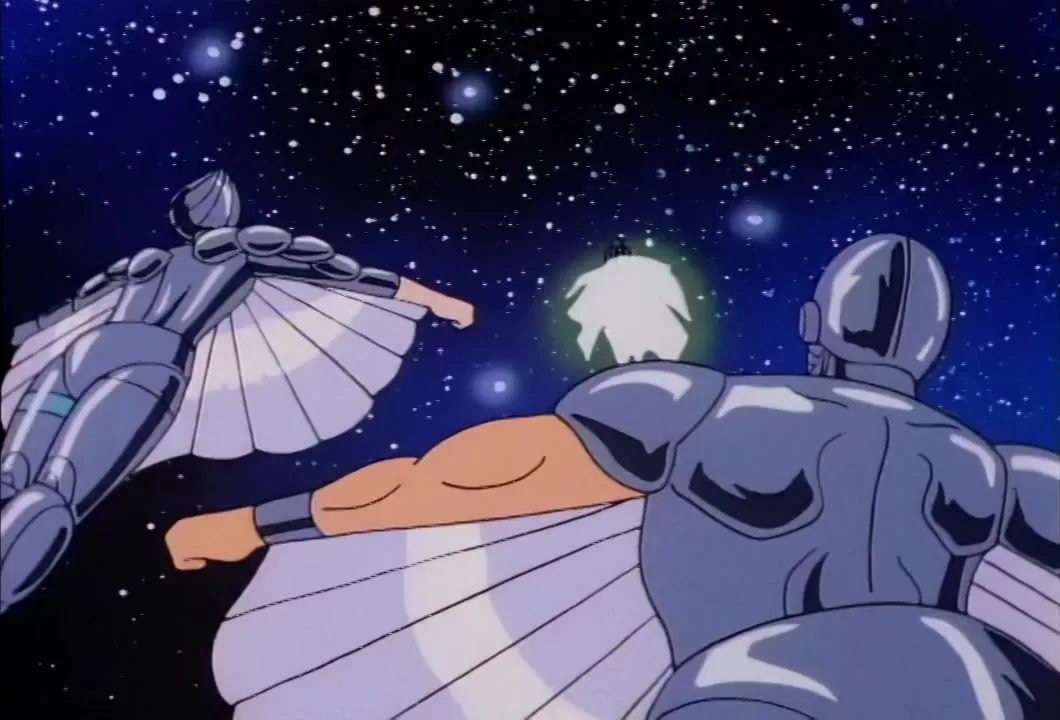
A chrome SilverHawk seen from behind, wings spread, reaches an arm out into the starfield; the figure is not identifiable.
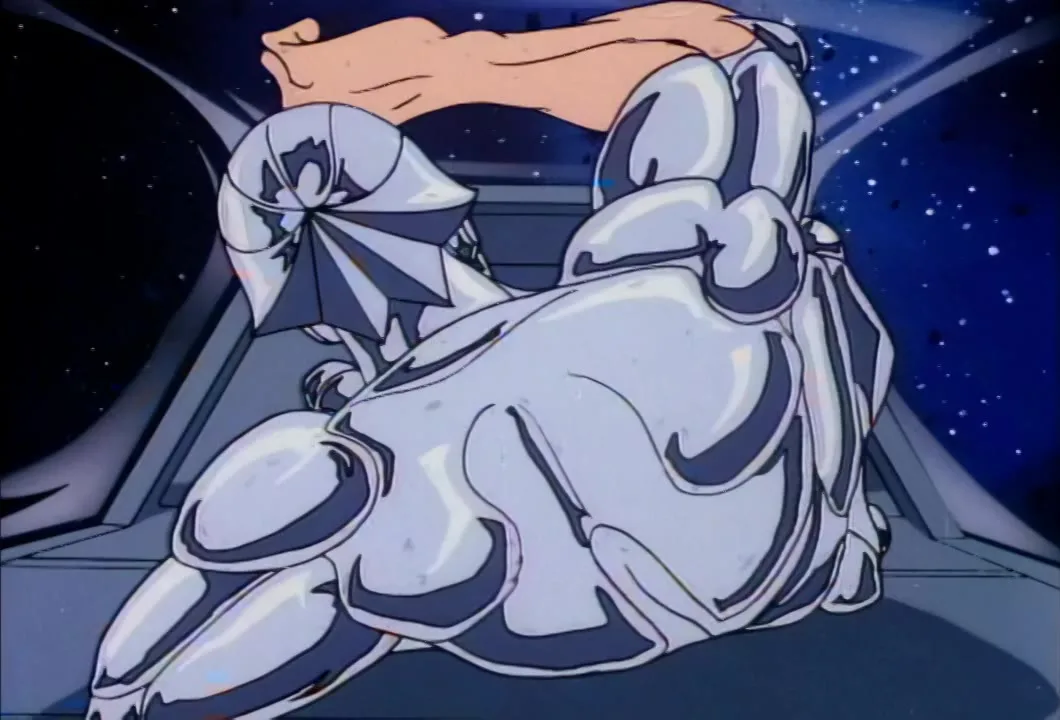
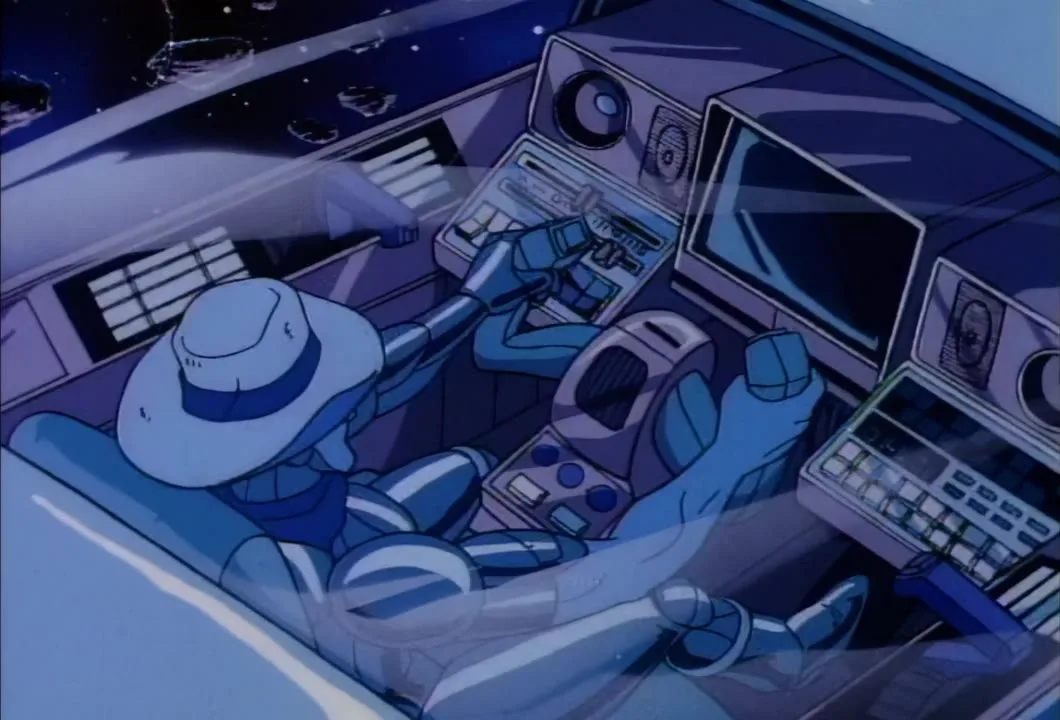
A chrome SilverHawk seen from behind hunches at a cockpit's controls; the figure is not identifiable.
Windhammer, in space, as the Mob thinks it has brought down the Mirage.
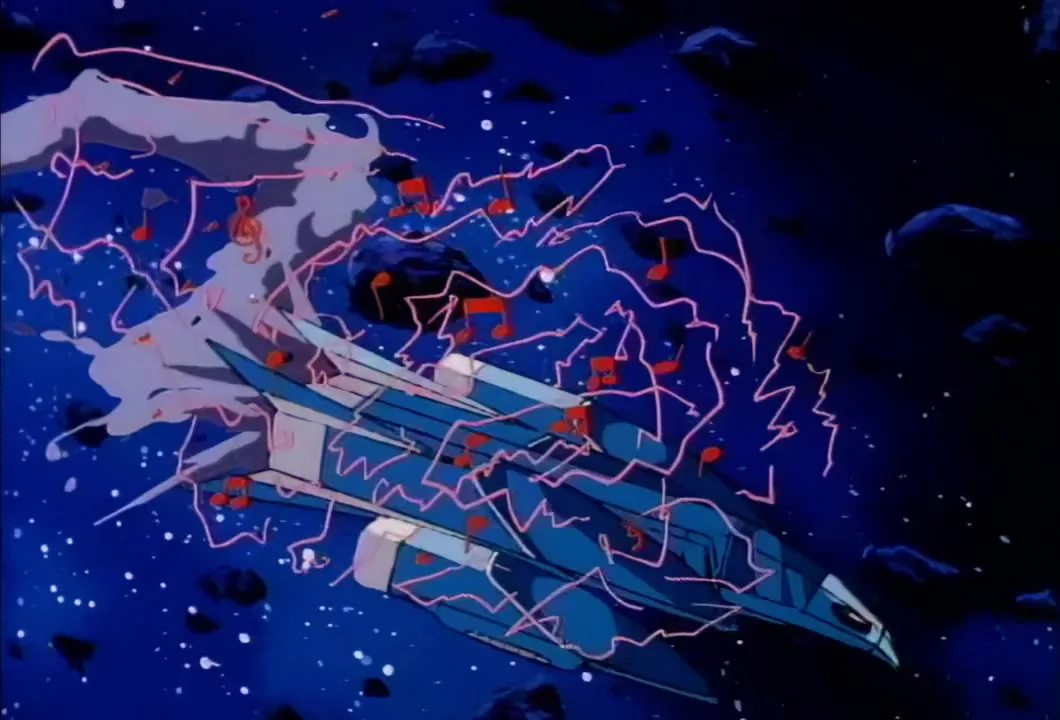
The Mirage is engulfed in crackling energy and floating musical notes in the asteroid field.
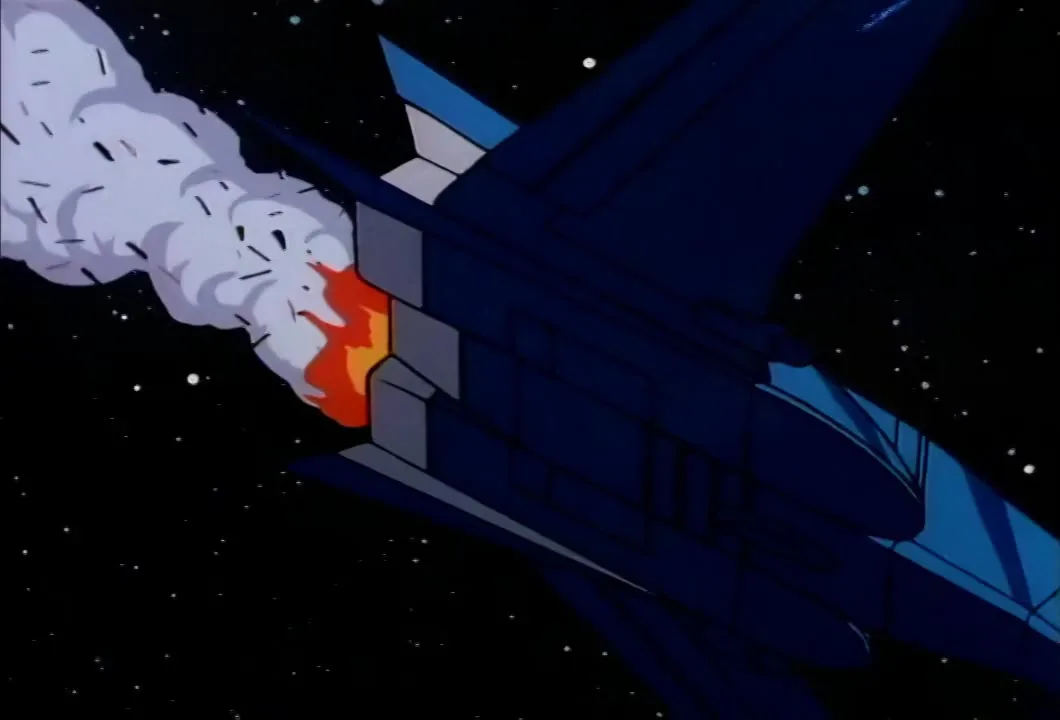
Flame and smoke pour from the damaged Mirage.
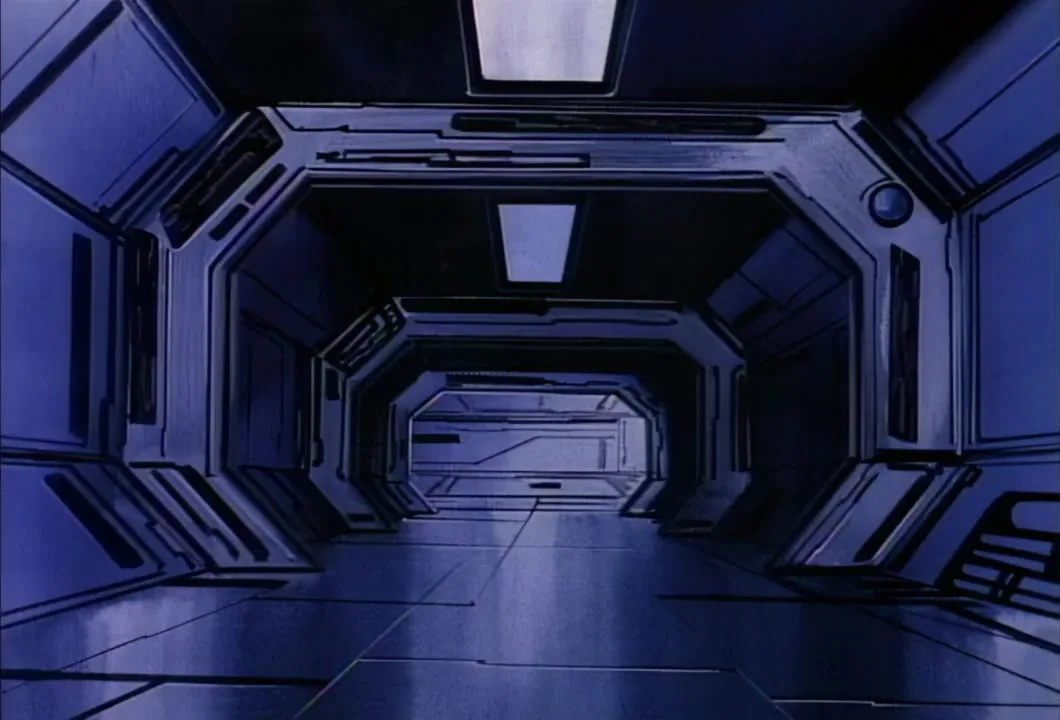
An empty corridor inside Hawk Haven.
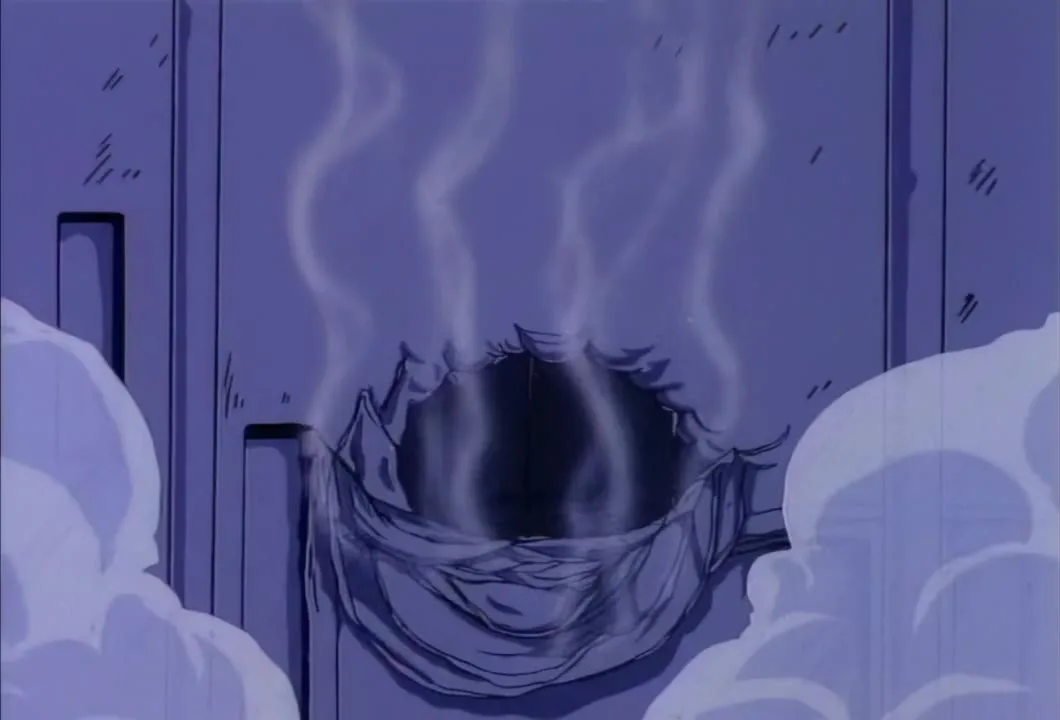
Smoke curls from a ragged hole burned through a Hawk Haven wall.
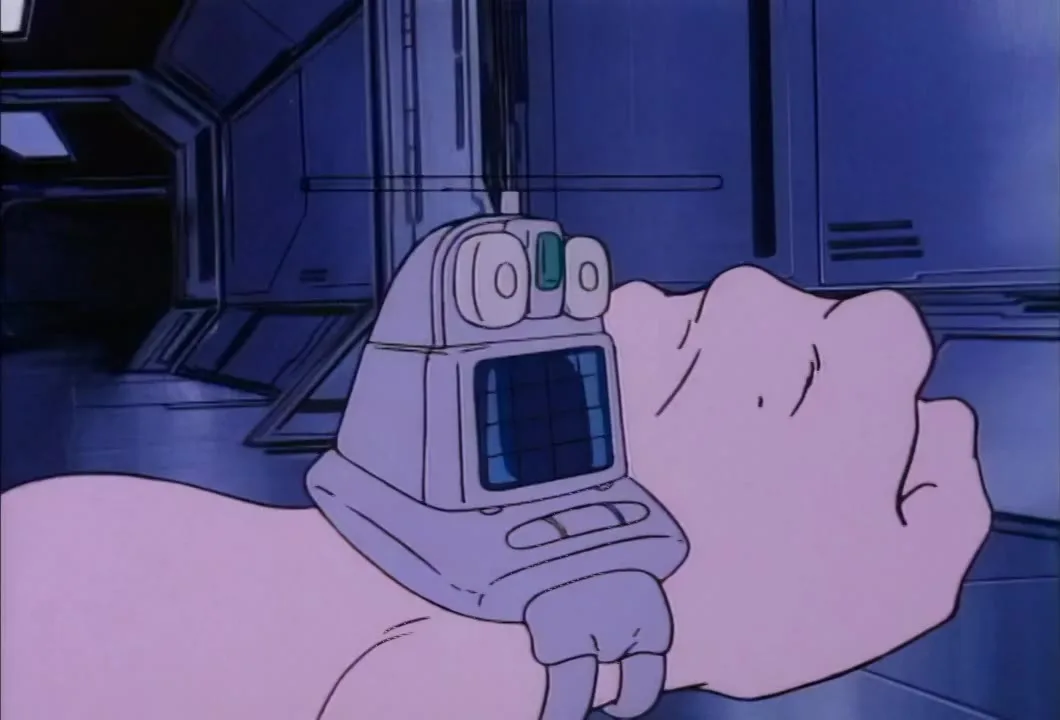
Hardware checks the gadget strapped to his wrist as he and Mon*Star make their way through Hawk Haven.
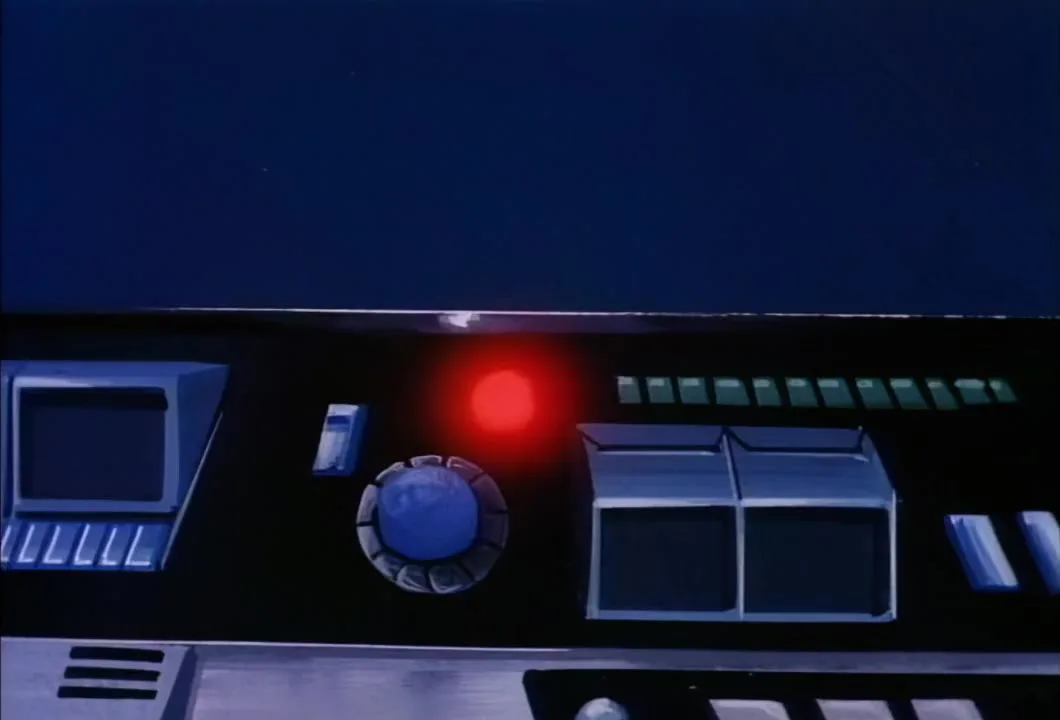
A red light glows on a Hawk Haven control console as Stargazer asks what that is.
Stargazer says the intruders must be after the power room.
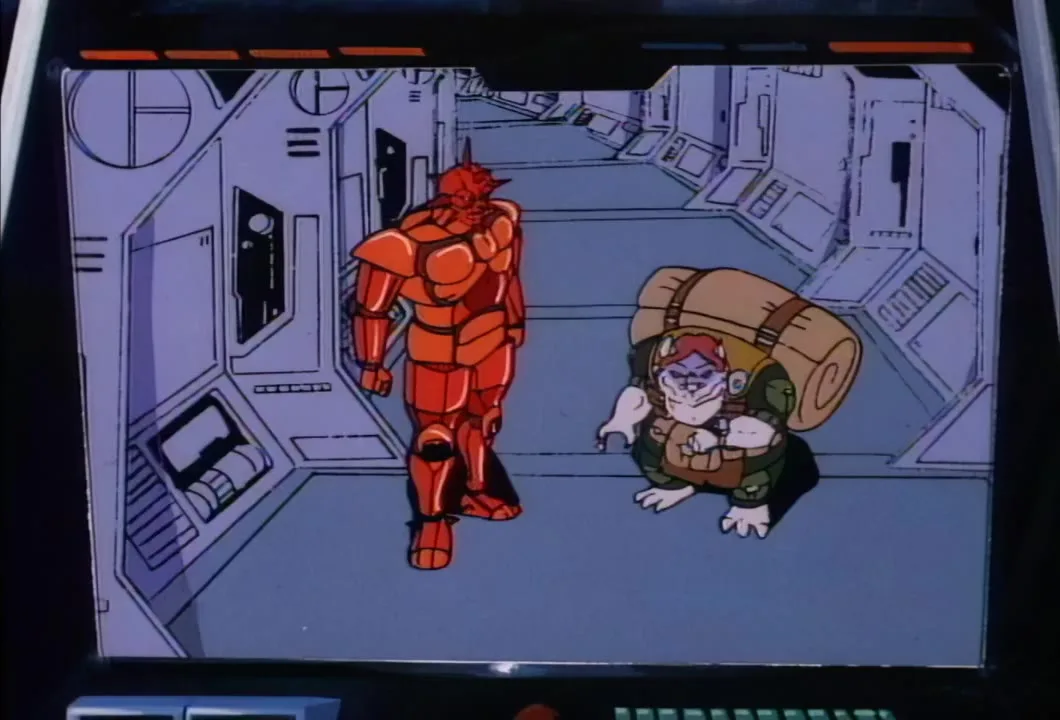
On Stargazer's monitor, Mon*Star and Hardware move along a Hawk Haven corridor.
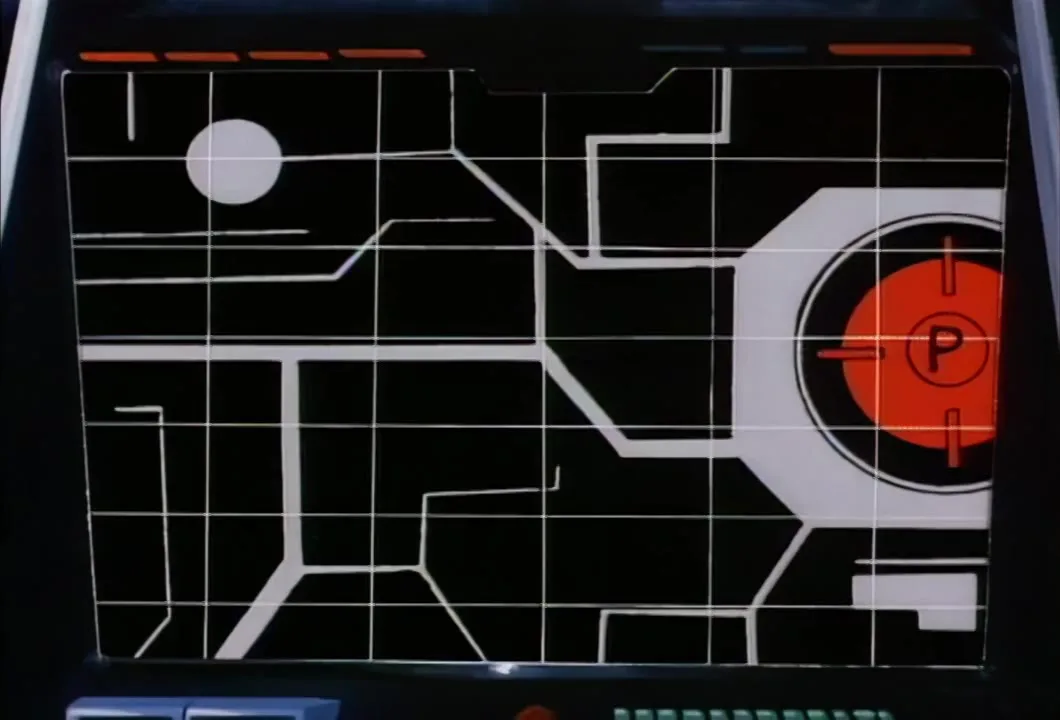
A schematic on the monitor marks the power room with a P, the only thing down there.
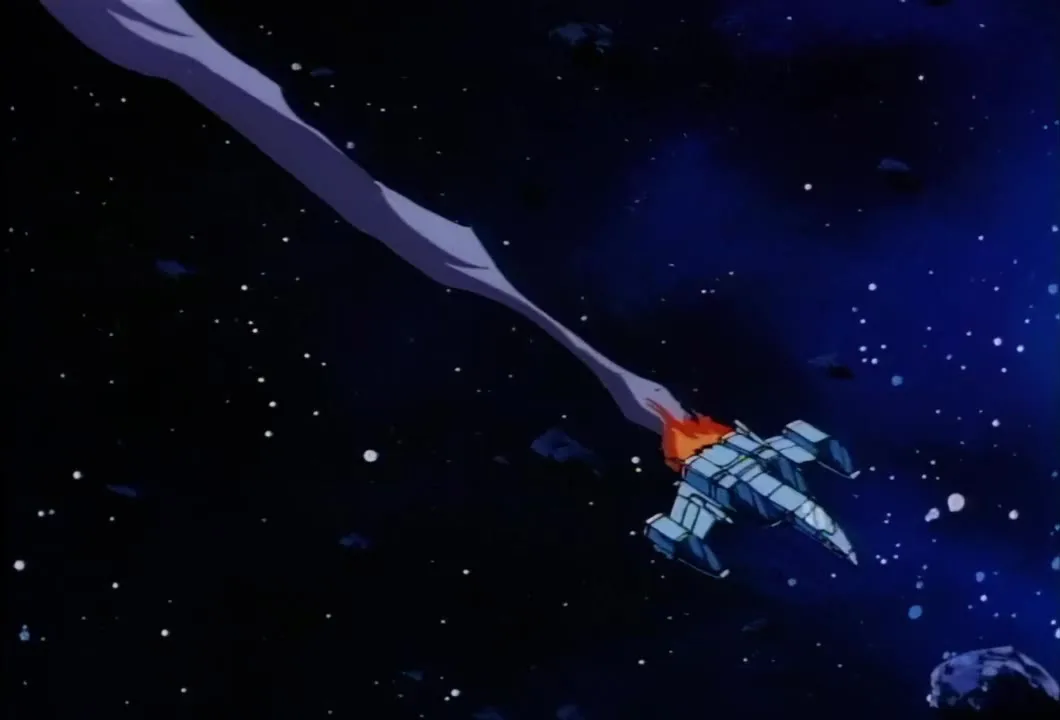
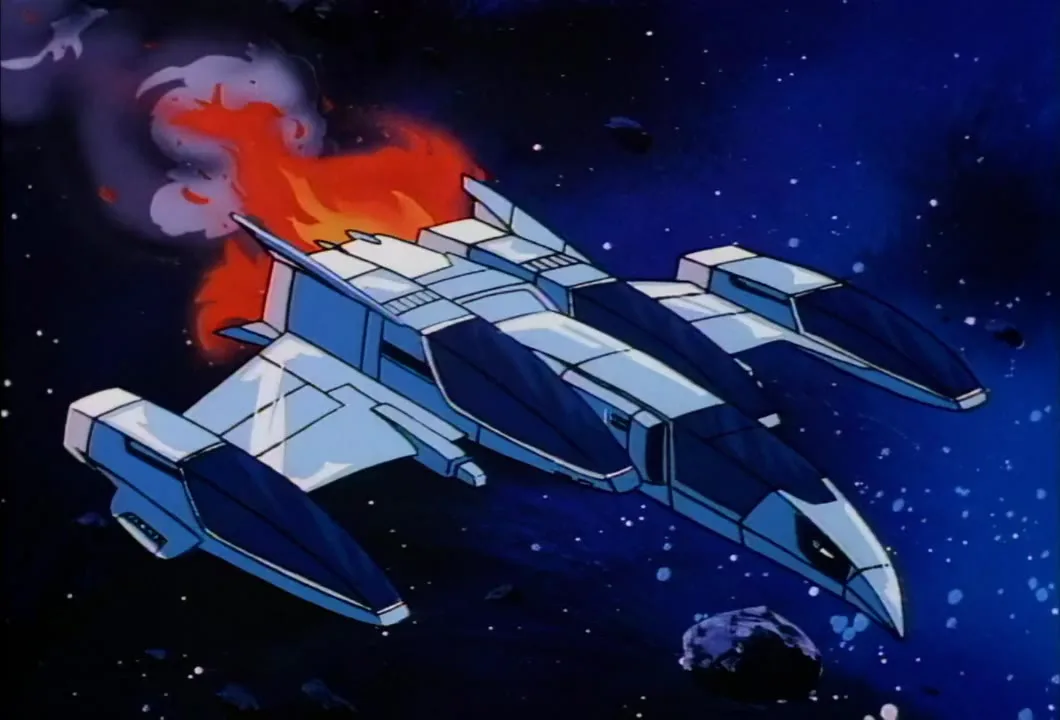
The damaged Mirage trails smoke and flame through the asteroid field.
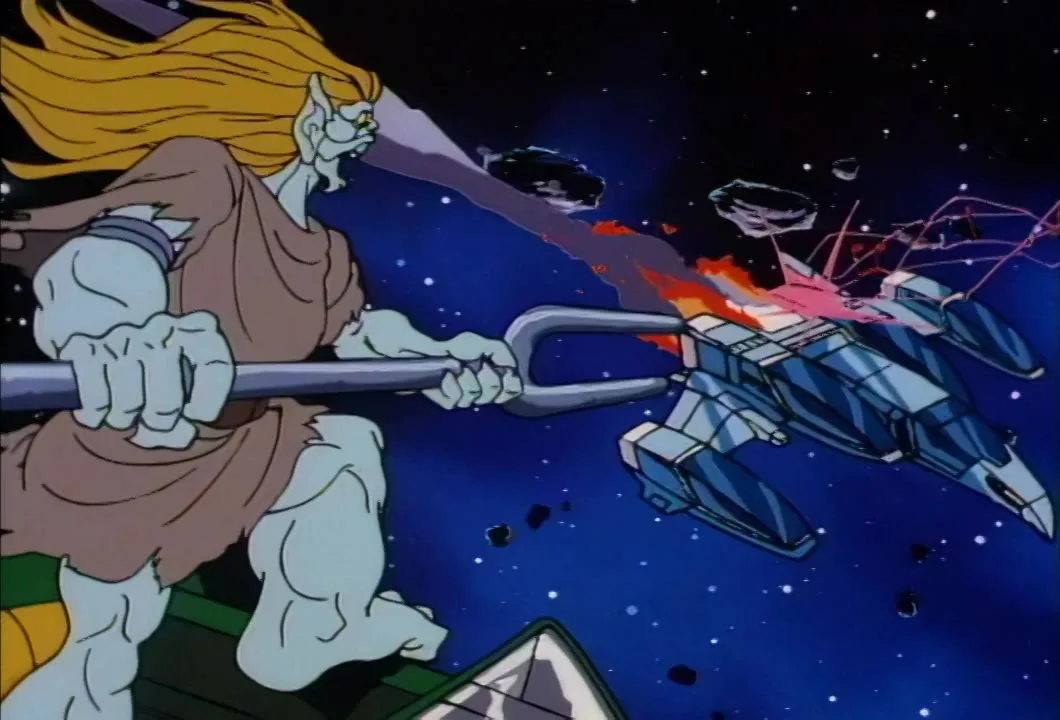
Windhammer levels his tuning fork at the burning Mirage as the Mob celebrates crashing it.
A SilverHawk cropped tight floats through space as the Mob puts in for a bonus; the figure is not identifiable.
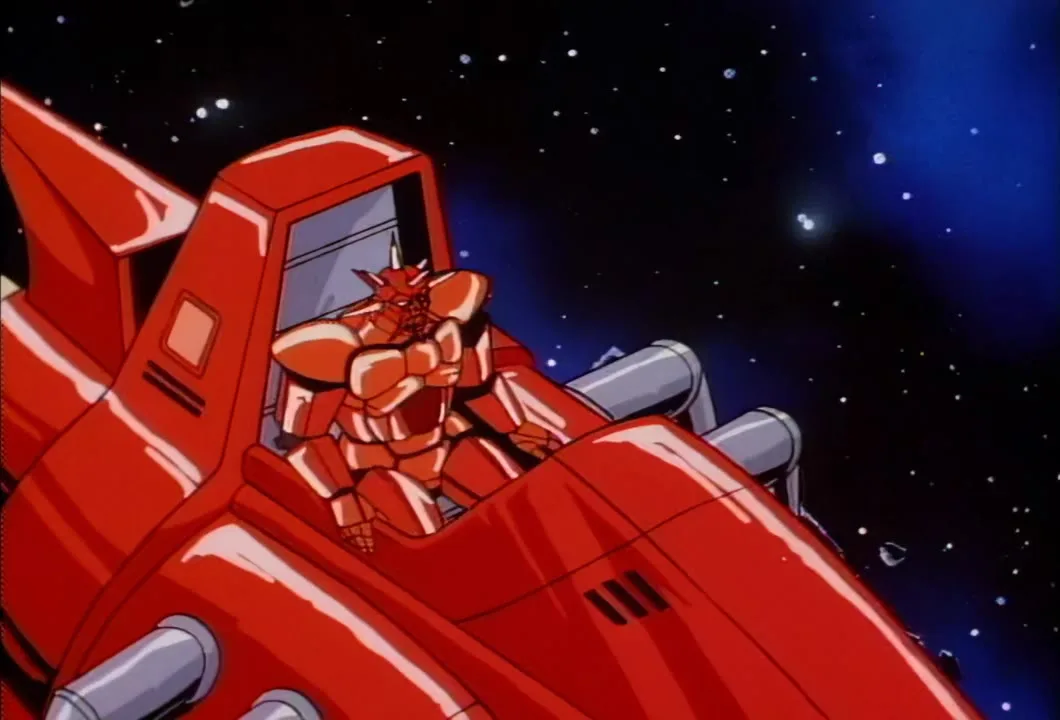
The Mon*Star the team has been chasing sits in the cockpit of a red Mob car.
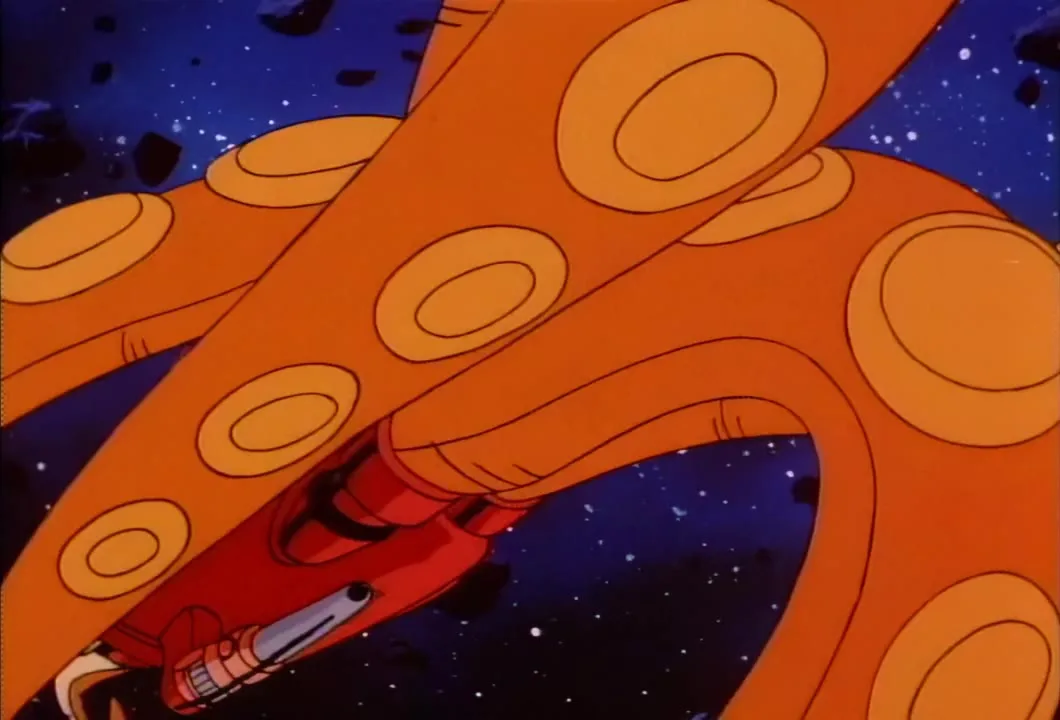
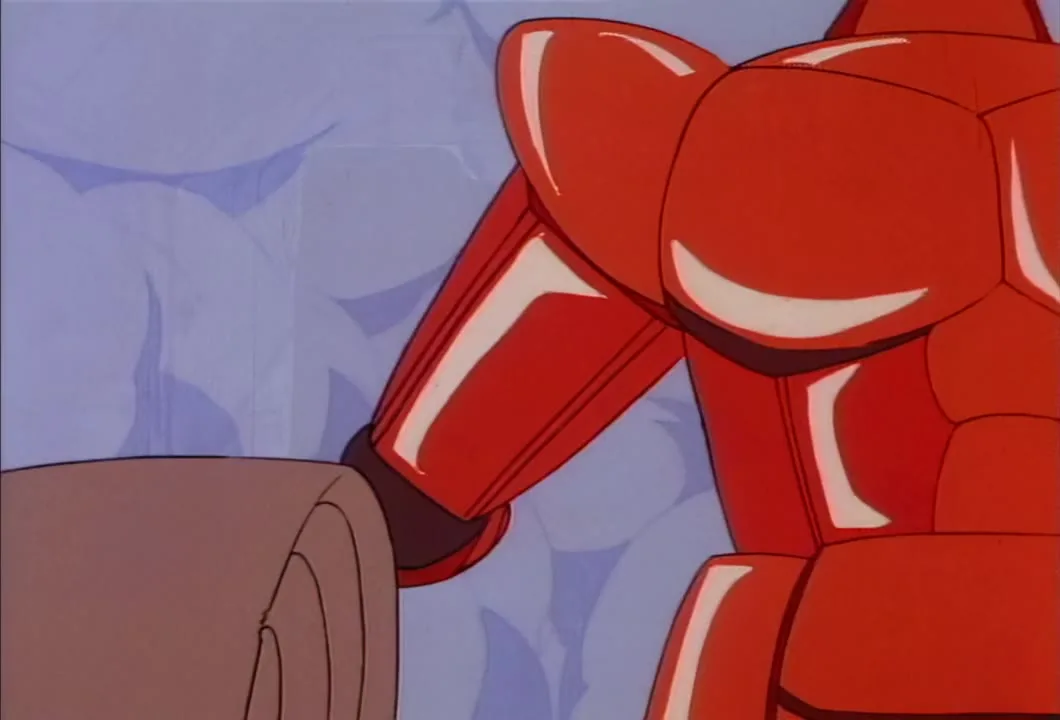
Sky-Runner's tentacles wrap over a red Mob craft in the asteroid field.
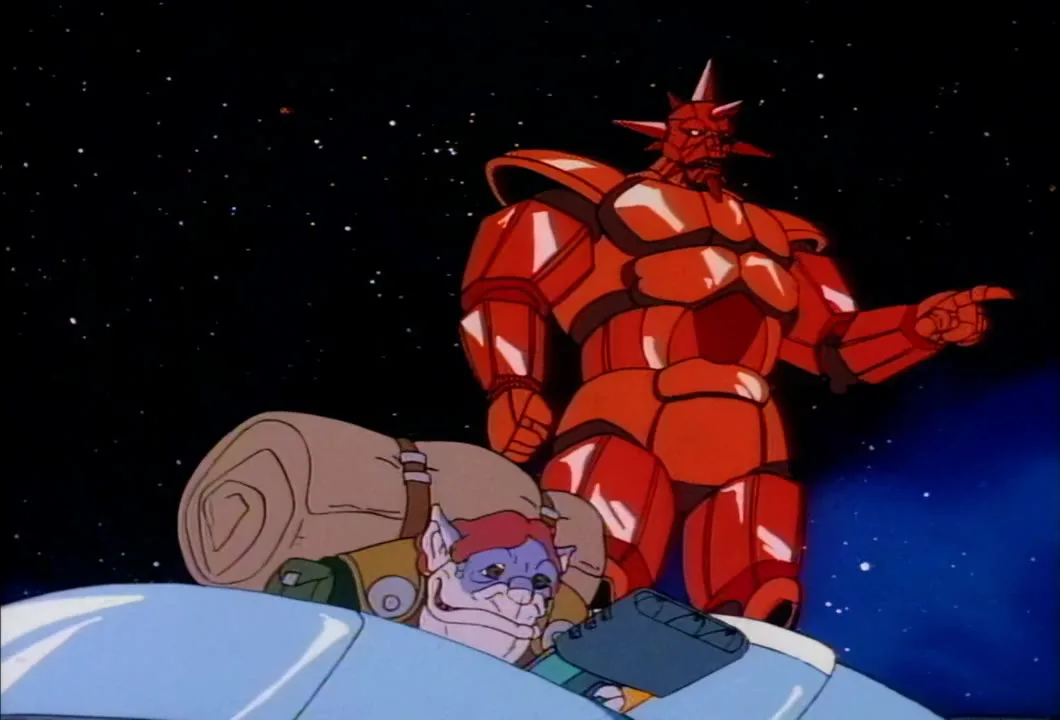
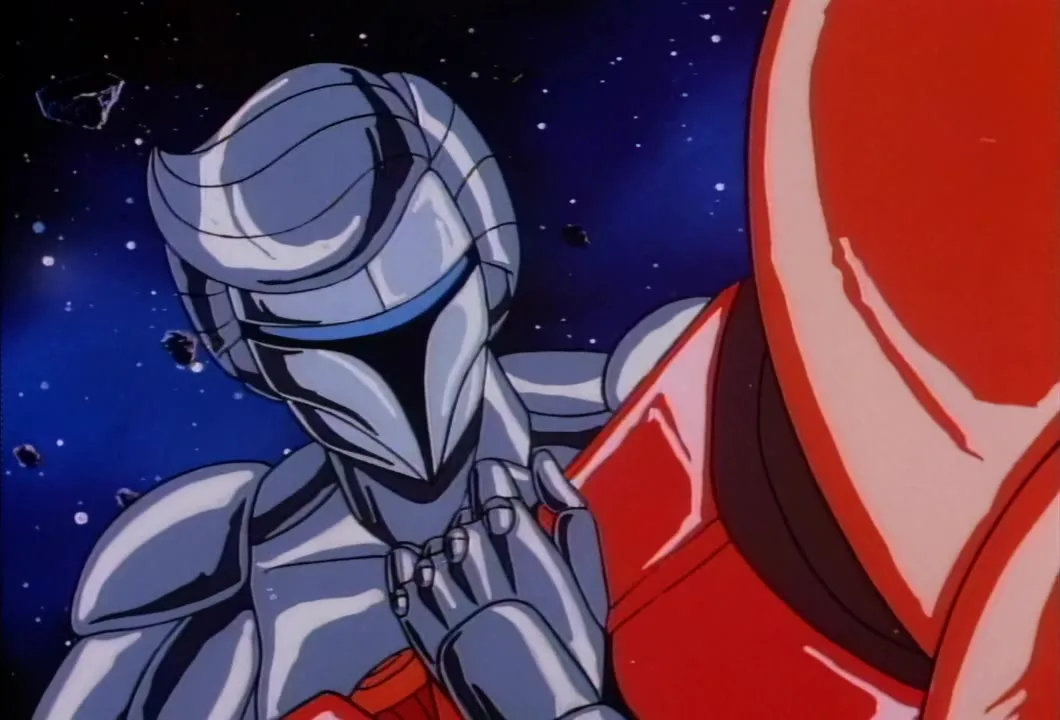
A visored SilverHawk, not identifiable, hangs beside a red armoured arm as the Mob refuses to call off its raid.
The burning Mirage hangs among the rocks as the team asks for ideas.
Bluegrass grips the controls as the team decides to let the Copper Kidd try his dangerous idea.
Visor down, the Copper Kidd goes ahead with an idea the others call pretty dangerous.
The Copper Kidd crawls along the Mirage's wing as his plan to turn the tables begins.
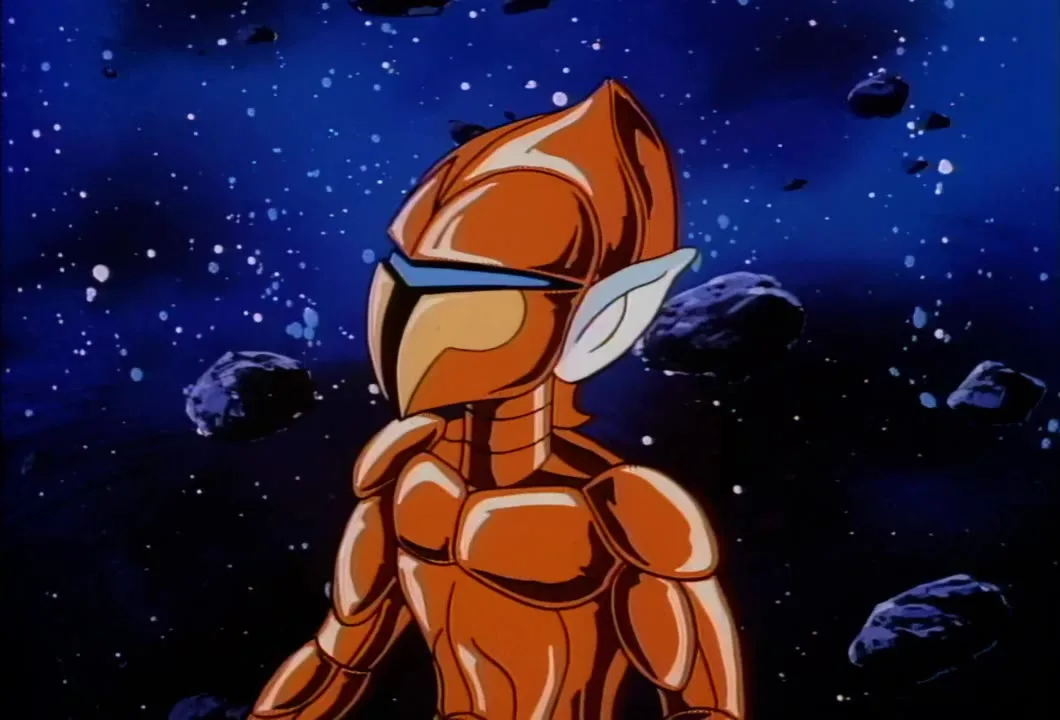
The Copper Kidd flies out over the asteroid field, wings spread.
The Copper Kidd hangs among the asteroids as his plan to turn the tables goes ahead.
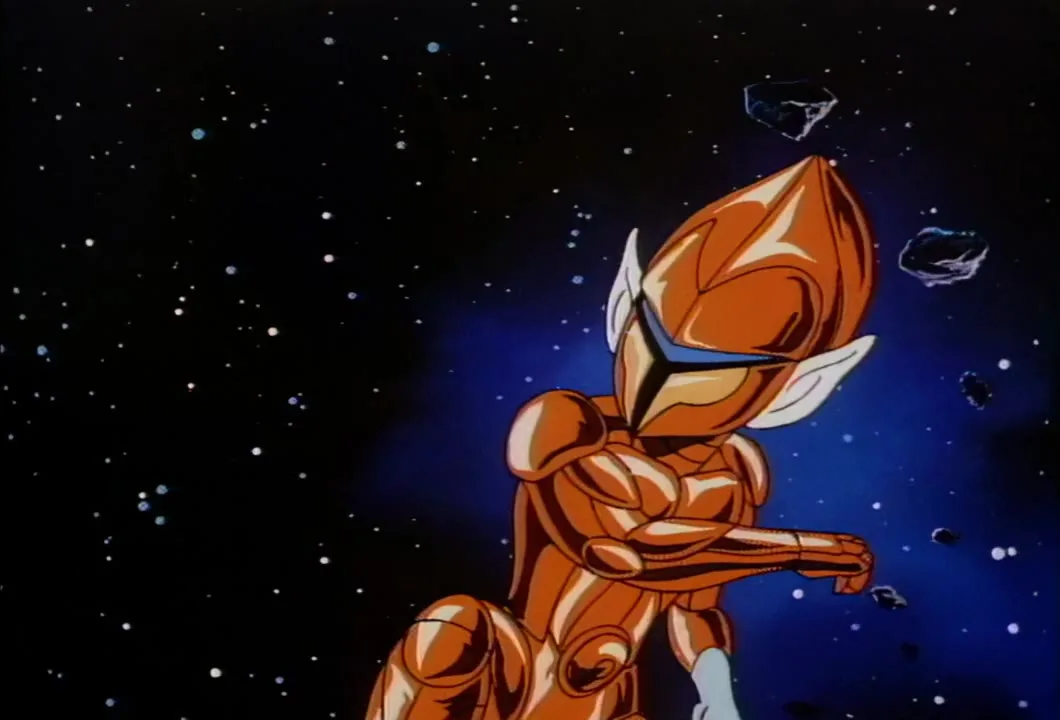
The Copper Kidd twists in the asteroid field, an arm reaching toward the right.
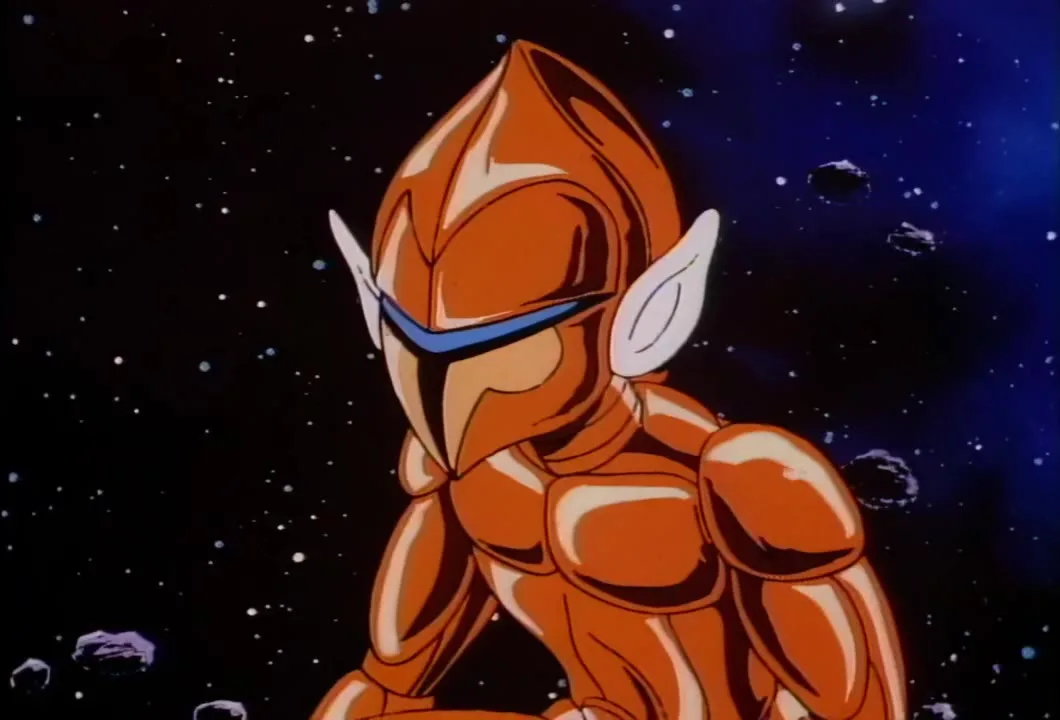
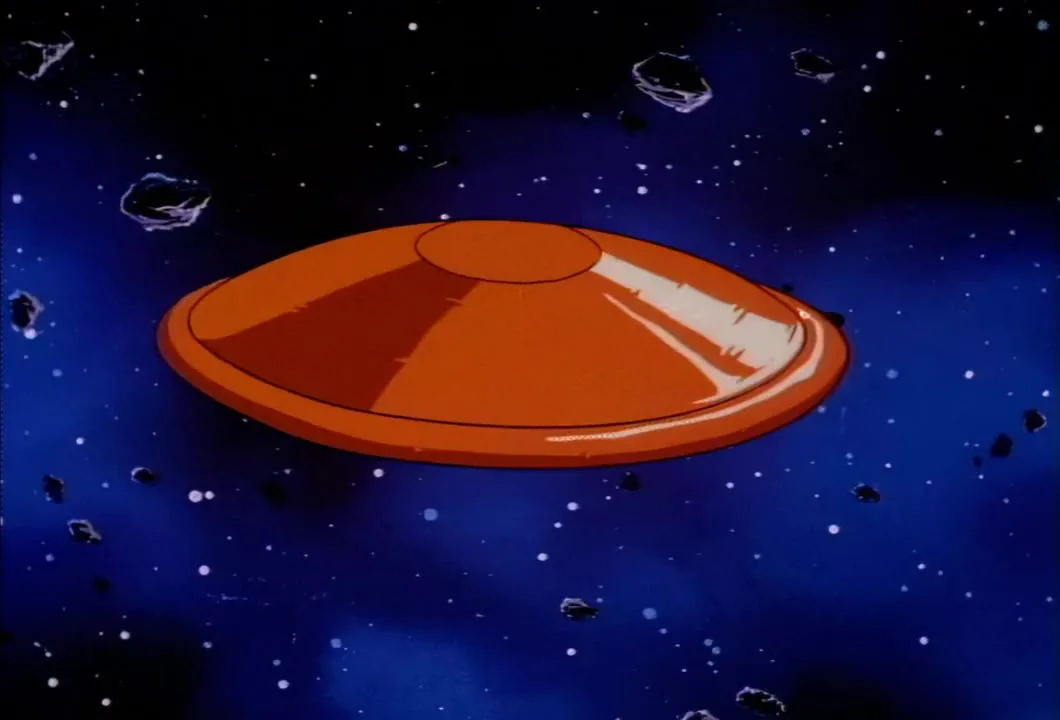
A large orange disc hangs in the asteroid field.
Bluegrass sits at the Mirage's controls as the plan to turn the tables plays out.
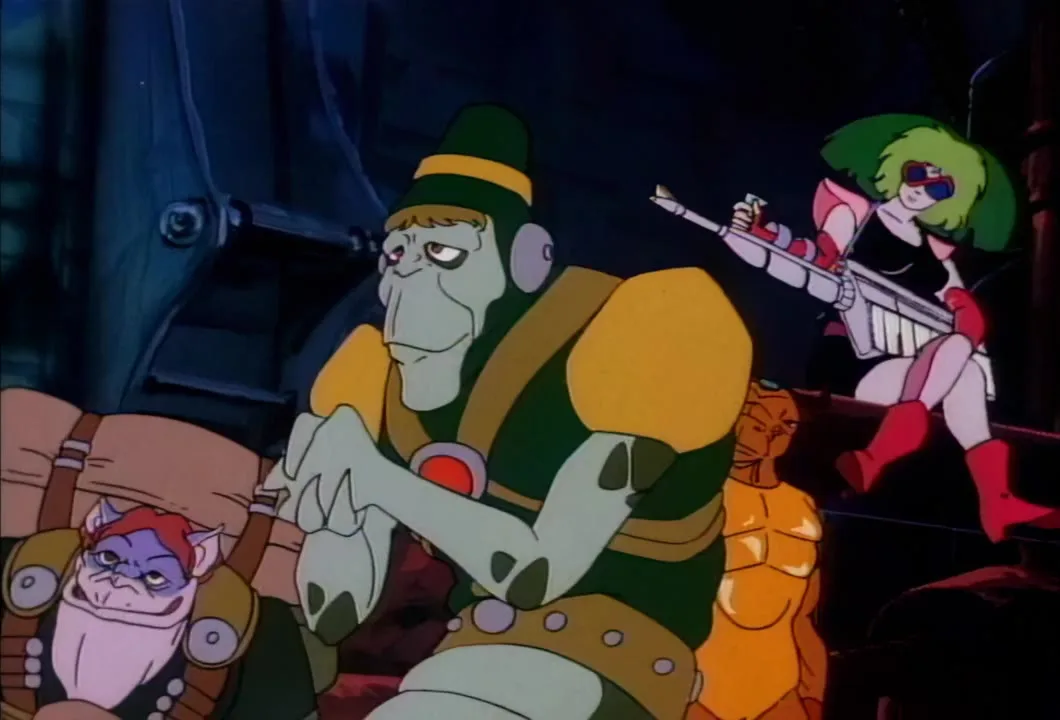
The Copper Kidd floats among drifting rocks as his plan plays out.
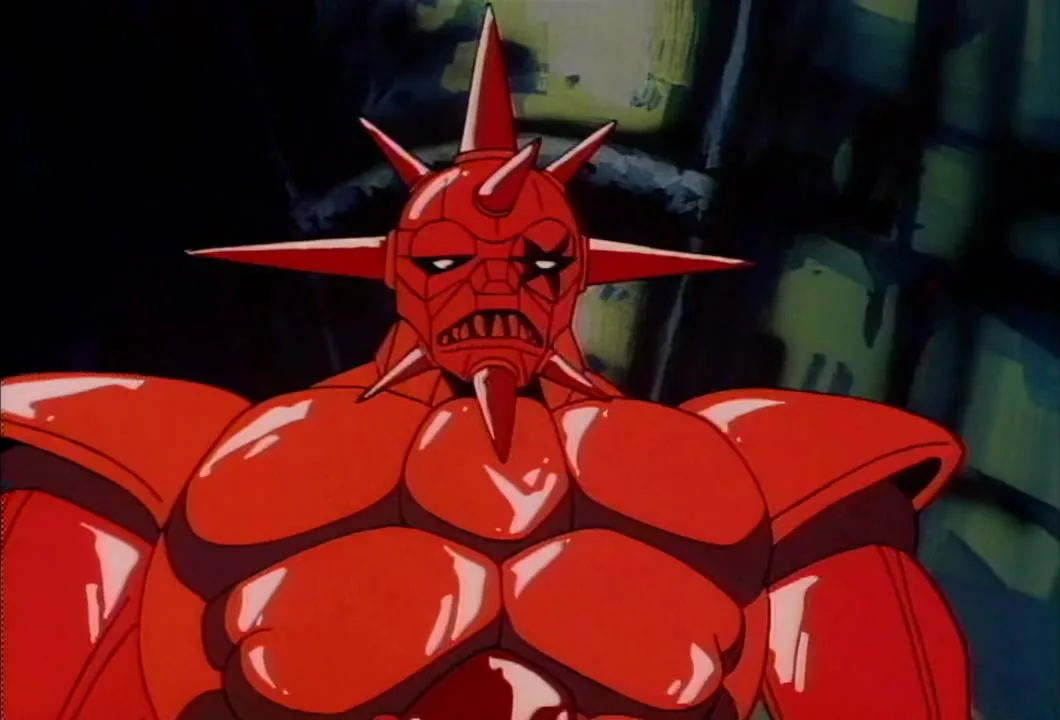
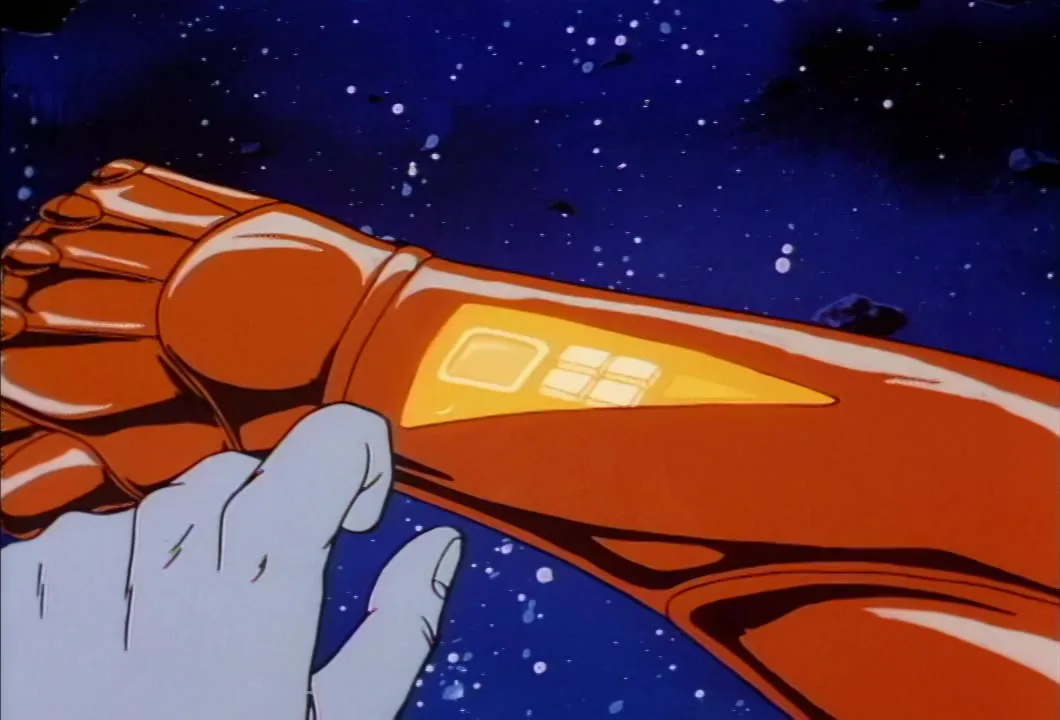
The Copper Kidd taps the control panel on his forearm.
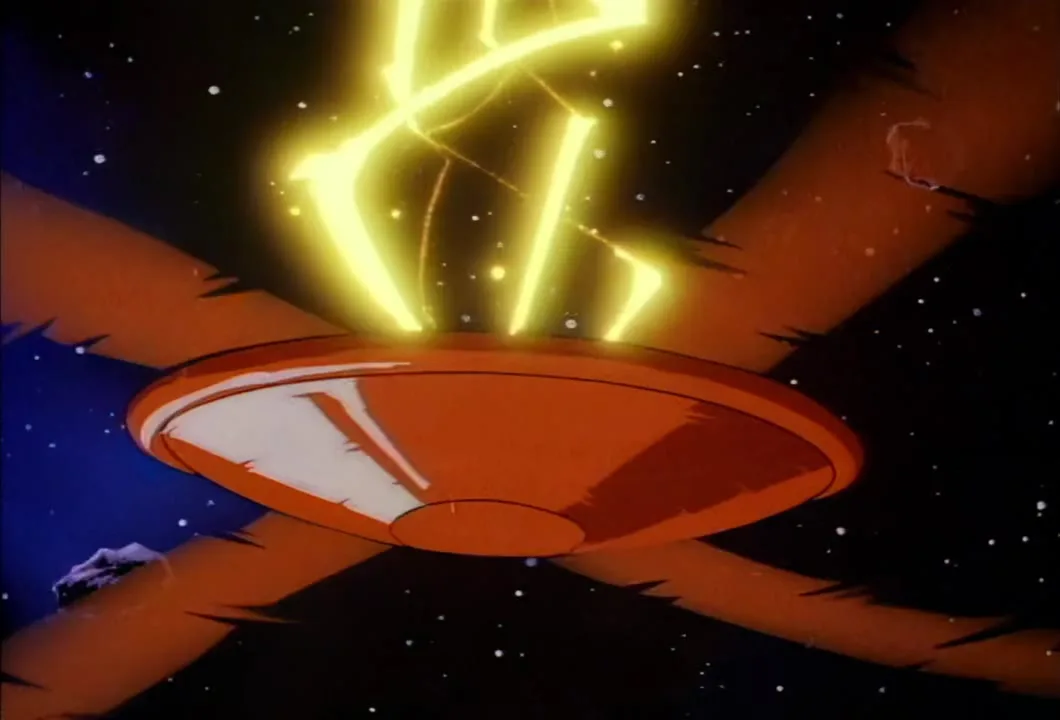
Yellow lightning crackles above an orange disc caught between crossed orange bands.
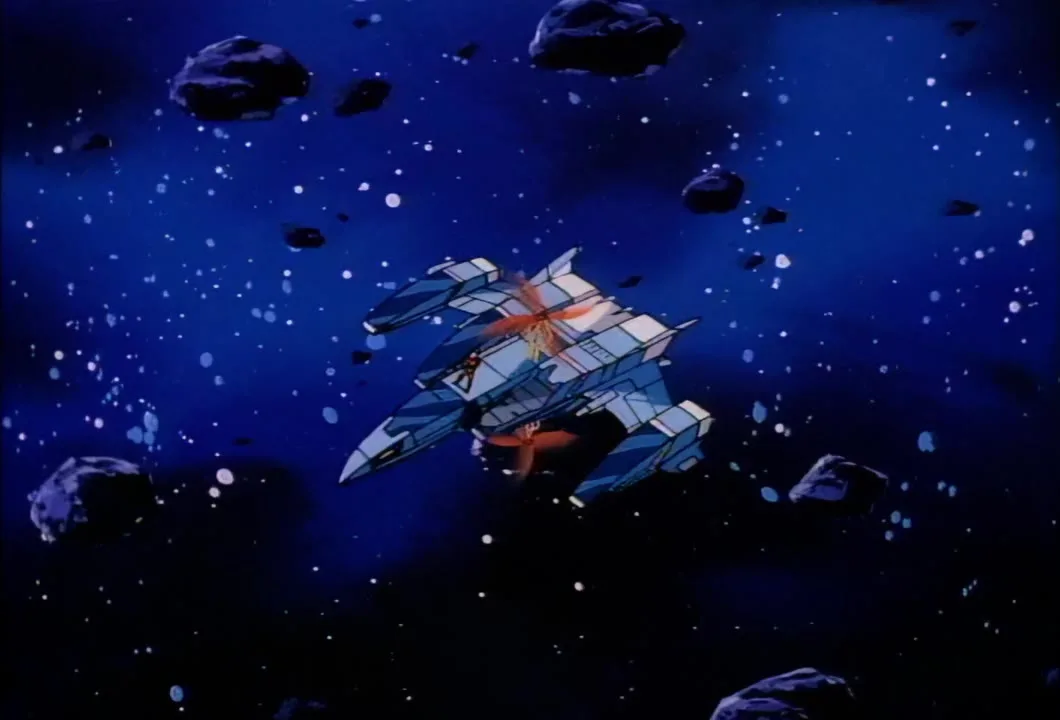
Small red shapes buzz around the Mirage in the asteroid field.
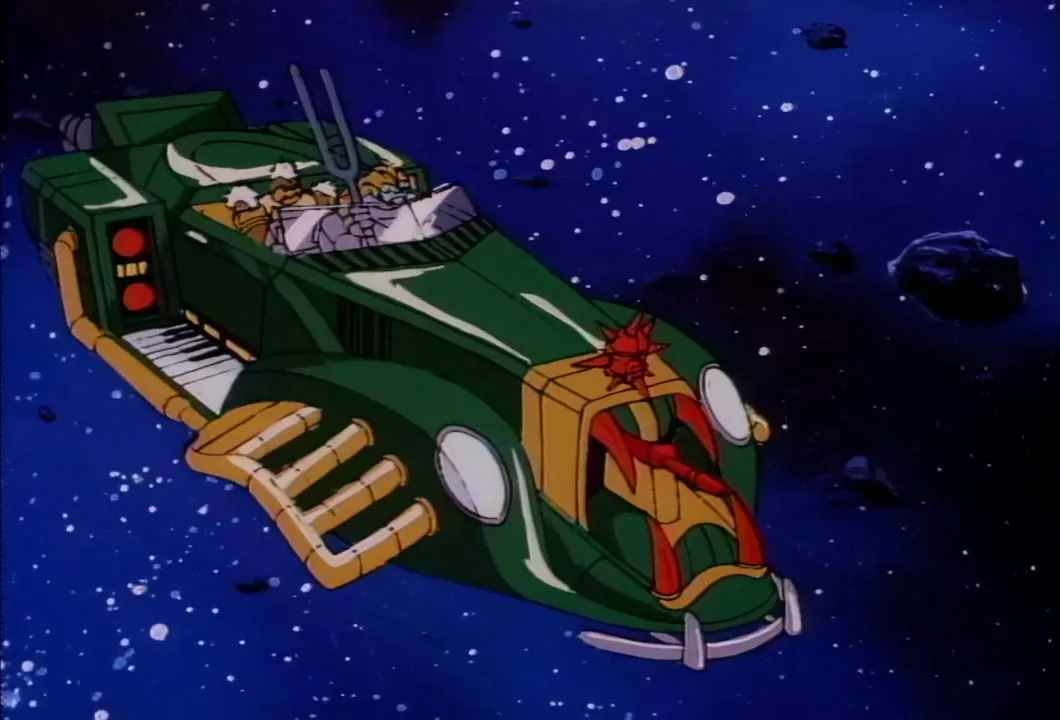
A green Mob car with a raised tuning fork and a toothed front glides through the asteroid field.
A visored SilverHawk with wings spread, not identifiable, as the team works out it has been faked out.
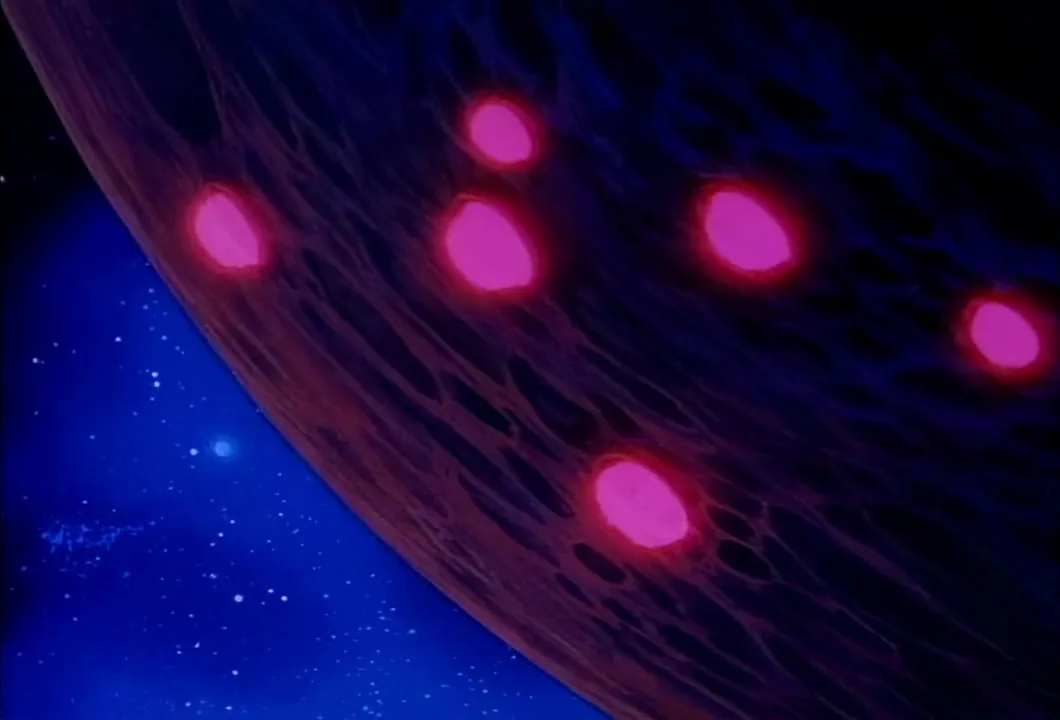
Two SilverHawks fly off through the stars toward the Mirage; neither is identifiable.
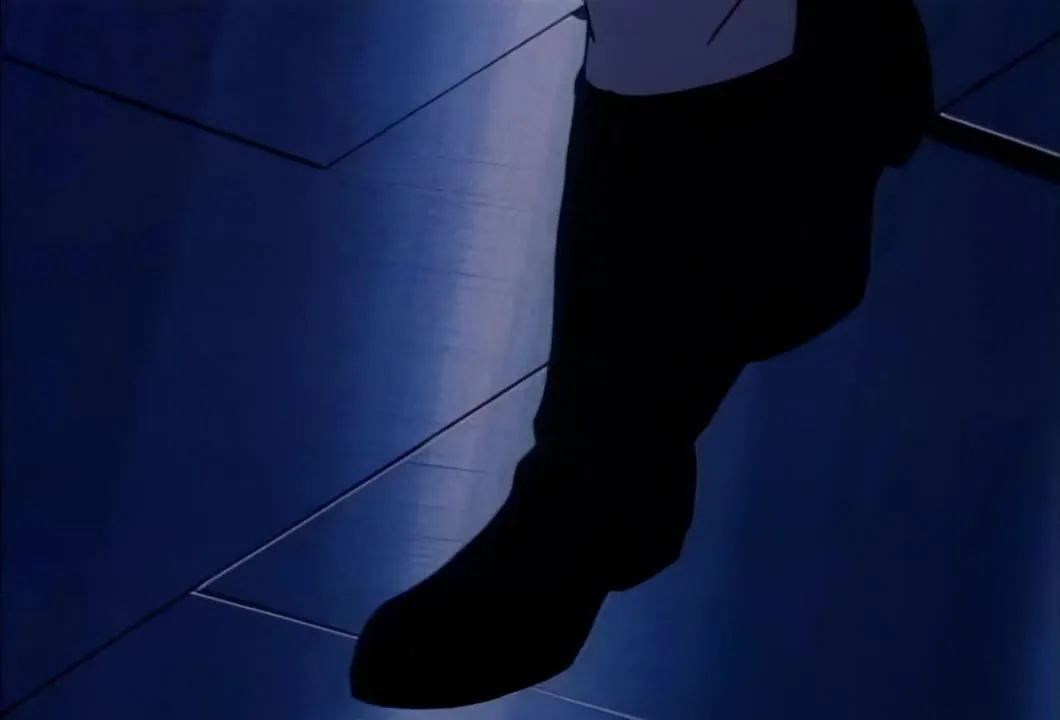
A boot steps across the blue floor of a Hawk Haven corridor.
Stargazer walks alone down a Hawk Haven corridor.
Stargazer, alone on the station, says he has got to get a move on.
Stargazer, alone on the station, walks a Hawk Haven corridor with a flat panel tucked under his arm.
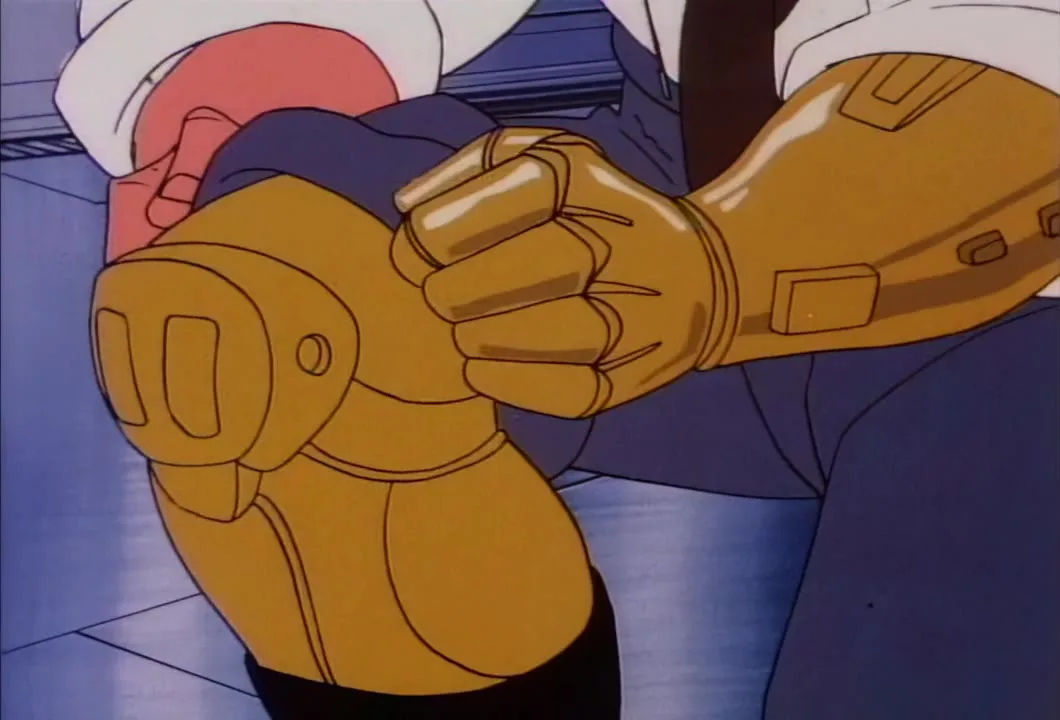
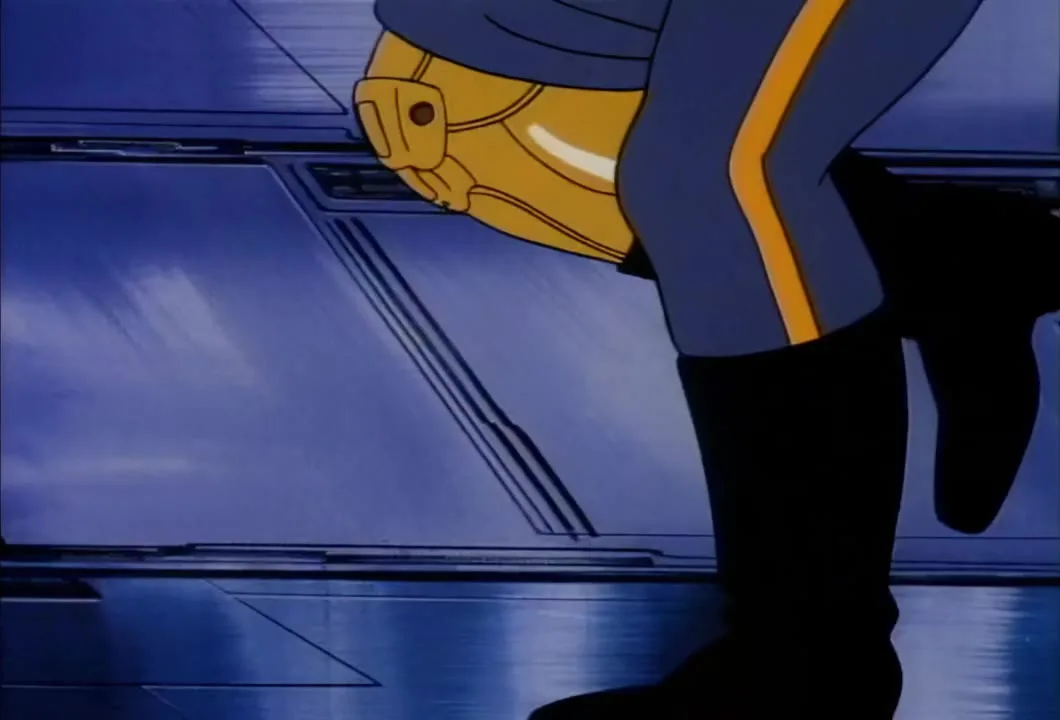
Stargazer's gold knee in a Hawk Haven corridor, while the intruders admit they are not sure of the way.
Inside Hawk Haven, Hardware checks the gadget on his wrist and admits he has never been in the place before.
Mon*Star in a Hawk Haven corridor as the intruders spot the old man ahead.
Bluegrass and Steelheart kneel at an opened hull panel working on the damaged ship.
Stuck with the damaged Mirage, Bluegrass, Quicksilver and the Kidd work out that the chase was a draw play.
Bluegrass says the chase was a draw play to empty Hawk Haven, leaving Stargazer a sitting duck.
Stargazer crouches in a Hawk Haven corridor while the intruders gain on him.
Stargazer runs down a Hawk Haven corridor as the intruders close in.
A loose gold screw lies on the corridor floor, taken by the intruders as a sign Stargazer is falling to pieces.
Hardware answers Mon*Star's quip that Stargazer probably has metal fatigue.
Stargazer hurries along with the panel under his arm as a cloud of gas rolls overhead.
Mon*Star and Hardware stand in a corridor doorway inside Hawk Haven.
A sign reading Power Room with an arrow points the intruders down the corridor.
An empty Hawk Haven corridor with lit panels.
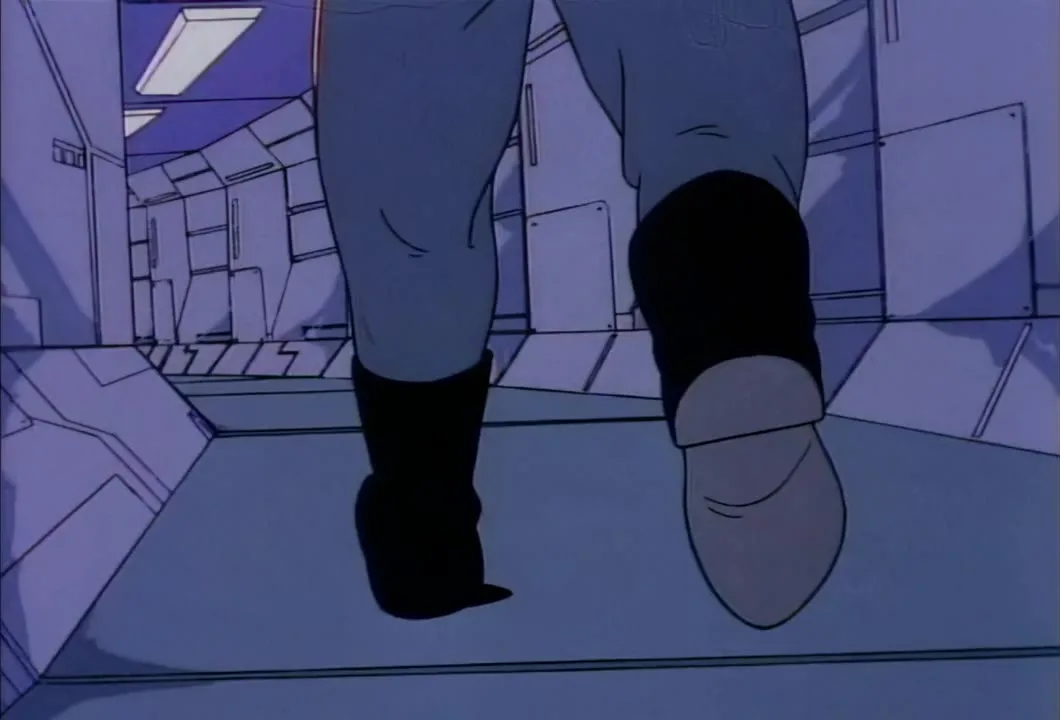
Boots and grey trousers walk away down a Hawk Haven corridor.
Stargazer flings himself forward along the corridor floor, hands out.
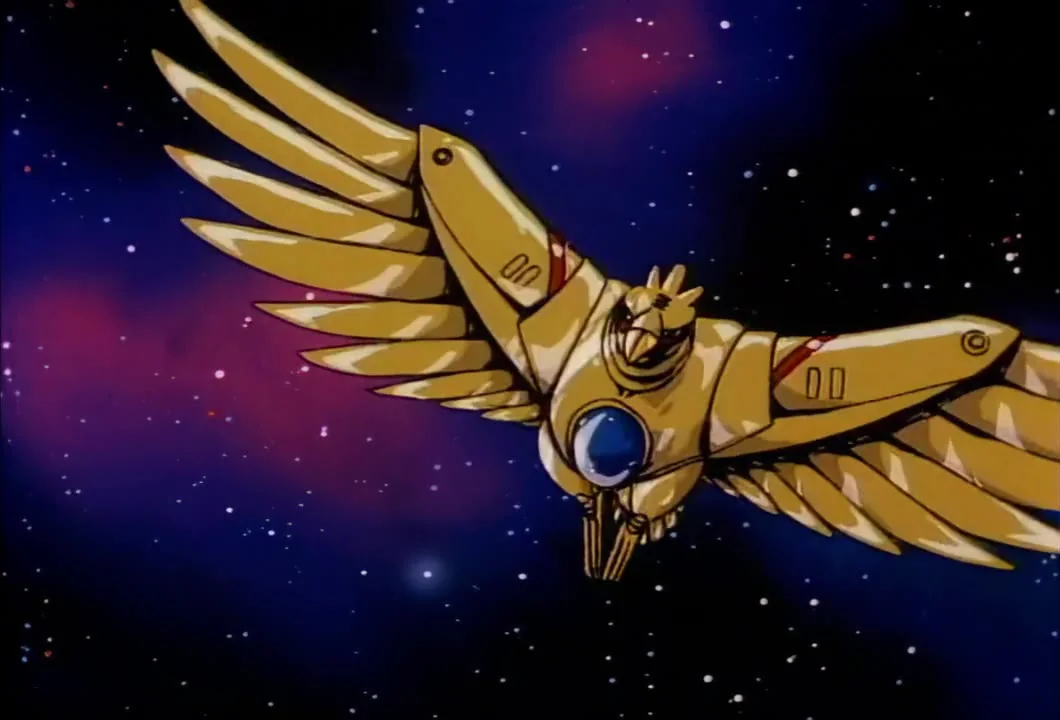
Stargazer stands in a Hawk Haven corridor, watching for the intruders on his trail.
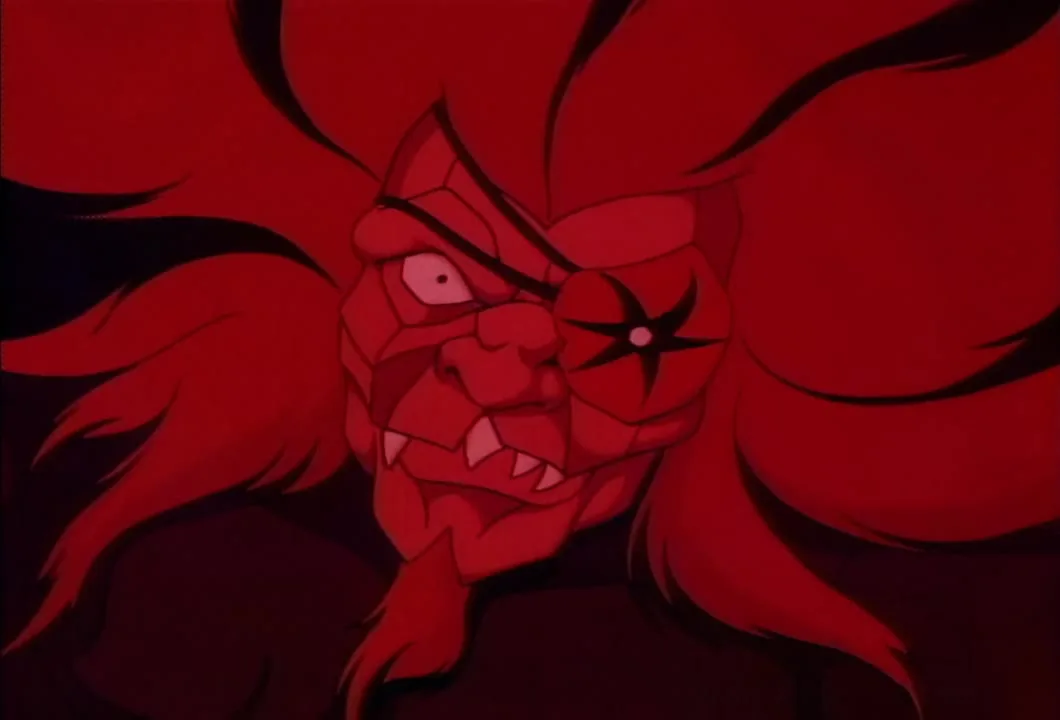
Mon*Star in a Hawk Haven corridor, still on Stargazer's trail.
A jet of white spray shoots across the corridor from the wall, over Hardware on the deck, with Mon*Star behind.
Mon*Star and Hardware hurry along a Hawk Haven corridor in pursuit of Stargazer.
Mon*Star in a Hawk Haven corridor as the pair talk about not wasting ammunition.
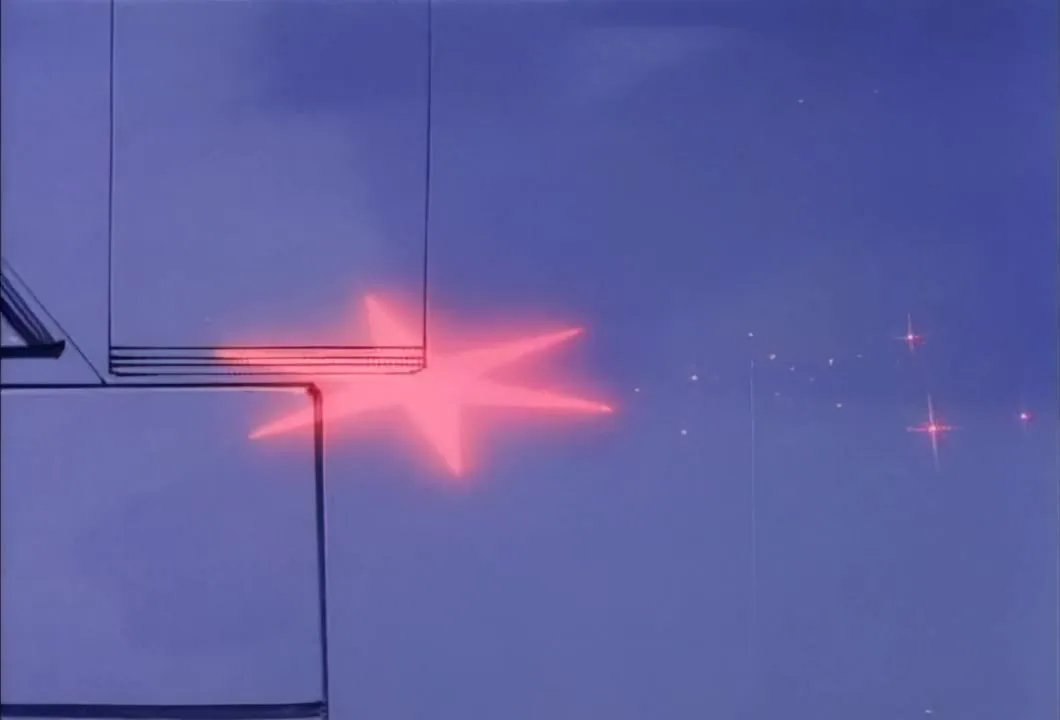
A pink star-shaped flash bursts against a corridor wall.
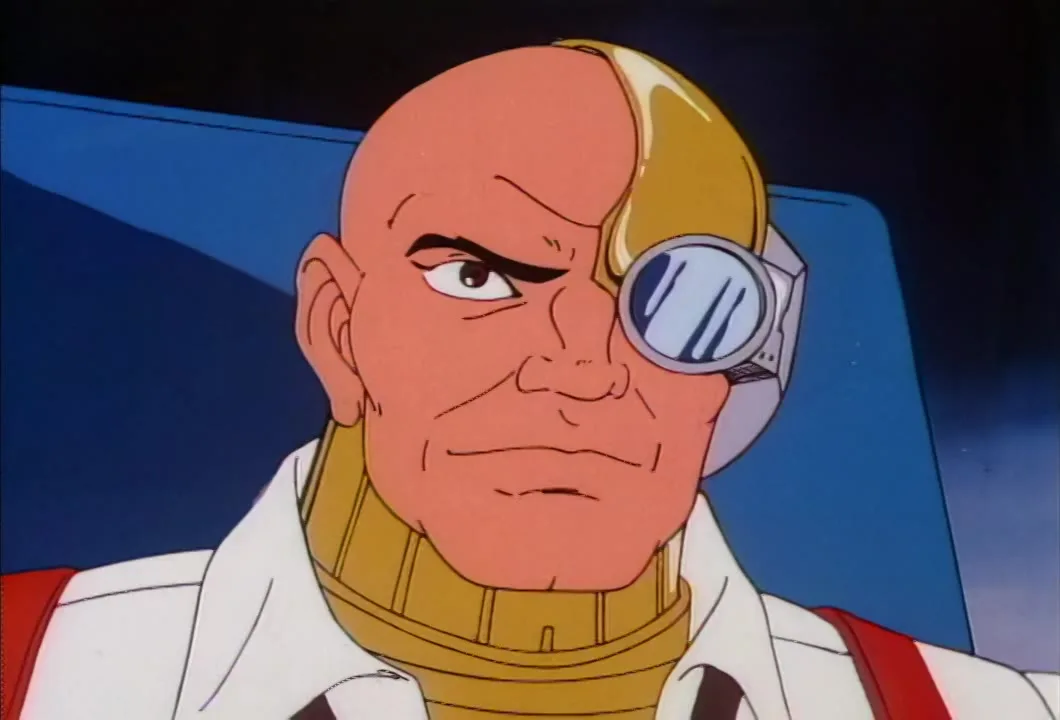
Stargazer stands in the corridor outlined in a red glow.
Mon*Star says Stargazer will be gassed when they blow the power room.
Mon*Star bids Stargazer so long, with Hardware crouching close by.
Mon*Star finds a sign reading Power Room, with Hardware at his back, not knowing Stargazer has moved it.
Mon*Star and Hardware face the sign marked Power Room, strictly no entry.
Mon*Star's arm and Hardware's bedroll fill the frame as the pair find what they are looking for.
Quicksilver, on the way home, wonders what has been shaken up at Hawk Haven while the team was away.
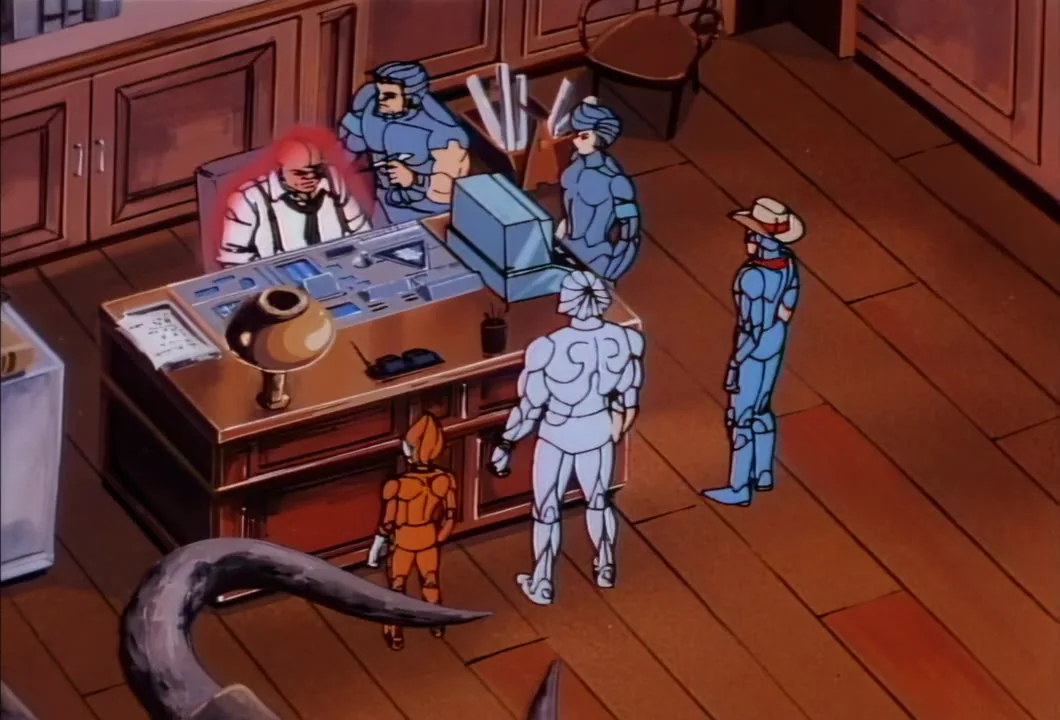
Home at last, the team gathers round Stargazer's desk to hear what happened while they were away.
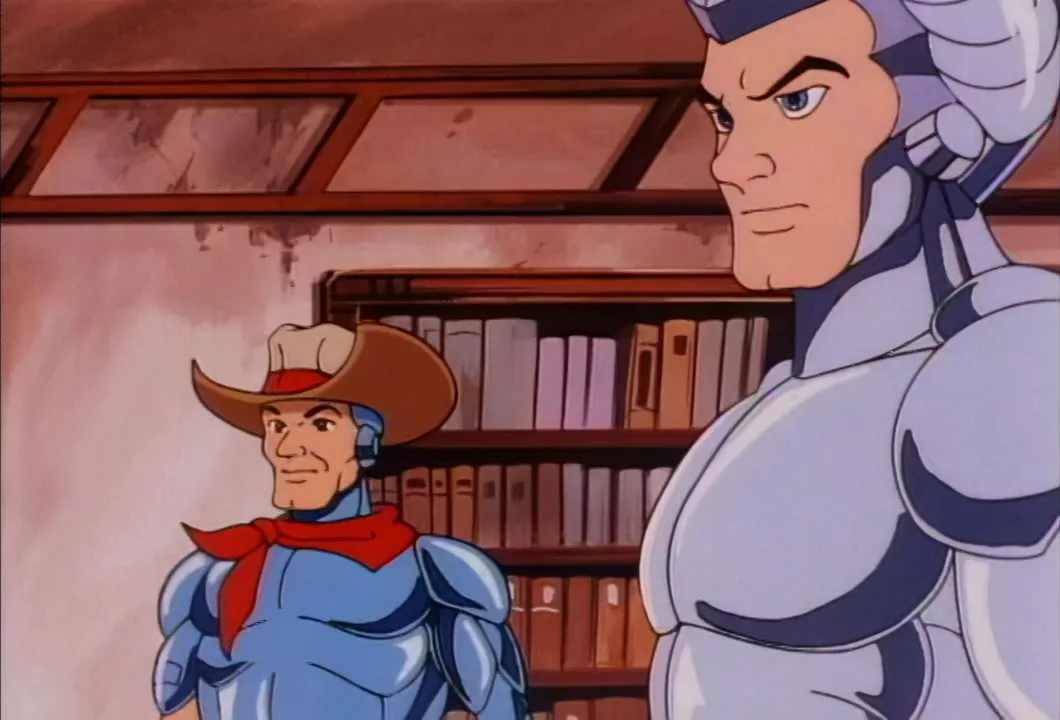
Quicksilver and Bluegrass tell Stargazer his switch of the signs was a nice move.
Quicksilver and the Copper Kidd hear how Stargazer switched the signs and sent Mon*Star the wrong way.
A cockpit screen numbered 4 shows a meteoroid drifting in space as the question about its name is asked.
The Copper Kidd finishes the quiz with a total of ten points.

★ DISCUSSION

Join the conversation.

Comments below are mirrored on the SilverHawks.tv forum. Sign in once, post anywhere.